This recipe is part of my annual holiday cookie countdown called Sally’s Cookie Palooza. Every year since 2013, I work on a handful of new cookie recipes and publish the 10 best ones for readers to enjoy. It’s the biggest, tastiest event of the year on my website! There’s no comparing true red velvet cake with a cookie, but these scarlet beauties have a similar flavor profile. They’re easily one of the prettiest Christmas cookies I’ve made this holiday season and there was no complicated decorating or special tools involved. That chocolate kiss is our built-in finishing touch. 😉
Tell Me About These Red Velvet Kiss Cookies
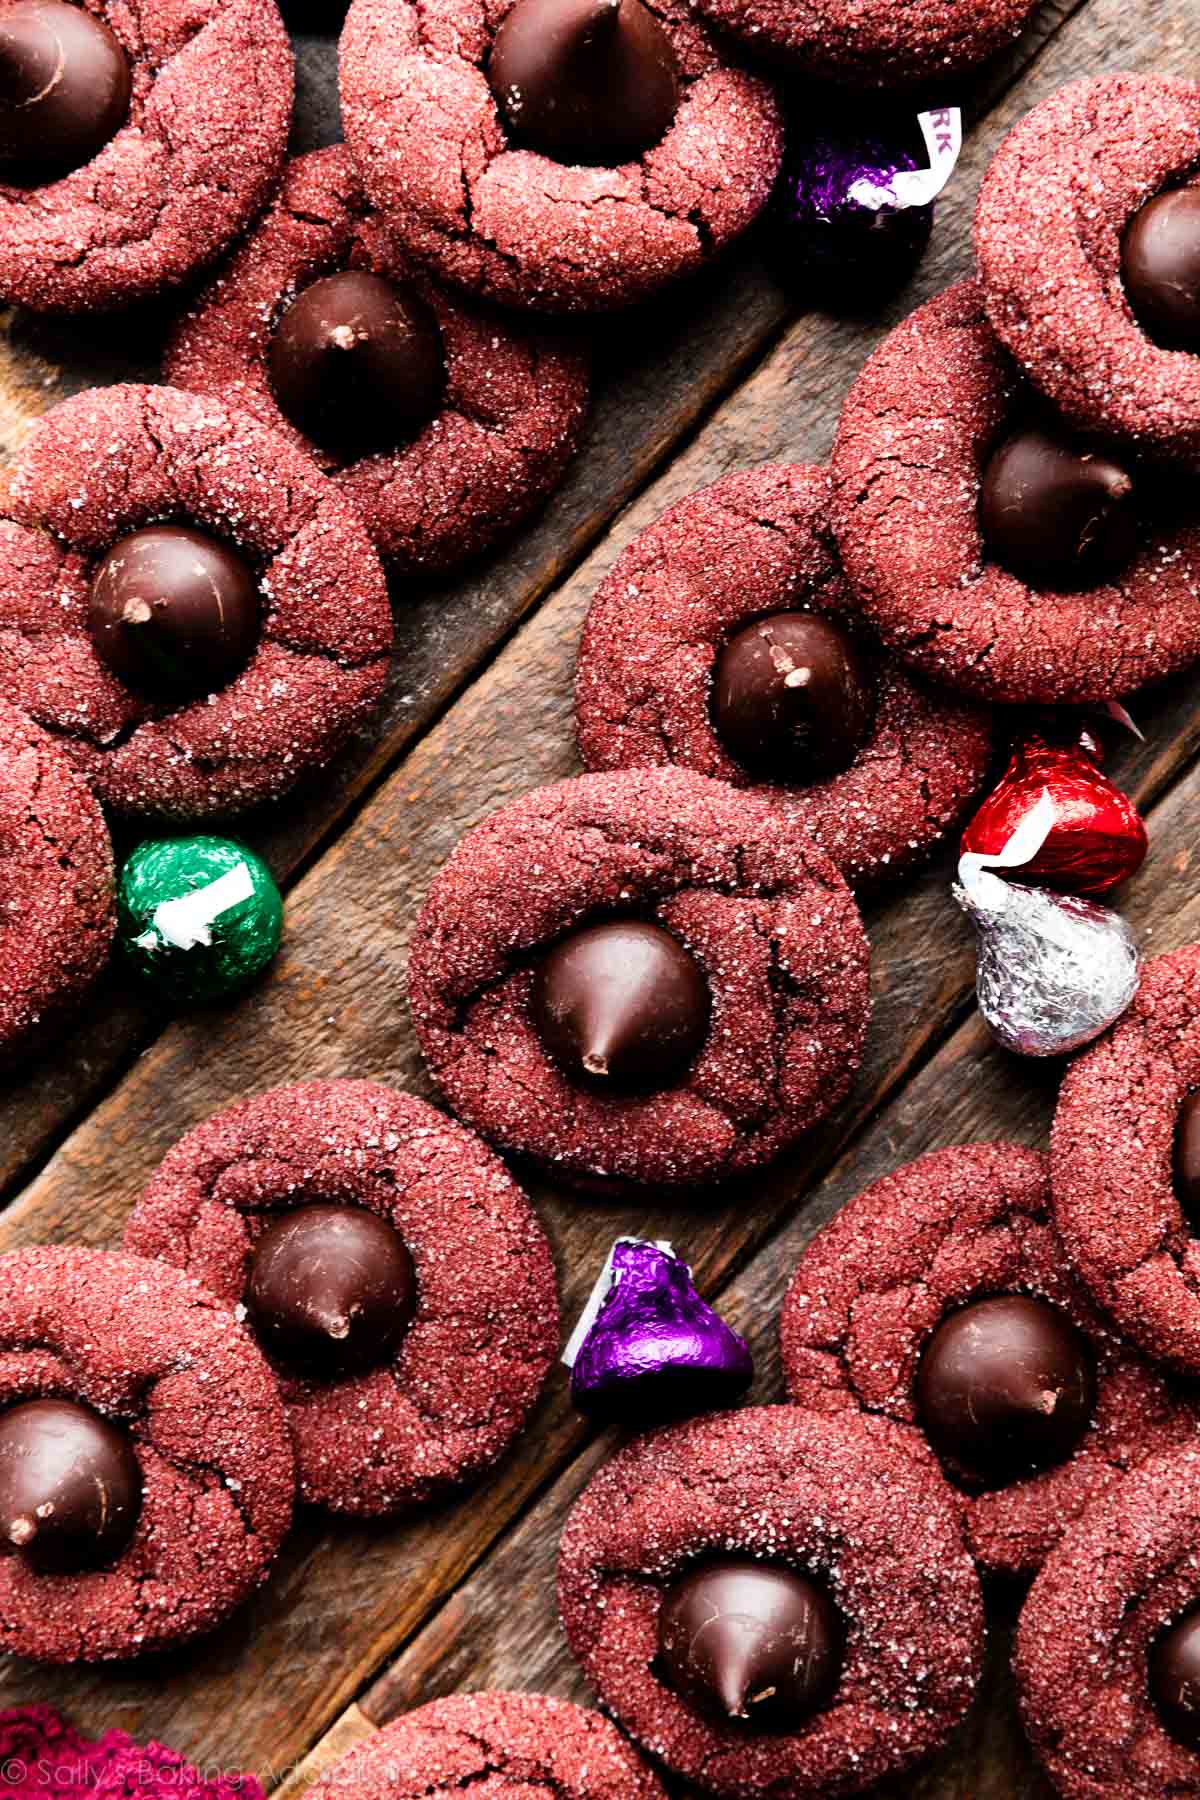
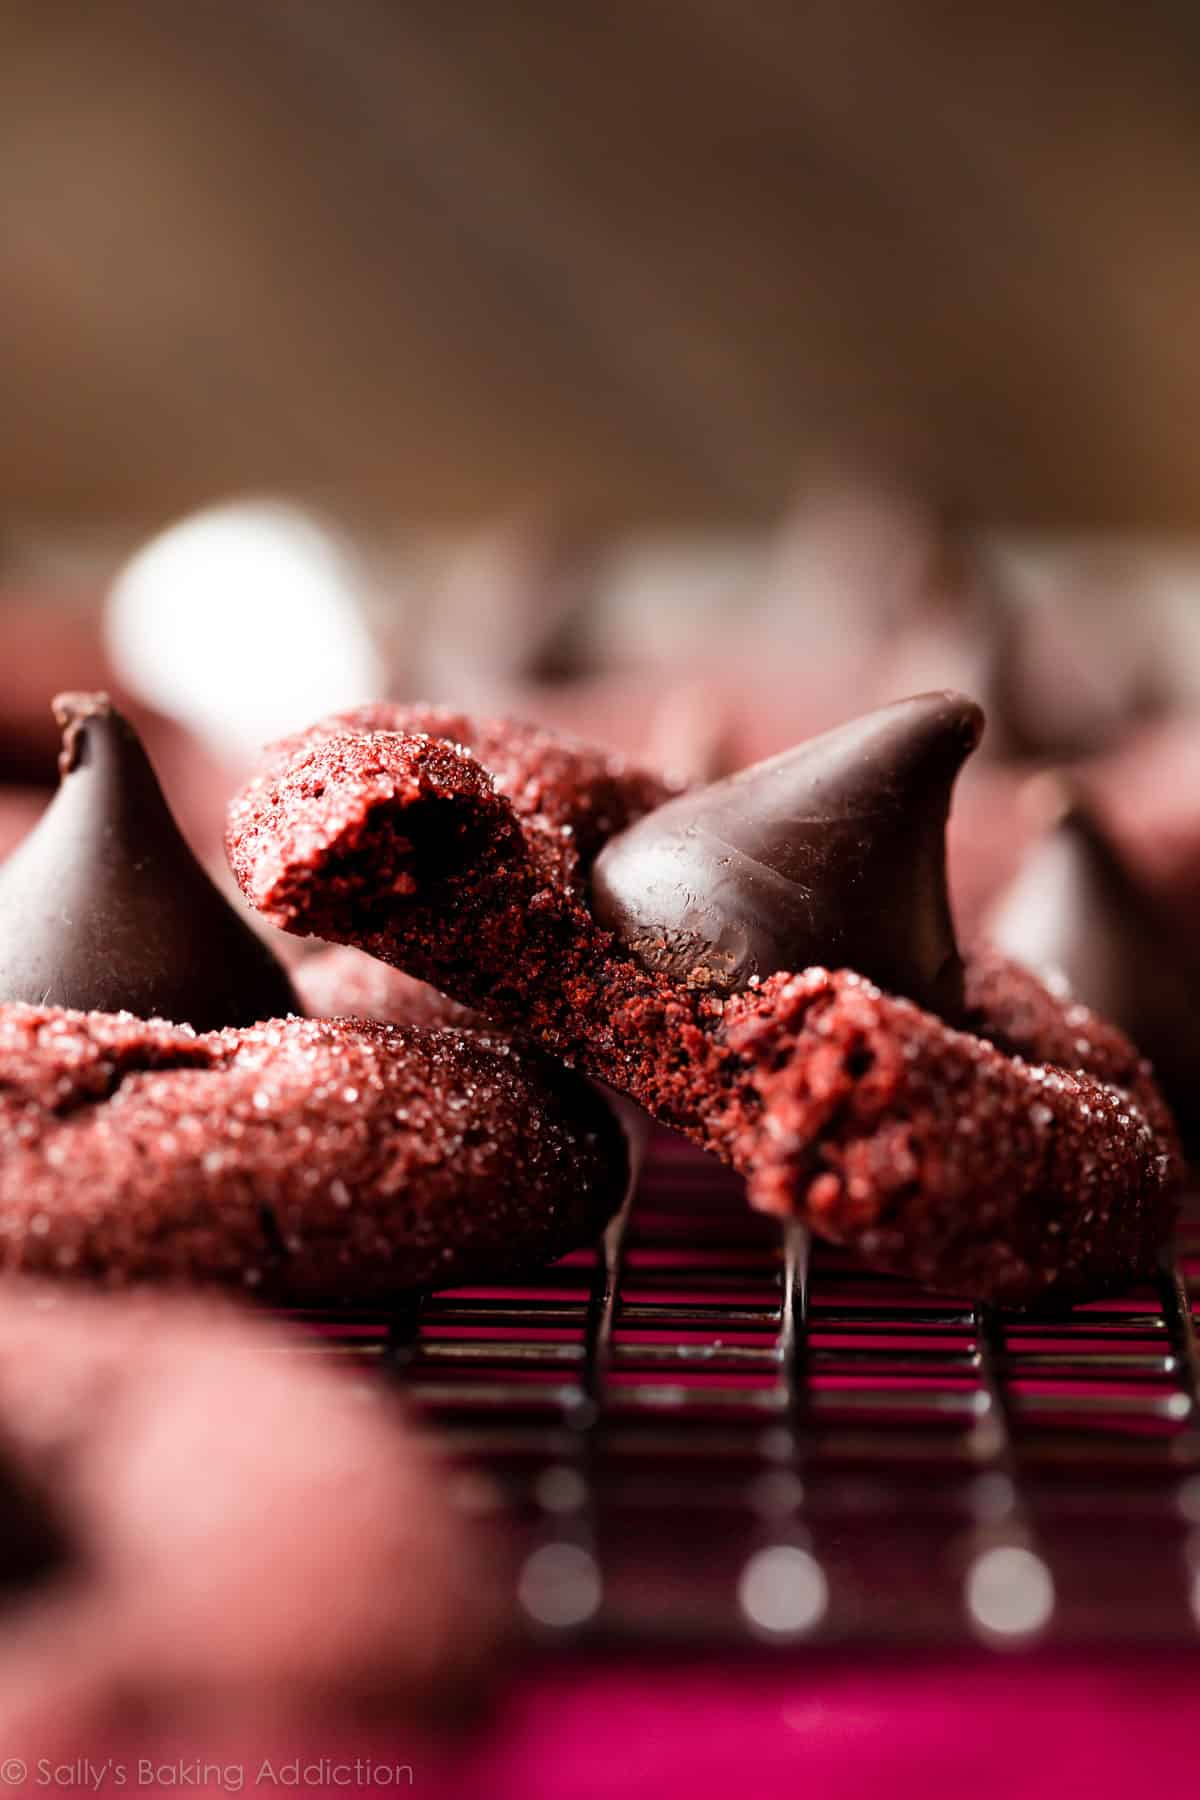
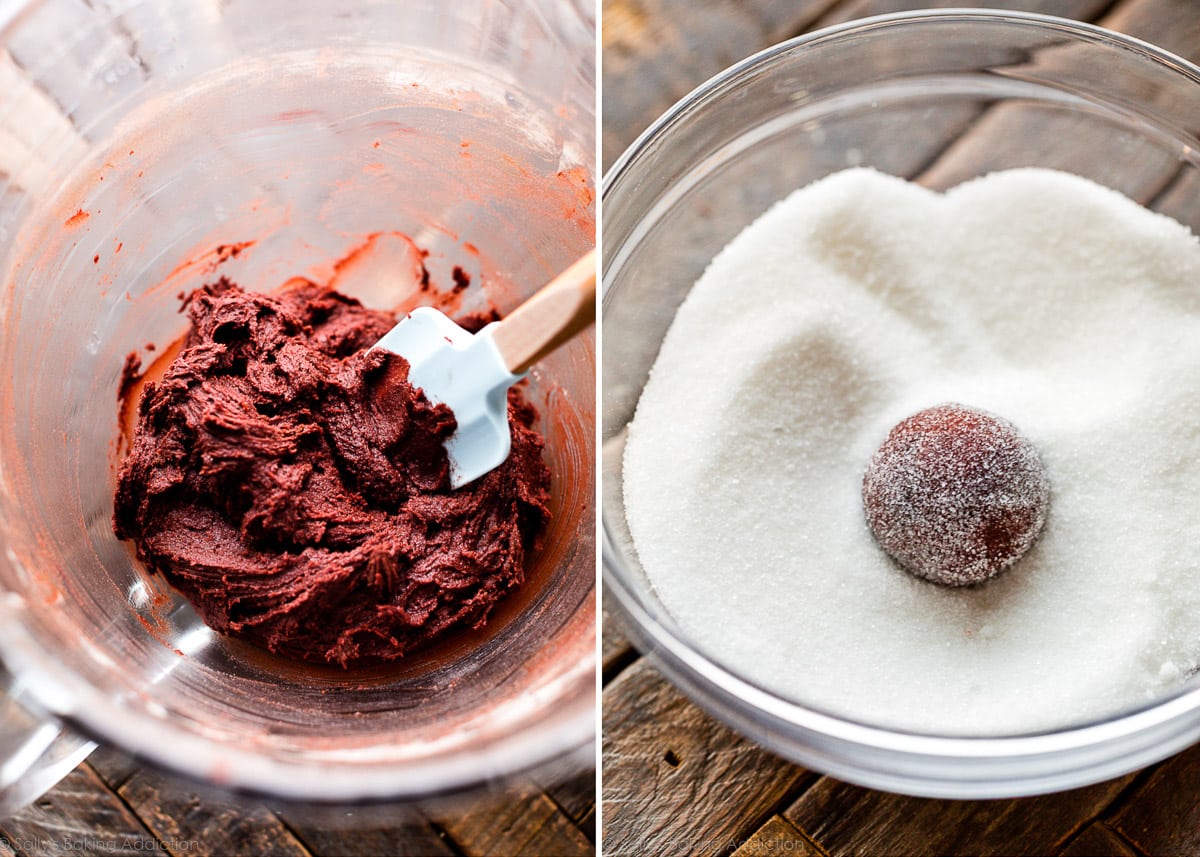
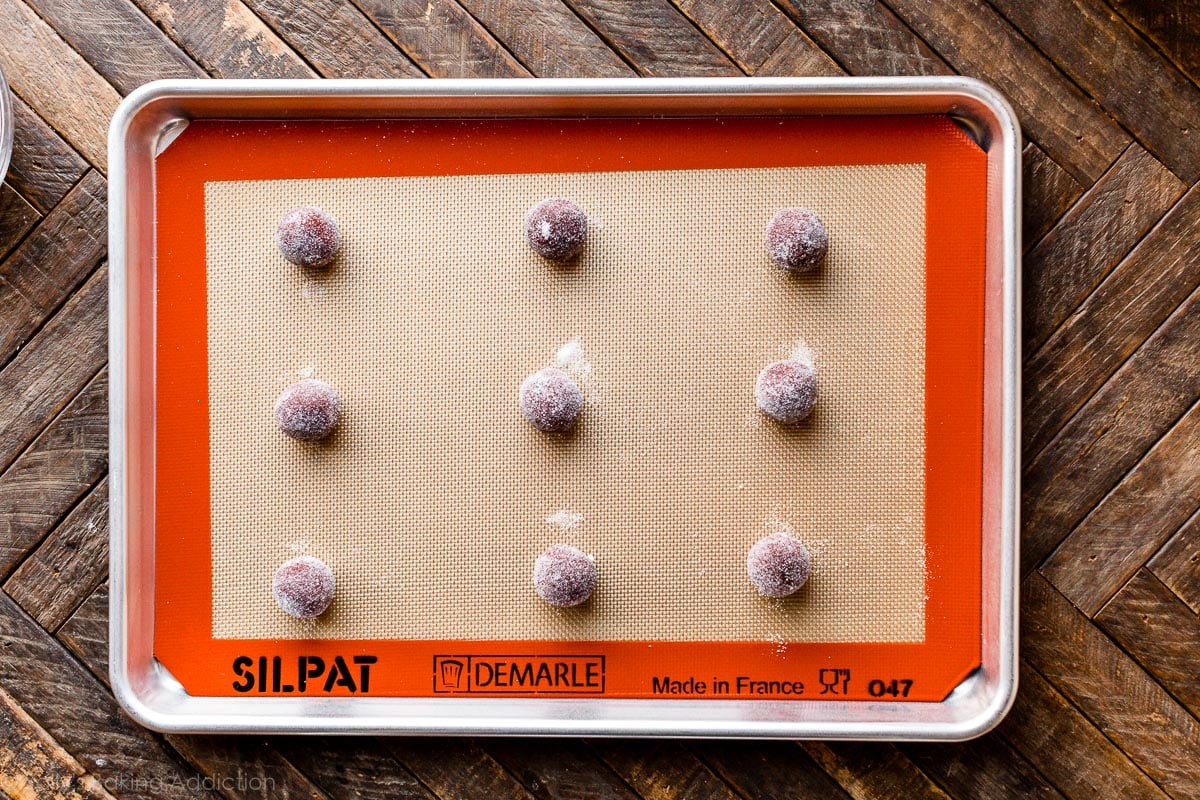
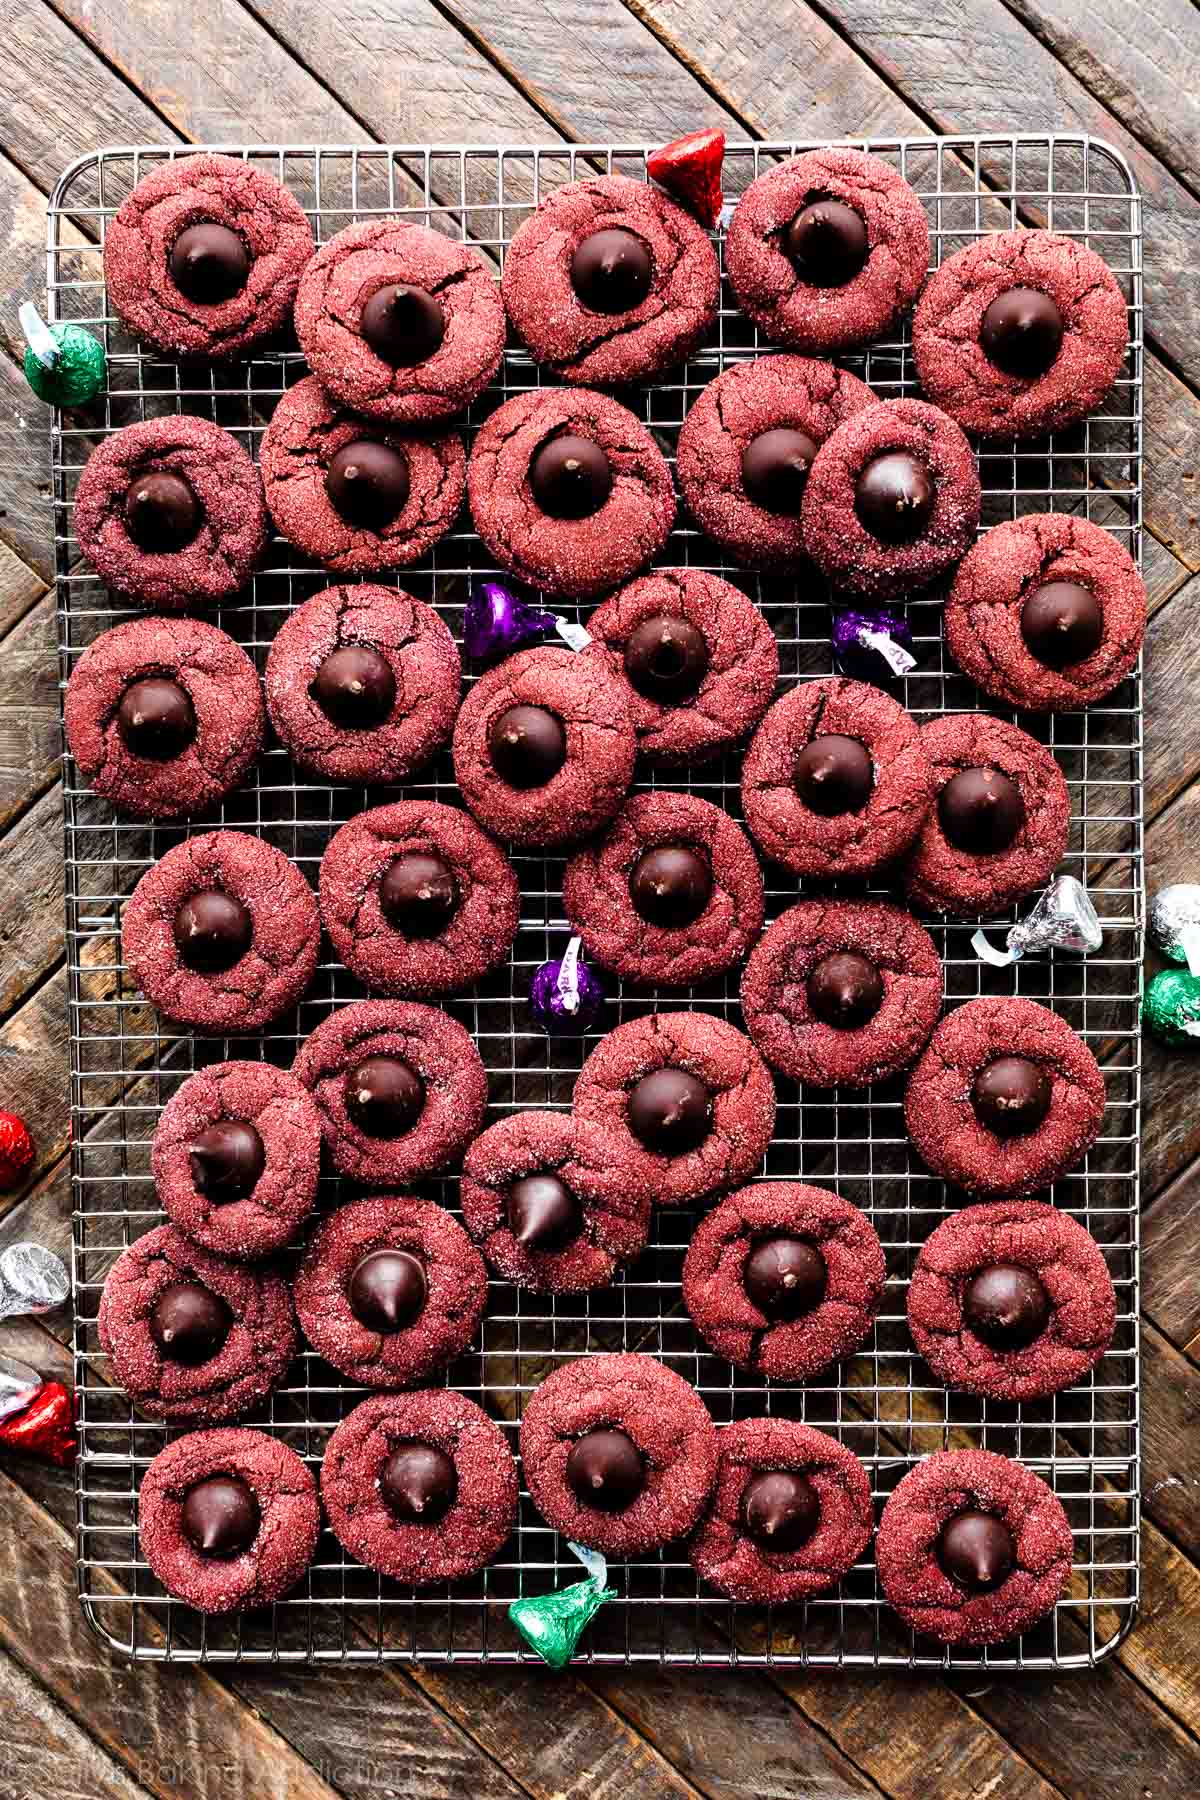
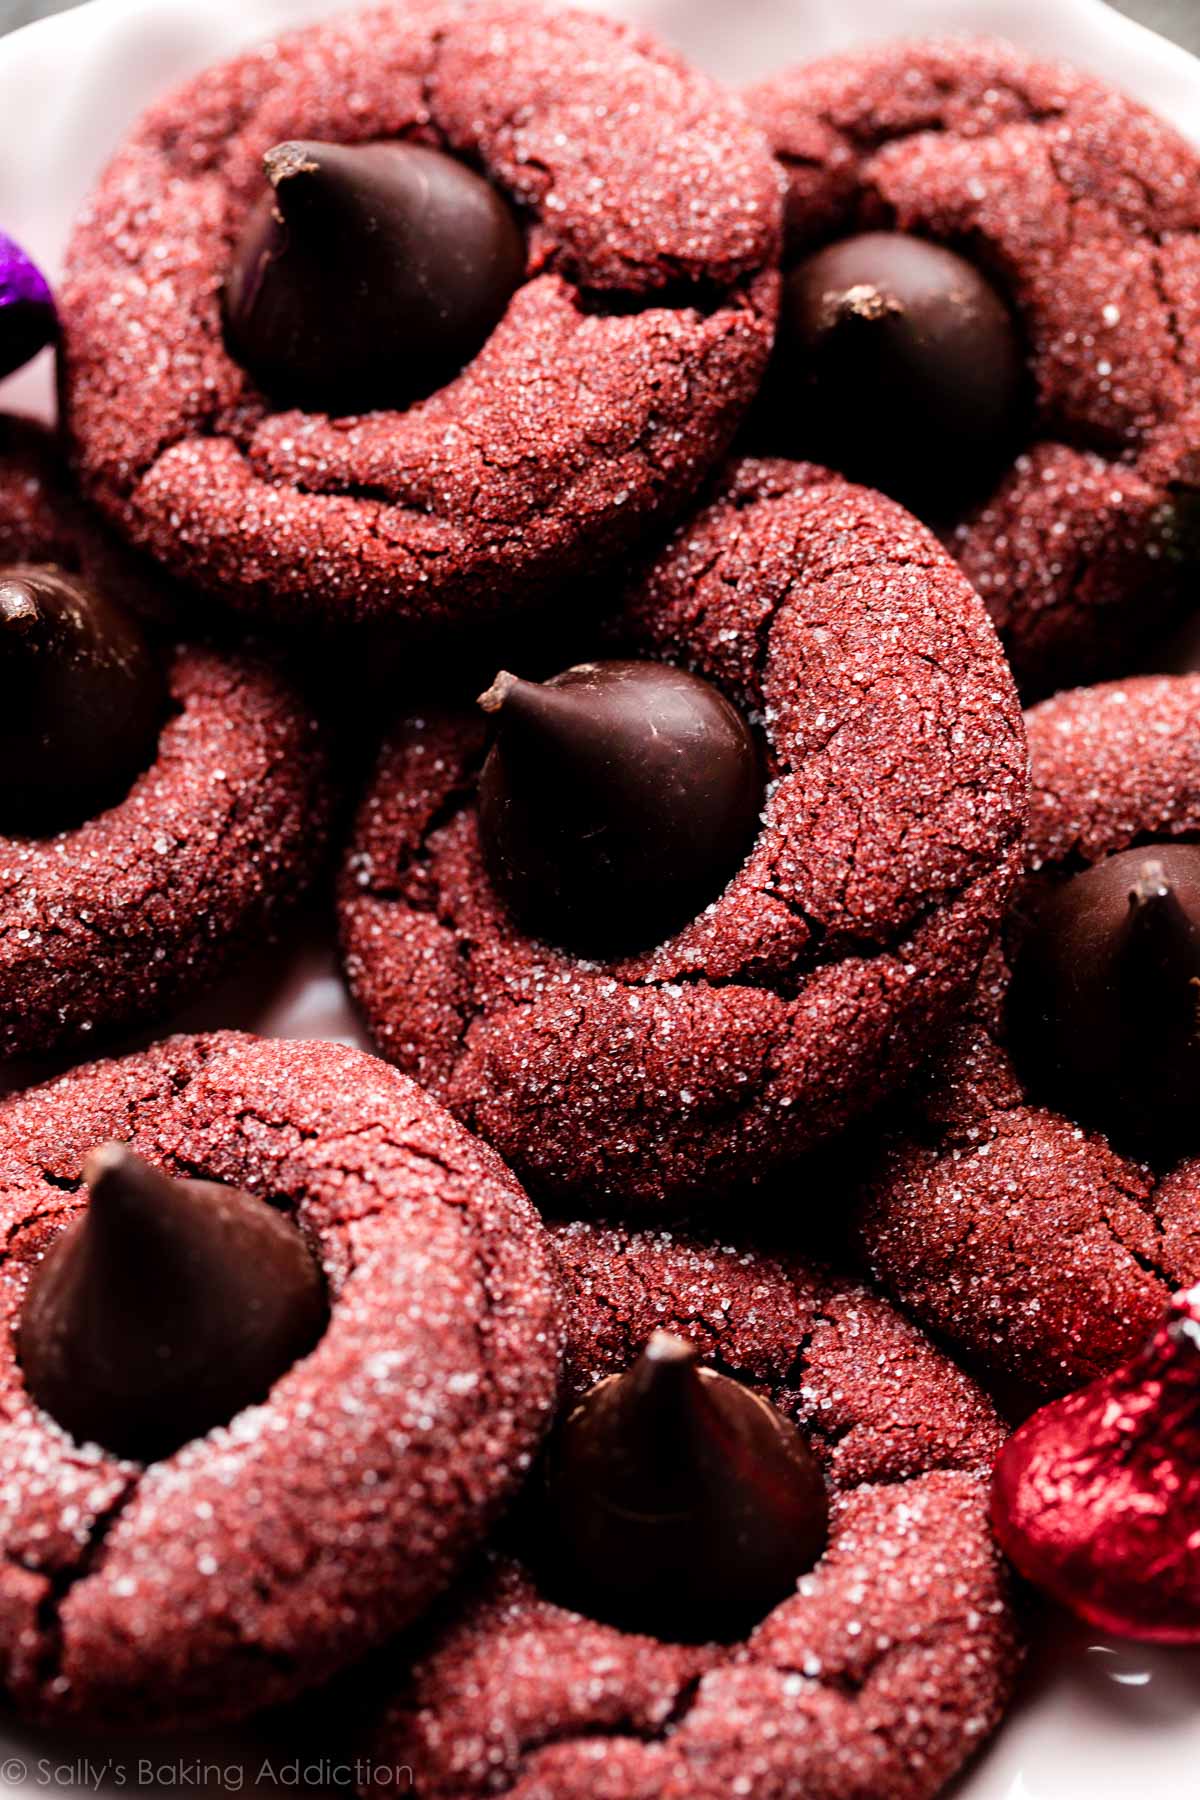
Texture: Think about a soft-baked chocolate chip cookie. These red velvet blossoms have the same tender, melt-in-your-mouth texture. They’re extra chewy, while a roll in granulated sugar adds a delightful crackly crisp coating. Flavor: Is red velvet cake a mystery flavor to you? I used to be the same way. From red velvet cake roll to red velvet cupcakes to texture-packed red velvet seven layer bars, I’ve had a lot of fun getting to know this iconic flavor. Red velvet desserts, including today’s red velvet kiss cookies, are extra buttery with mild cocoa and vanilla flavors. Ease: We have a basic cookie dough on our hands. After chilling the cookie dough, roll into balls, and generously coat in granulated sugar before baking. The only complicated part, if we can really call it that, is pressing the Hershey’s Kiss candy into each baked cookie. To prevent the warm cookies from totally melting the chocolate, place the warm cookies in the freezer for a few minutes to “set” that chocolate kiss on top. I do the same thing for chocolate cherry blossoms and candy cane kiss cookies and it works like a charm. Time: Set aside enough time to chill this cookie dough. It’s a fairly sticky dough and without time in the refrigerator, your cookies will melt all over the baking sheet. Do yourself a favor and make the cookie dough the night before. If you need a no-chill cookie, try these lace cookies or shortbread wedges.
A Few Notes About Red Velvet Kiss Cookies
The process is pretty uneventful, but there’s a few key notes I want to explain before you start.
Extra Flour: You’ll notice that the recipe calls for 1 and 3/4 cups of flour, which is enough to help the cookies hold shape. The recipe used to call for 1 and 1/2 cups, plus 1 extra Tbsp. I added even more flour to help solidify this dough as some readers had trouble with over-spreading. Red Coloring: You can control how vibrant the red color is. Or, if you wish, skip the red coloring altogether because it’s only for looks. I use and recommend 1/2 teaspoon of gel food coloring. You can find gel food coloring in craft stores, some grocery stores, or online. (I like Americolor Red Red or Super Red.) Liquid coloring is fine in a pinch, but you need more of it for the color to actually show up. If you’re looking for a natural alternative, use 2 teaspoons of beet powder. I’ve done this successfully with my red velvet chocolate chip cookies. The color stands out a lot more in cookie dough than in cake batter—and you won’t taste it. Rolling in Sugar: The sugar coating adds a little crunch and sparkle. I’d say it’s optional, but they’re delicious with its addition. Feel free to swap granulated sugar for confectioners’ sugar if you’re looking to mimic the look of chocolate crinkle cookies. Hershey’s Kisses: I chose Hershey’s Kisses because they’re the traditional candy used in this type of classic Christmas cookie. I used the dark chocolate kisses in these photos, but feel free to use any of the kisses varieties/flavors. Rolos or any type of small chocolates would be great, too. I make cookies like this with chocolate hearts for Valentine’s Day, see sparkle sweetheart cookies and peanut butter sweetheart cookies.
If you love peanut butter, try a miniature peanut butter cup like we do with these peanut butter cup cookies. You can even skip Hershey’s Kiss completely and give them a dunk in melted chocolate instead. That’s how I made these white chocolate red velvet cookies.
My #1 Trick for Blossom Cookies
As mentioned above and described in the written recipe below, we bake the cookies without the chocolate candy on top. (It would melt.) When the cookies are finished in the oven, let them cool for about 5 minutes. Press a Hershey’s Kiss into the center of each, then immediately transfer them to a large plate or a few smaller plates (gently! they’re soft!). Place the plate(s) of cookies in the freezer for 10 minutes to quickly set the chocolate kiss in the cookie. This trick (1) prevents the chocolate from melting and (2) helps prevent the kiss candy from falling off the cooled cookies. It’s definitely an extra step, but it helps!