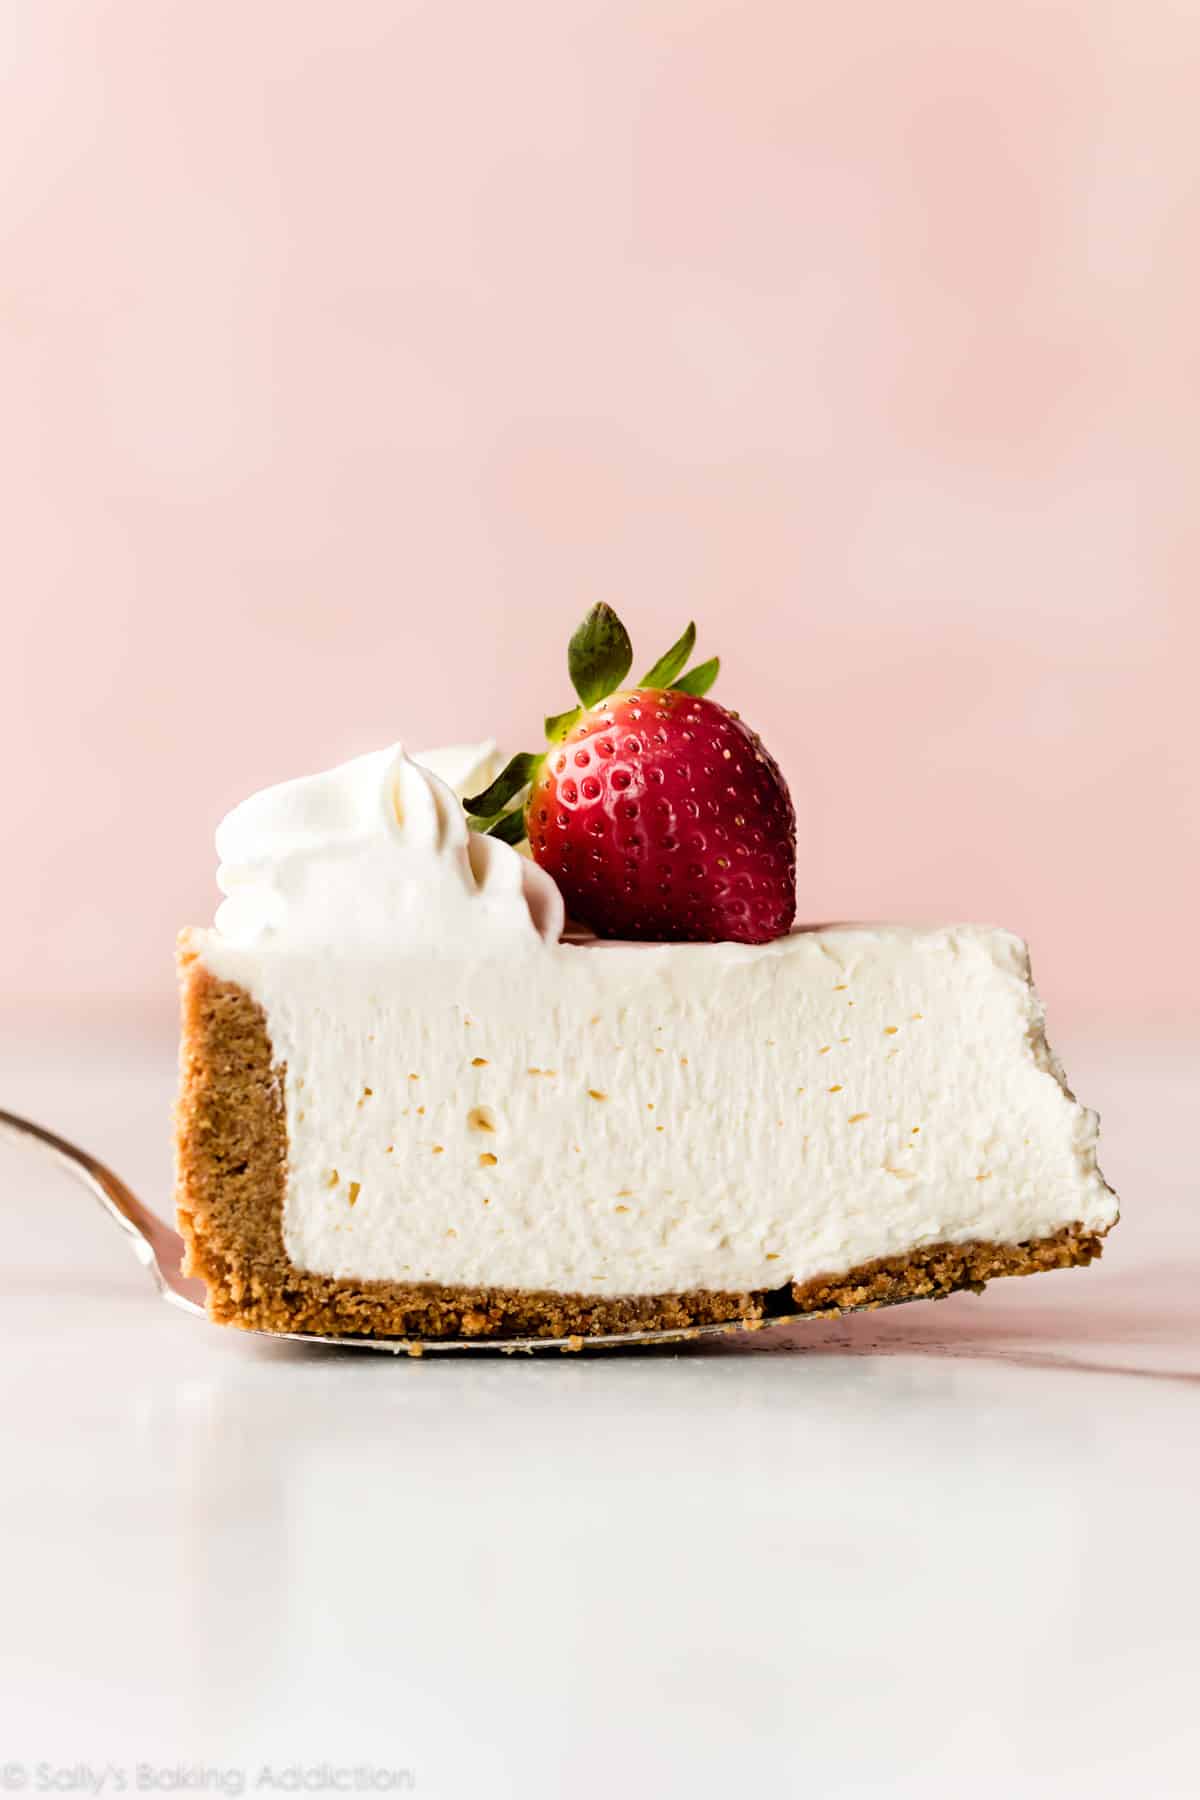
Cheesecake has always been one of my favorite desserts. My mom made the most incredible amaretto cheesecake every Christmas. Rather than counting down the days until Santa, I would count down the days for that cheesecake! Cheesecake is always an elegant, indulgent dessert to serve. It sounds and looks overwhelming and complicated, but cheesecake is nothing to fear! Whether you are making key lime cheesecake, lemon cheesecake, or even pecan pie cheesecake, simply take your time with the recipe and make sure you read through all of the instructions before you begin. Here are a few simple tips and techniques you can use to avoid lumps and cracks in your next cheesecake.
Preparing Cheesecake
Use room temperature cream cheese. Cold cream cheese is more difficult to mix and will typically leave lumps. Be sure to mix the cheesecake ingredients (minus the eggs) very well, eliminating any possible lumps in the cream cheese. Eggs hold air inside the batter, which could rise up and cause cracks. So mix the eggs as little as possible once they’re added. Always use a springform pan. This 9-inch springform pan and 10-inch springform pan are great options. Water bath. This is the best way to avoid cheesecake cracks. Read more details about my easy water bath technique below.
Baking Cheesecake
Avoid opening the oven door while the cheesecake is baking inside. Big cracks are often caused by drafts and temperature changes. Avoid overbaking! This is the most common culprit of cracking. When the cheesecake is done, there will still be a 2-inch to 3-inch wobbly spot in the center of the cheesecake. Also, the edges will be slightly puffed.
Cooling Cheesecake
Once the cheesecake is done in the oven, simply turn the oven off and crack open the door. Leave the cheesecake inside for about 1 hour. Again, sudden changes in temperature often cause cracking. Once the cheesecake is at room temperature, cover tightly with plastic wrap and chill 4-8 hours or overnight (my preferred length of time).
No-Bake Cheesecake
Want to skip the baking and cooling process? Make my no-bake cheesecake.
What is a Cheesecake Water Bath?
Cheesecakes are often baked in water baths. This simply means that the cheesecake is baked in its round springform pan, then the pan is placed into a larger pan with hot water inside. This method is used because cheesecake loves a humid environment!
Cheesecakes are egg-heavy. Eggs need a moist and humid environment to properly rise and avoid drying out or burning. The steam from the hot water will lift the cheesecake up slowly and evenly, reducing the risk of cracks on the surface. The slow and even steam baking method helps prevent the cheesecake from sinking back down as it cools.
Taking a few extra minutes to prepare a water bath for your cheesecake is well worth it. I can’t say enough how valuable it is!
How to Make a Water Bath:
If needed for extra visuals, see my How to Make a Cheesecake Water Bath; the visual guide will assist you in this step.
Alternate Water Bath Option
If you don’t want to risk water leaking into your springform pan, I have an alternate water bath method that works wonderfully. In fact, it’s what I instruct with my key lime cheesecake recipe. You still need a large roasting pan, but it will go on a bottom rack of the oven beneath the baking cheesecake.
Boil a pot of water. You need 1 inch of water in your roasting pan for the water bath, so make sure you boil enough. Place a large metal baking or roasting pan (I usually use a 9×13 inch baking pan– do not use glass) on the bottom oven rack of the preheated oven. Pour boiling water into pan, about 1 inch deep. Immediately place the cheesecake on the center rack. Close oven to trap the steam inside.
This unique water bath adds steam to the oven without having the cheesecake sit inside the water itself. If your cheesecake is still showing a few cracks, no worries there. Covering with fruity sauce or whipped cream hides everything. 😉 Now go bake some blueberry swirl cheesecake!

