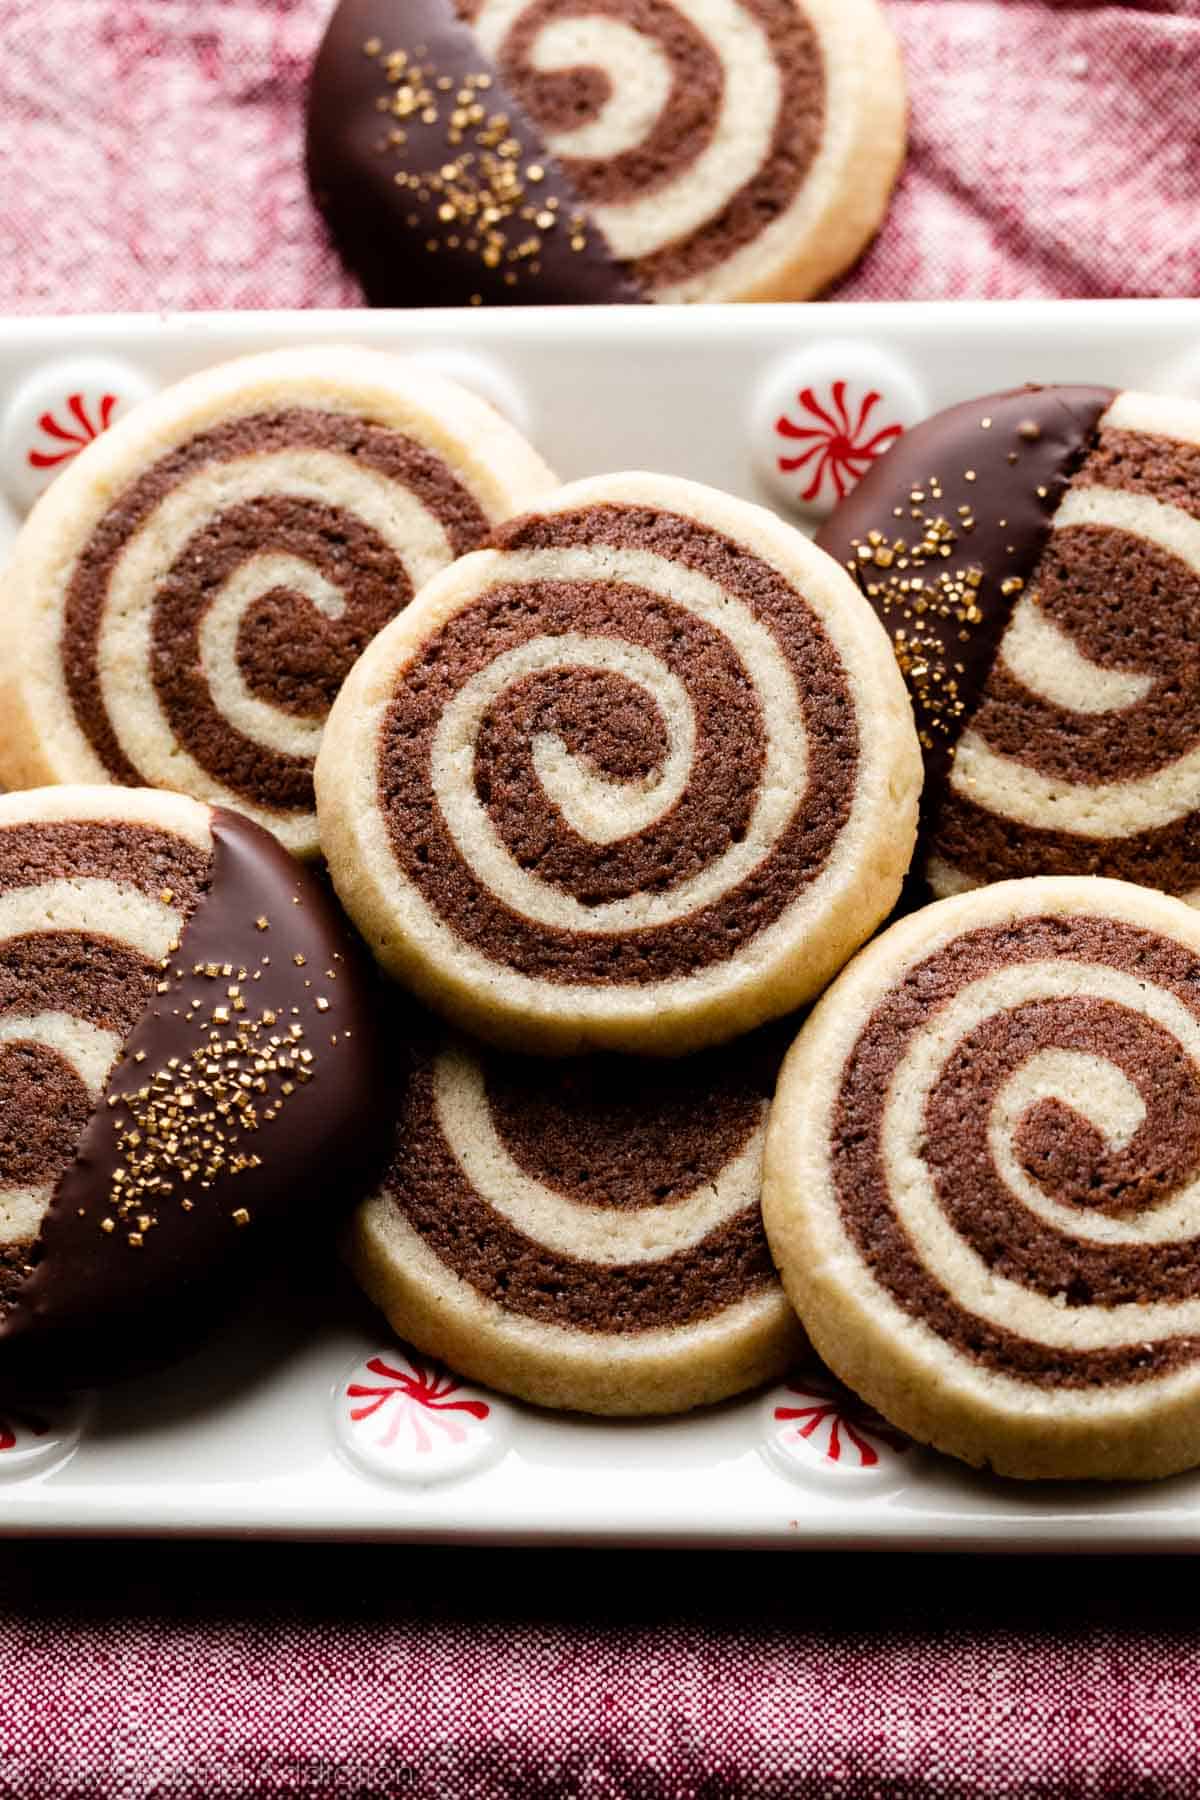
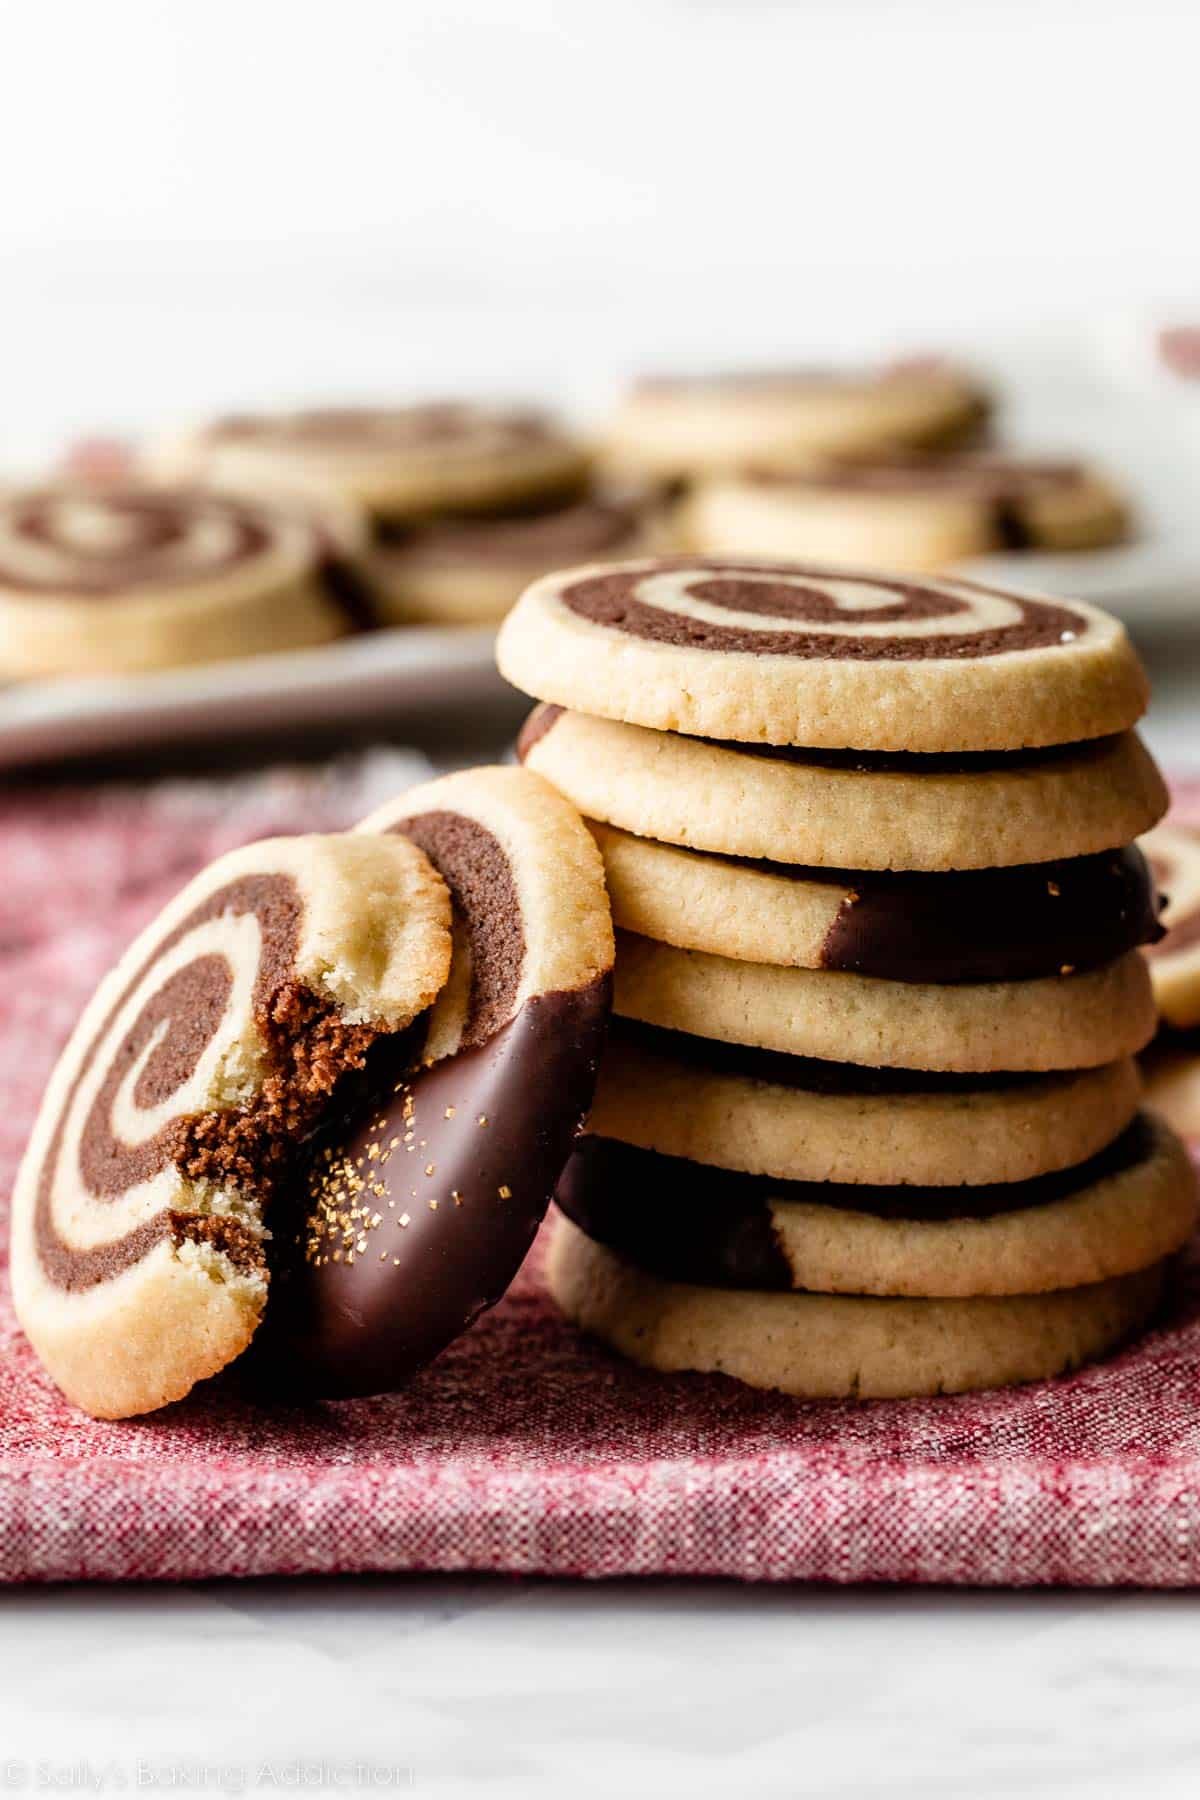
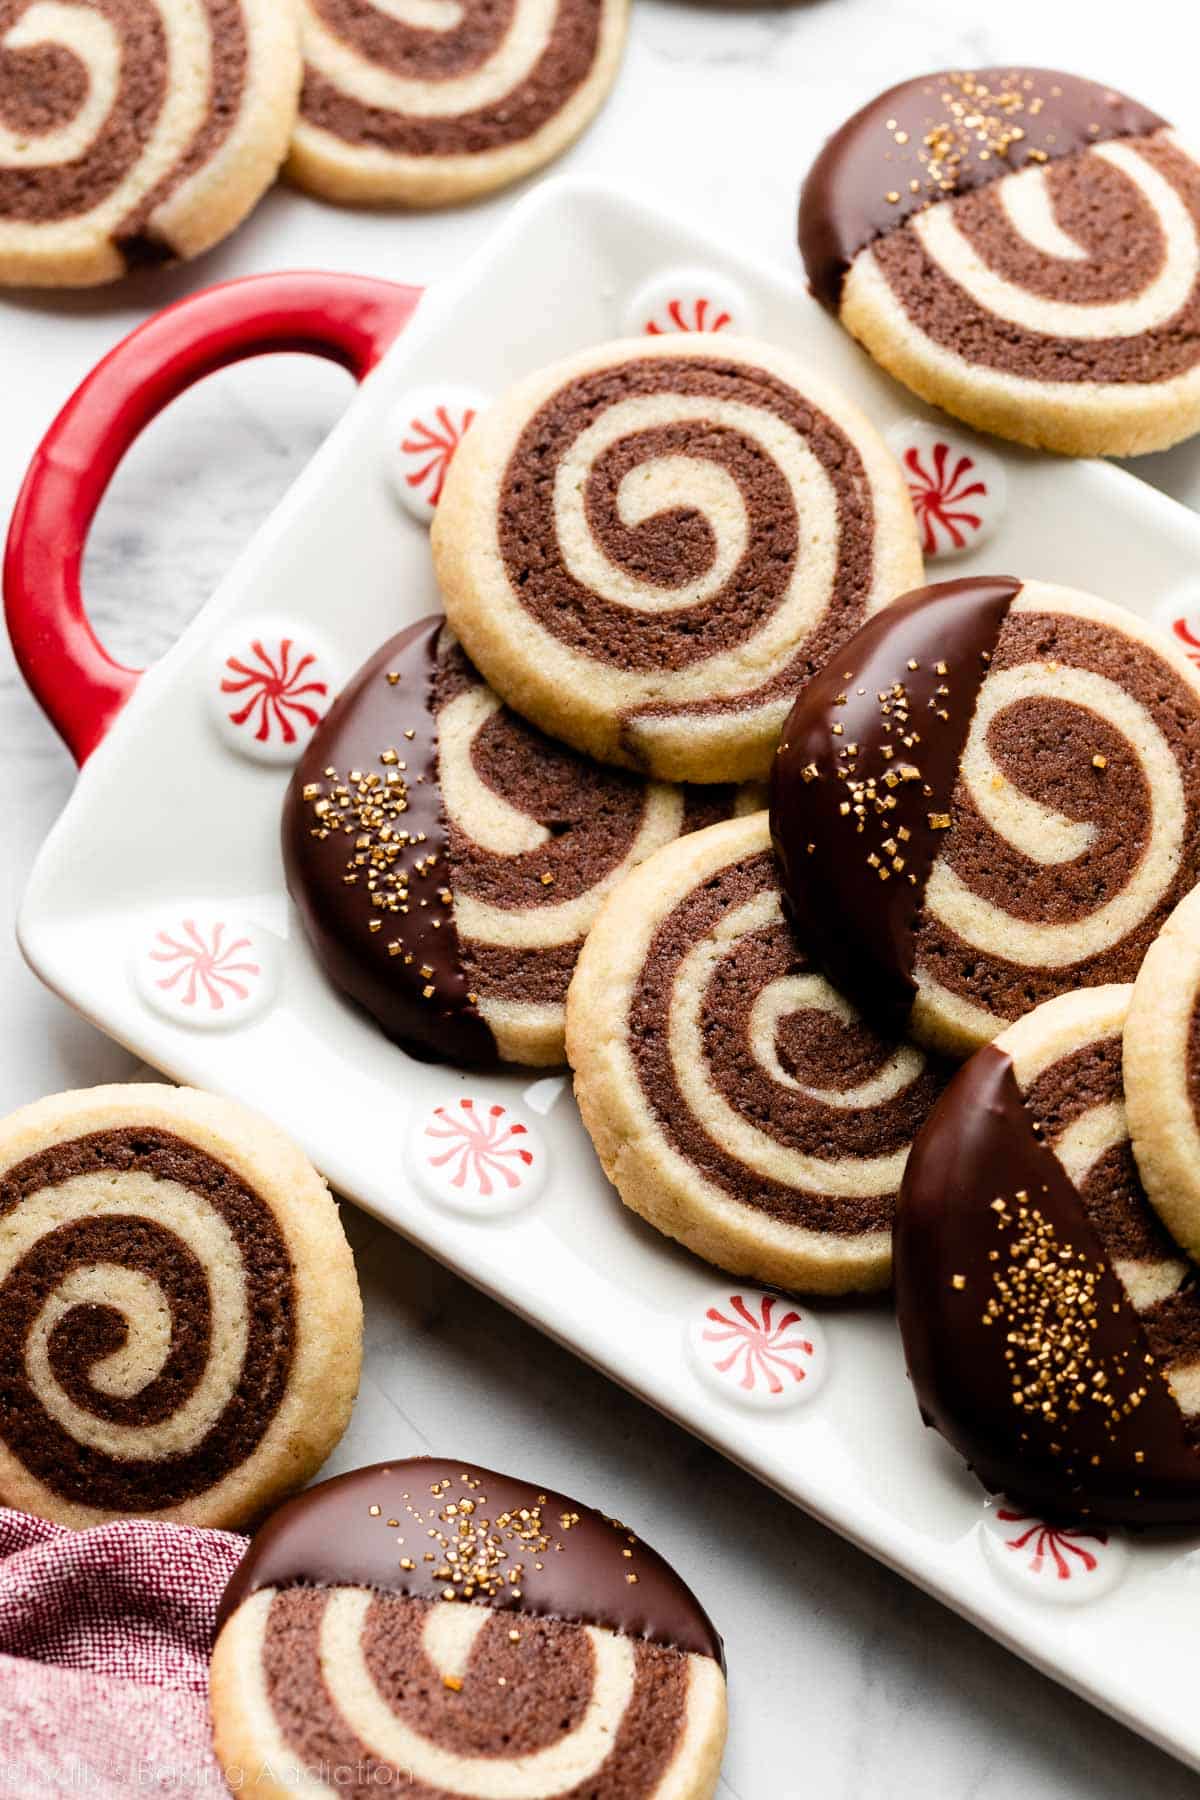
Look into the pinwheel cookies… you are getting hungry… very hungry… Have you ever made pinwheel cookies before? I have a recipe for these slice-and-bake style cookies in Sally’s Cookie Addiction, but this one is very slightly different. (Though the end result is the same!) The main difference is that I use cocoa powder + milk for the chocolate dough today, instead of melted chocolate. I find the chocolate dough more pliable this way, and it’s easier to roll up with the vanilla dough to make that characteristic swirl. Both recipes work. Today’s recipe actually uses the same base dough as mint chocolate checkerboard cookies and these neapolitan cookies, but since pinwheels have the tendency to overspread, I add a touch more flour. This gives you extra insurance, just in case the dough starts to get a bit sticky.
It’s All Made From the Same Dough
Love a good swirly slice-and-bake cookie? Try these cinnamon roll cookies! Some pinwheel cookie recipes have you make two completely separate doughs. So I appreciate the convenience of this version! You can spend more time perfecting your swirl. 😉
What’s the Texture Like?
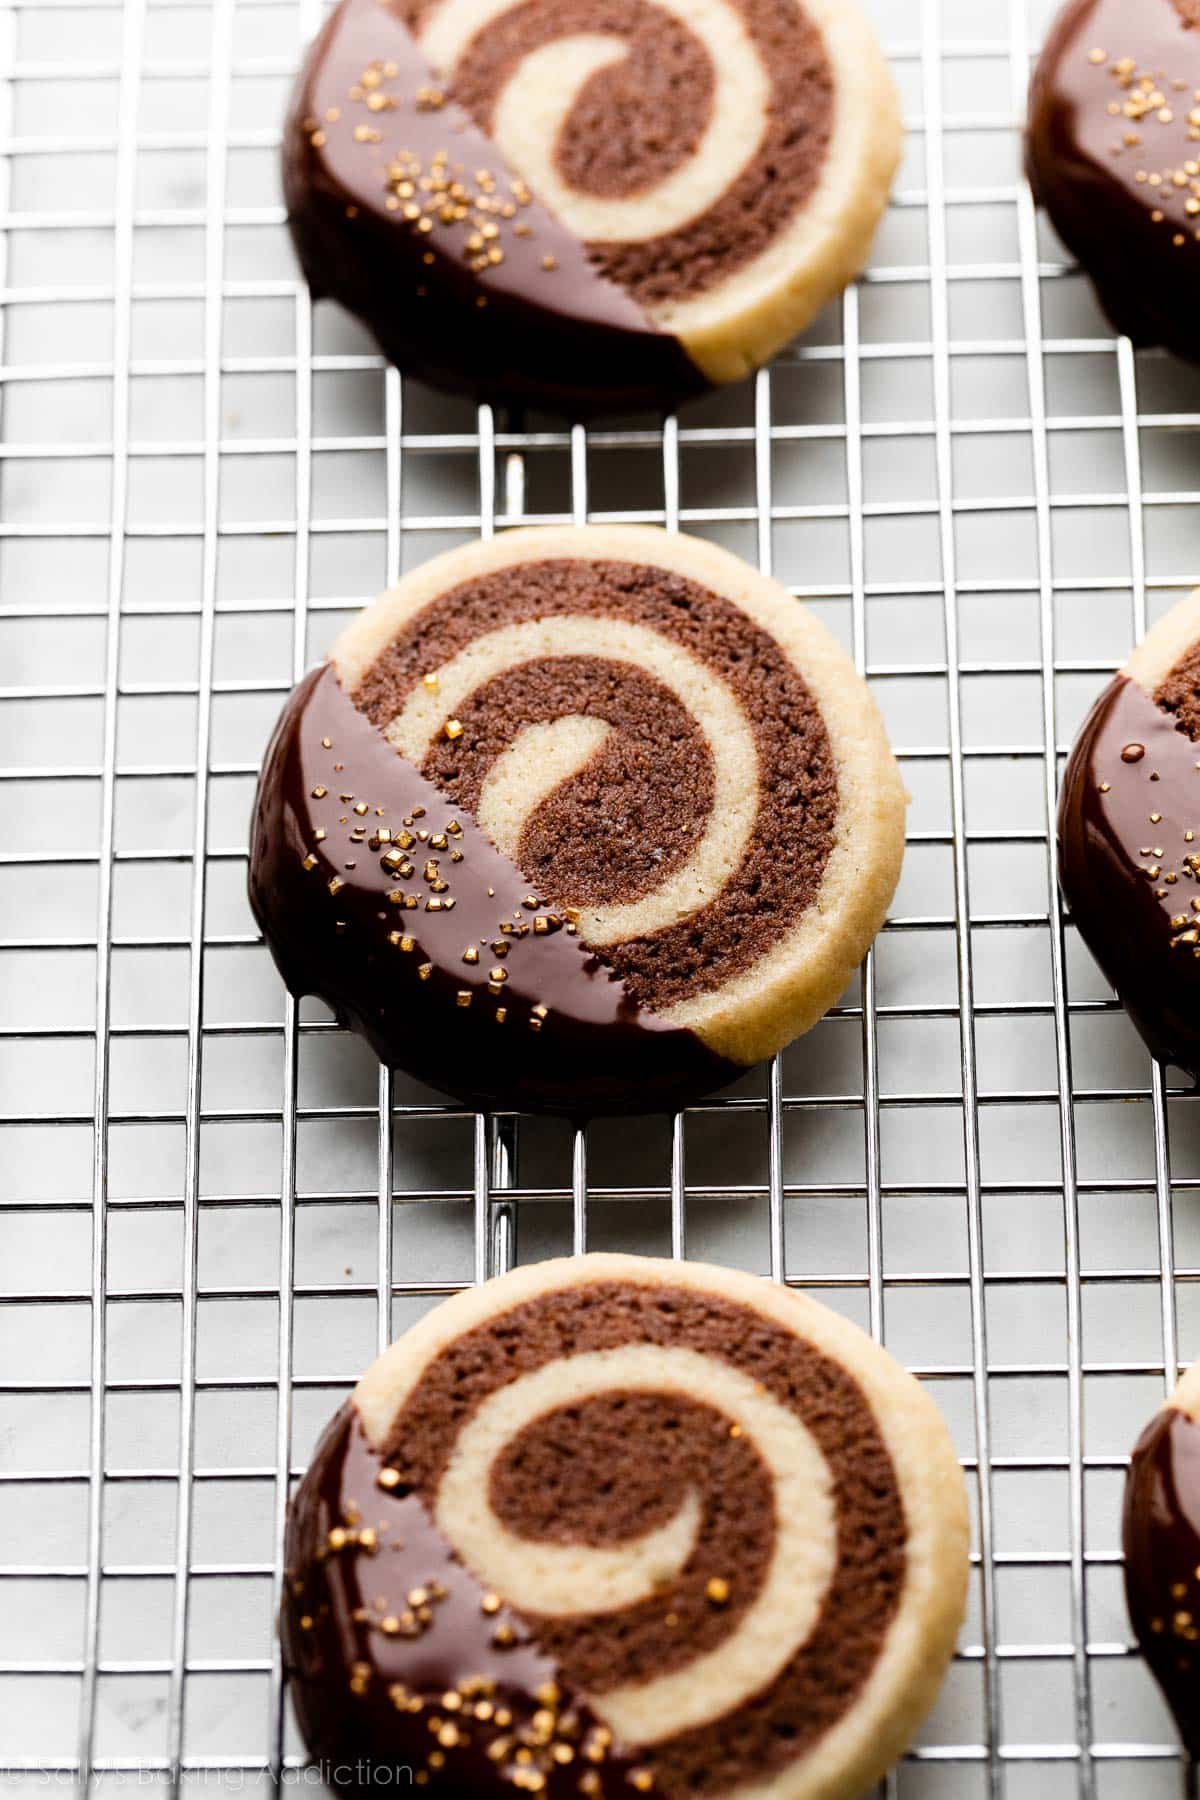
They may look like crunchy cookies, but they’re surprisingly soft in the centers, thanks to the soft chocolate dough and the extra egg yolk. If you can handle a sticky chocolate dough, you’ll be rewarded with a soft cookie! Let’s get started.
Let Me Walk You Through This Process
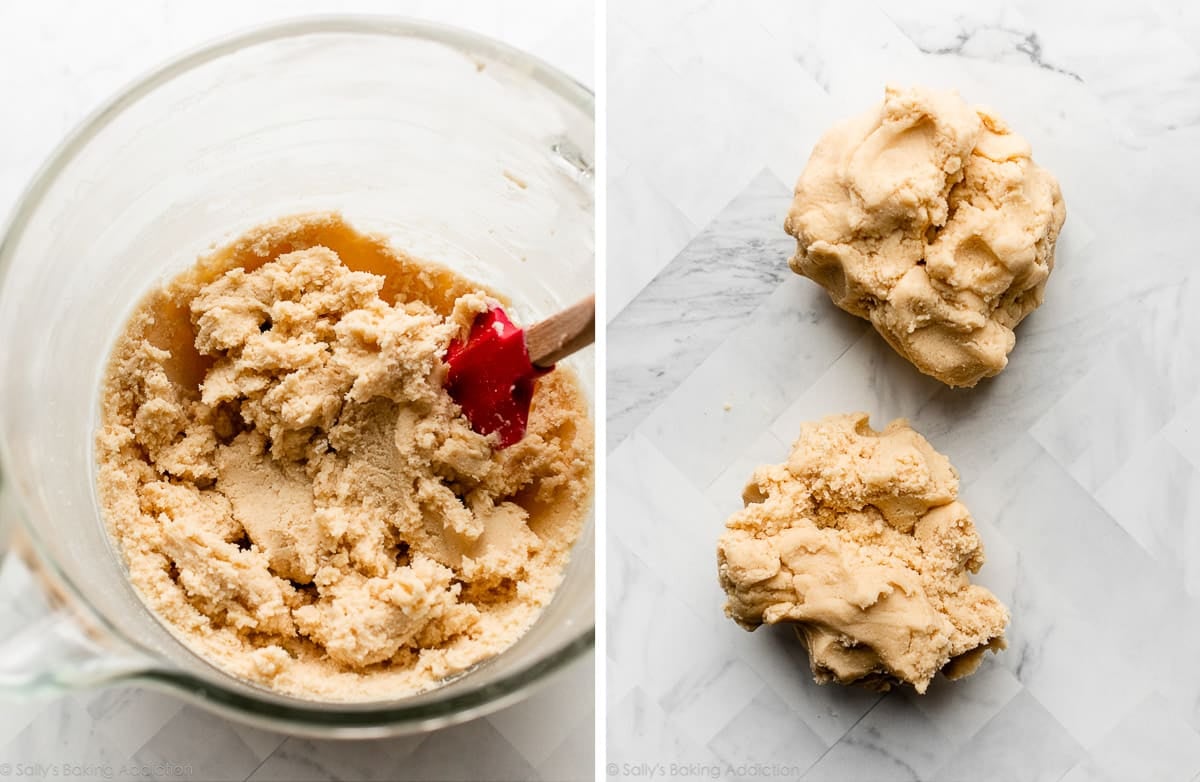
Make the Dough & Chill It Briefly
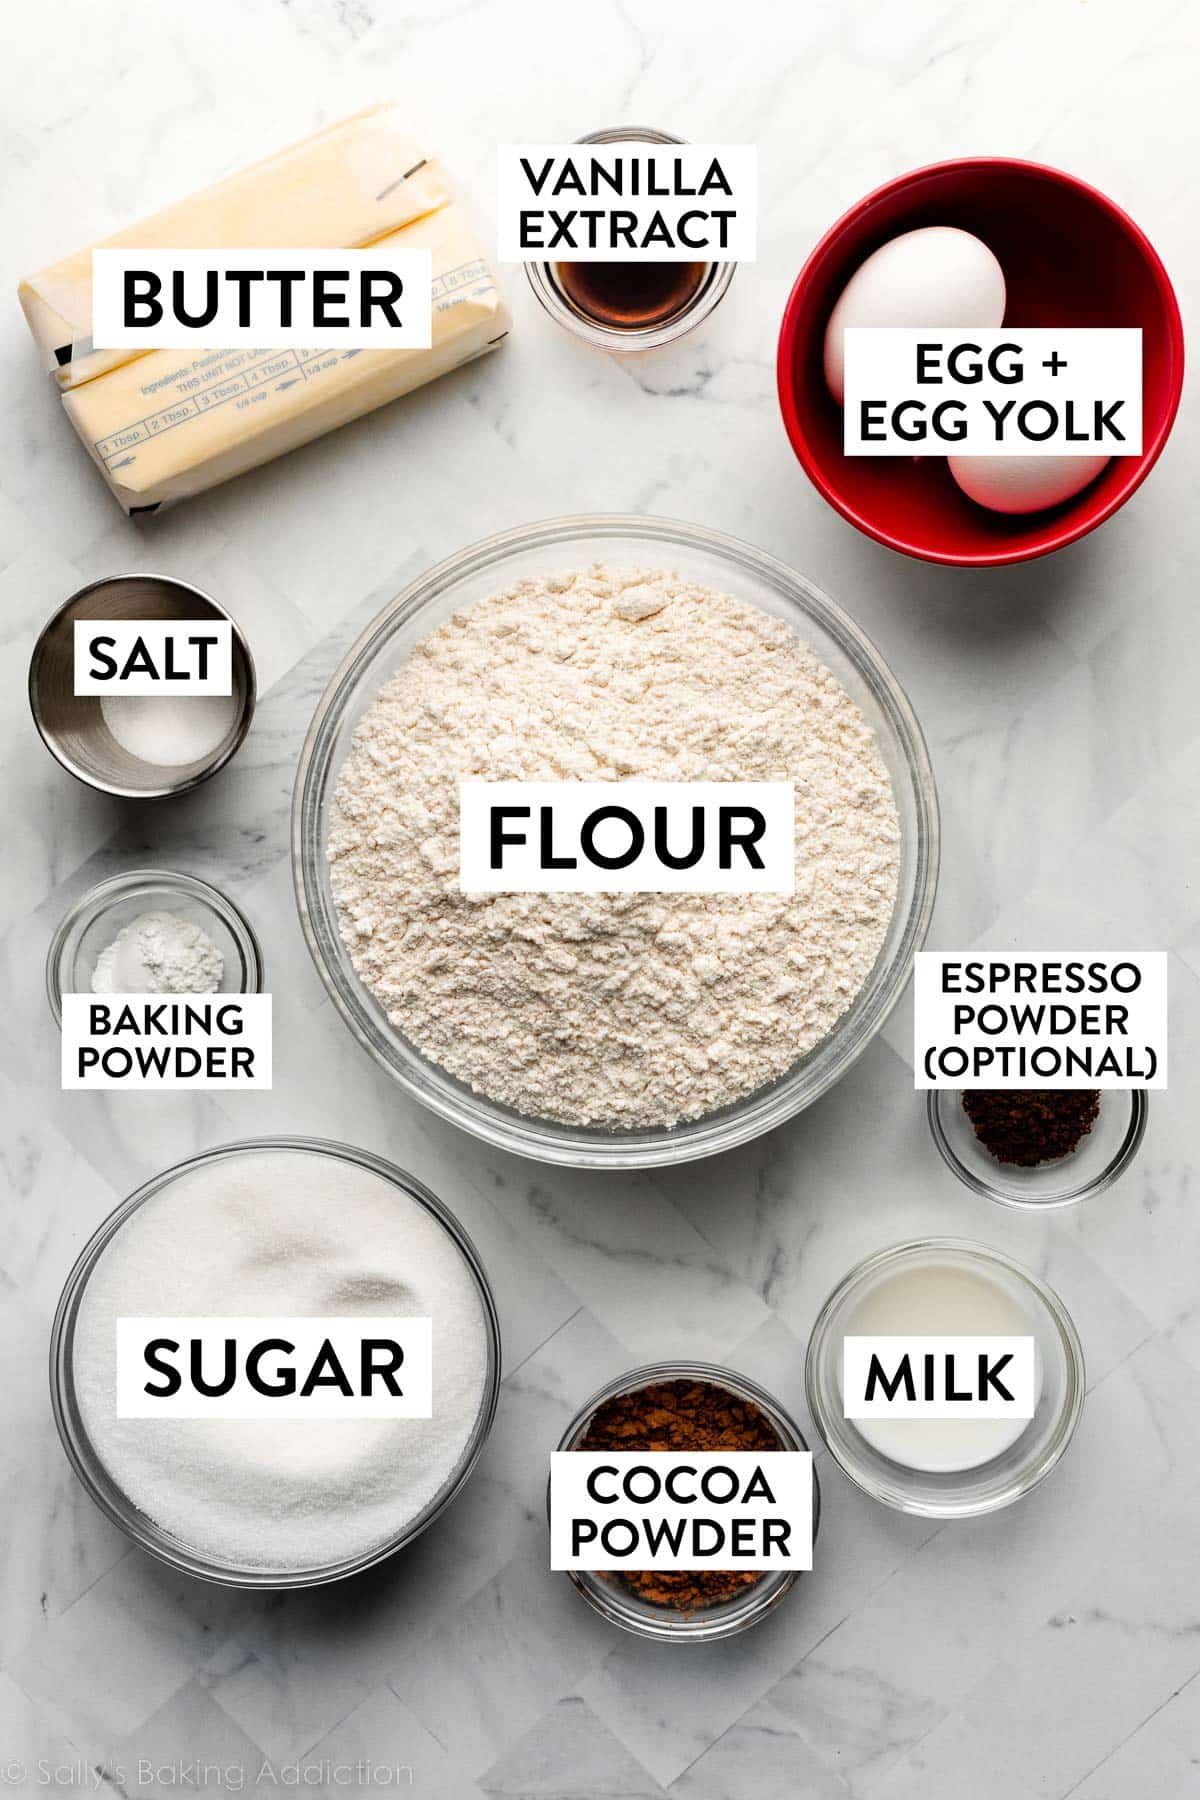
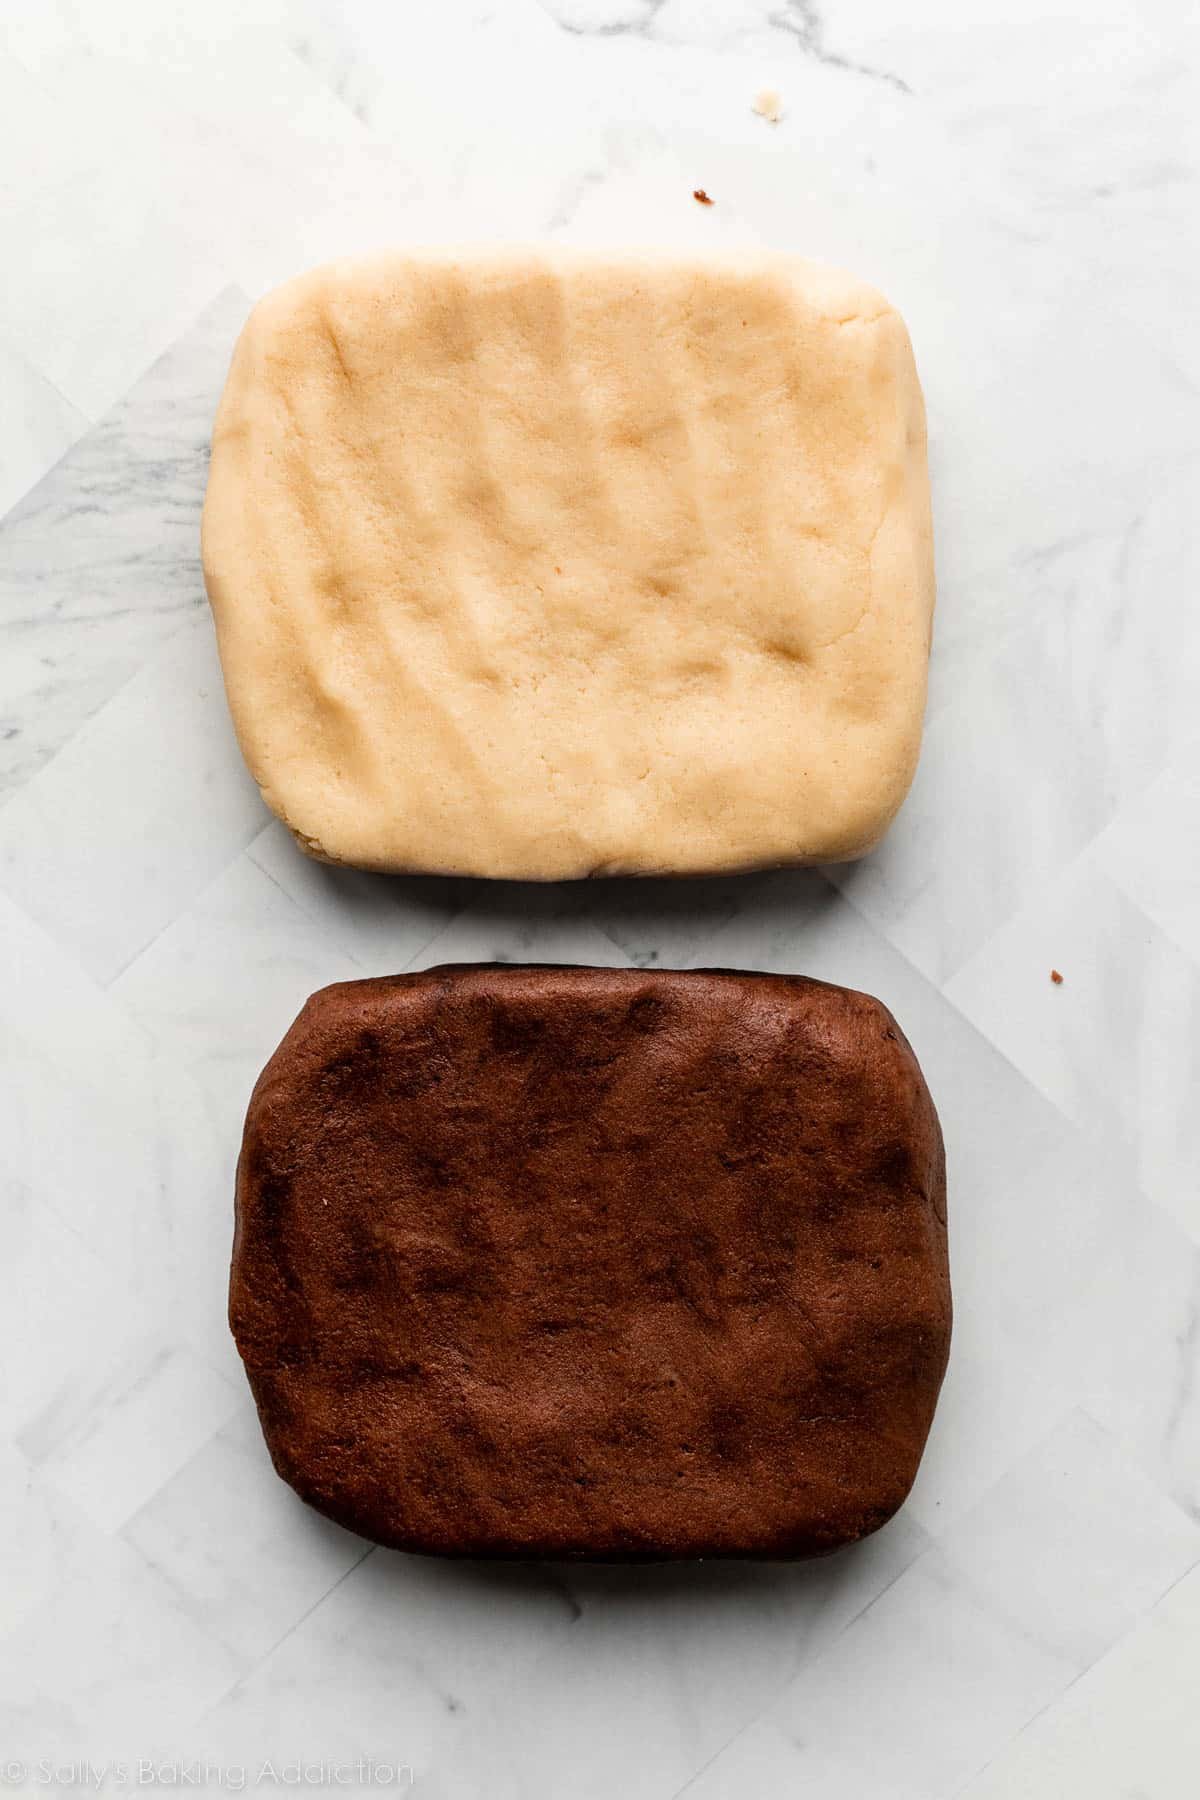
The dough comes together with a mixer fairly quickly. After it’s all mixed together, divide it in half. Don’t get worried if it’s not perfectly even—if one portion of the dough is a little less than half, use that one for making the chocolate dough, since you’re going to add more ingredients to it: The base dough is very similar to my sugar cookies, butter cookies, chocolate butter cookies, and spritz cookies. You need these ingredients: (Note the photo above shows 2 eggs, but you don’t need that second egg white.) Place half of the dough back into the mixing bowl and add cocoa powder, milk, and the optional espresso powder: Now you have 2 doughs: vanilla and chocolate. Using lightly floured hands, shape each into small rectangles, about 1 inch thick, and about 4×5 inches. (The exact measurement doesn’t matter much here, but it will when you go to roll the doughs out after chilling.) You can use flour on the counter and your hands when you’re shaping the vanilla dough, but you can use cocoa powder instead when you’re working with the chocolate dough. (Or just stick with flour.) Wrap doughs up and chill for just 60–90 minutes. The point is to chill the doughs just long enough so they’re easier to roll out and handle, but also still pliable and bendy. If the doughs chill too long, they’ll be too stiff. 60–90 minutes is your sweet spot! If you’re making these as part of a marathon holiday cookie baking day, this is the perfect amount of time to tackle quick no-chill recipe like shortbread cookies. Tip: The chocolate dough is stickier than the vanilla dough. It’s not quite as sticky as these double chocolate chip cookies, but cocoa powder usually produces a sticky dough. That’s why, when we roll the doughs together to make the pinwheel design, we have the vanilla dough on the bottom. Vanilla will be on the outside of the cookie. If we swapped them and had the chocolate dough on the outside, the cookies would spread even more.
How to Roll Pinwheel Cookies
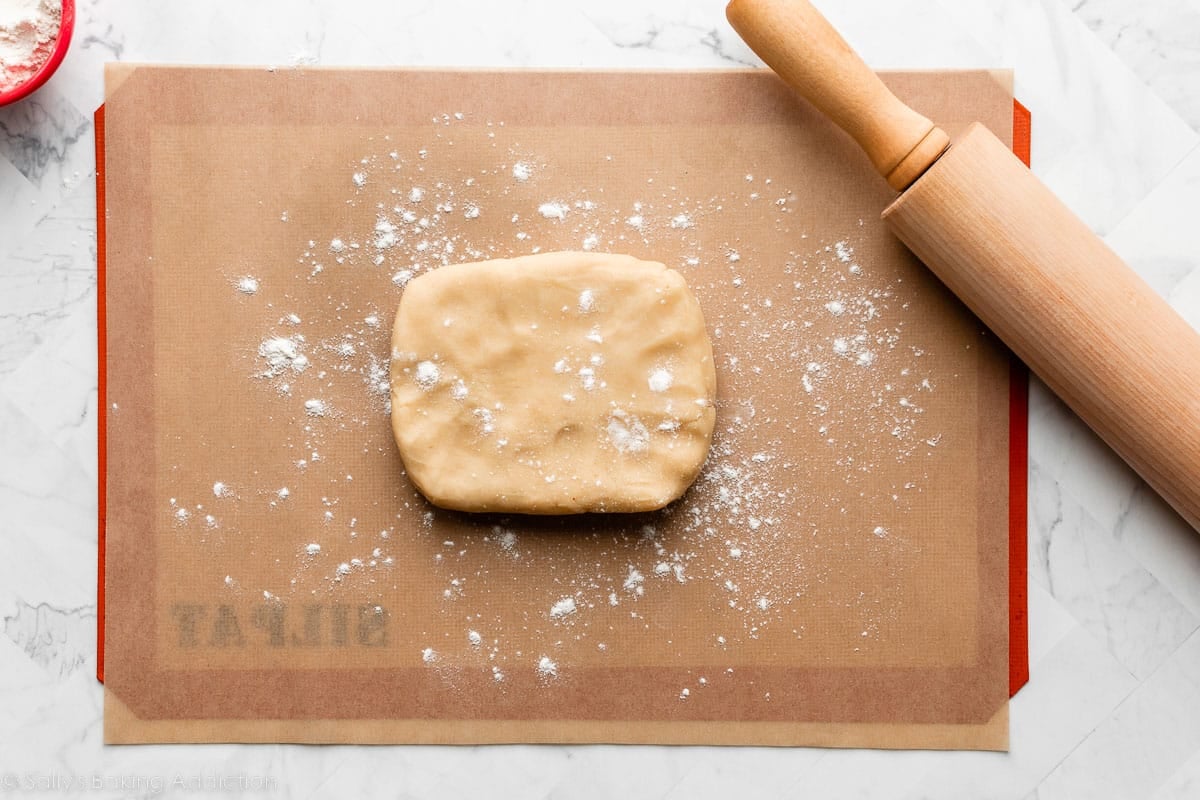
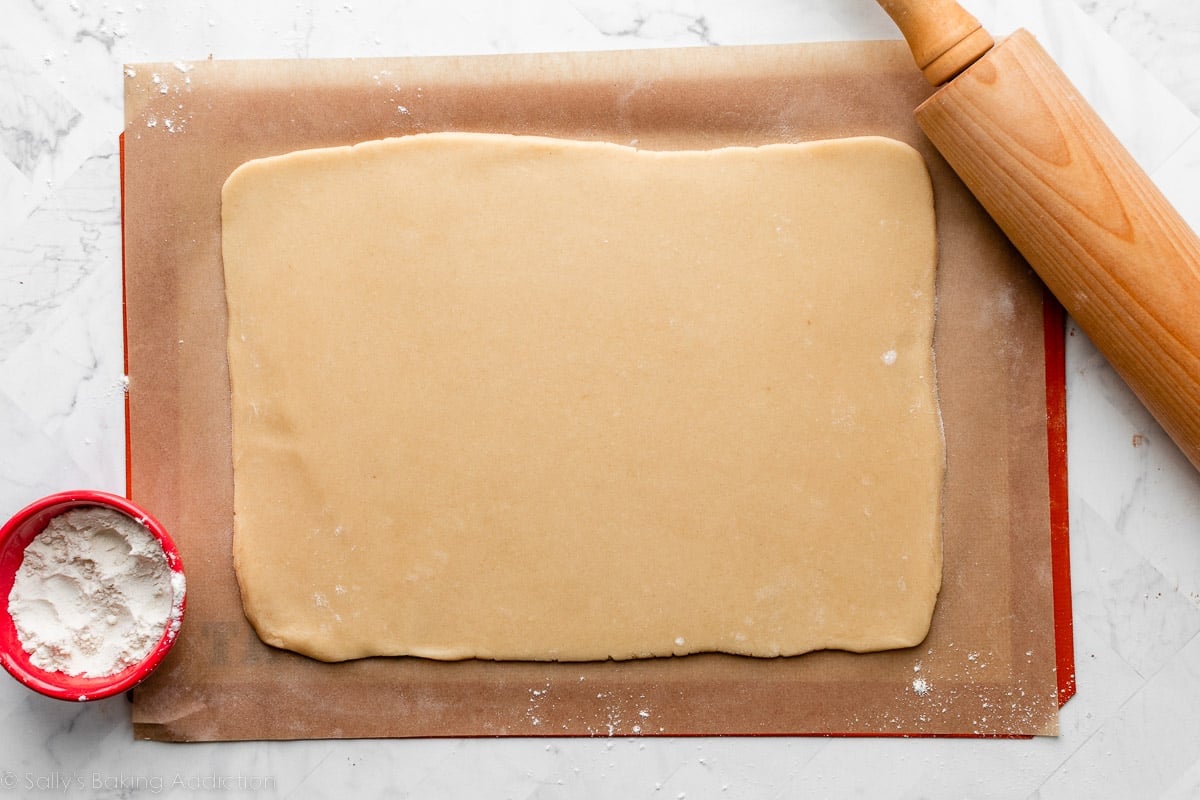
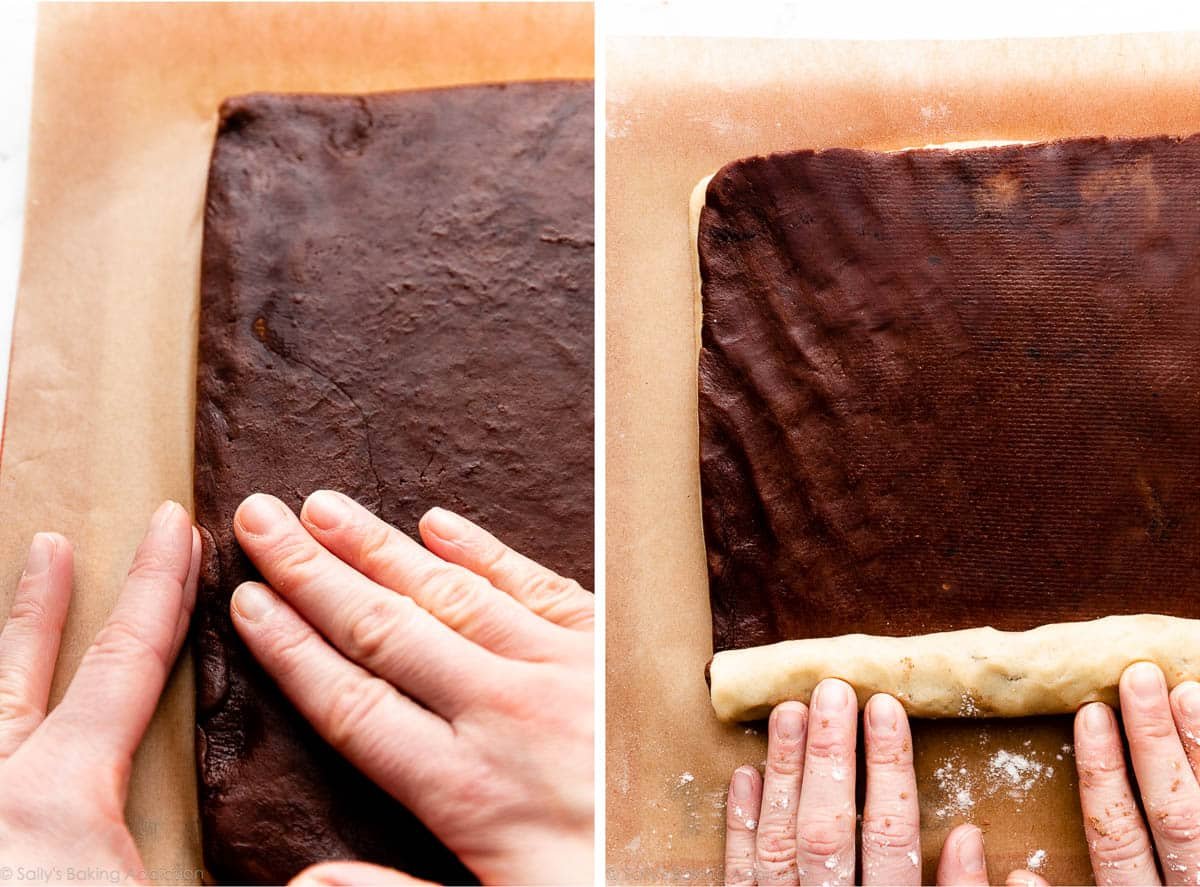
Tip: If you’re having trouble getting the doughs to line up nicely, see the Troubleshooting section below. You can straighten up the edges with your hands. After the blocks of dough chill in the refrigerator, it’s time to shape the pinwheel cookies. Place a piece of parchment paper on your work surface, and sprinkle it with flour to keep the dough from sticking. Rolling Tip: I layer the parchment paper sheet on top of a silicone baking mat, to keep it from sliding all over the counter. You could also tape the edges of the parchment to the counter before you begin rolling. I find these doughs stick less to parchment vs. silicone baking mats, so that’s why I roll out on parchment. Do not roll the doughs out on your counter because you’ll have a difficult time lifting/transferring them. Remove the vanilla dough from the refrigerator. (Keep the chocolate dough in the fridge for now.) Another Rolling Tip: Flip the dough every now and then in between rolls, to make sure it’s not sticking. Add a little more flour if needed to prevent sticking. Use your hands to straighten out the sides. You can see me do this in the video below. Carefully pick up the chocolate dough and layer it over the top of the vanilla dough. Pat it down gently to rid any air bubbles from between the layers. Working from one of the long edges, begin rolling. Go slowly, and try to roll it as tightly as possible. You can kind of meld the doughs together with your fingers at the beginning to get the roll started. (You can see me do this in the video tutorial below.) If you notice bare or cracked spots of vanilla dough, just patch it up with your fingers as you go. Doesn’t have to look perfect.
Chill the Dough Logs for 2 Hours
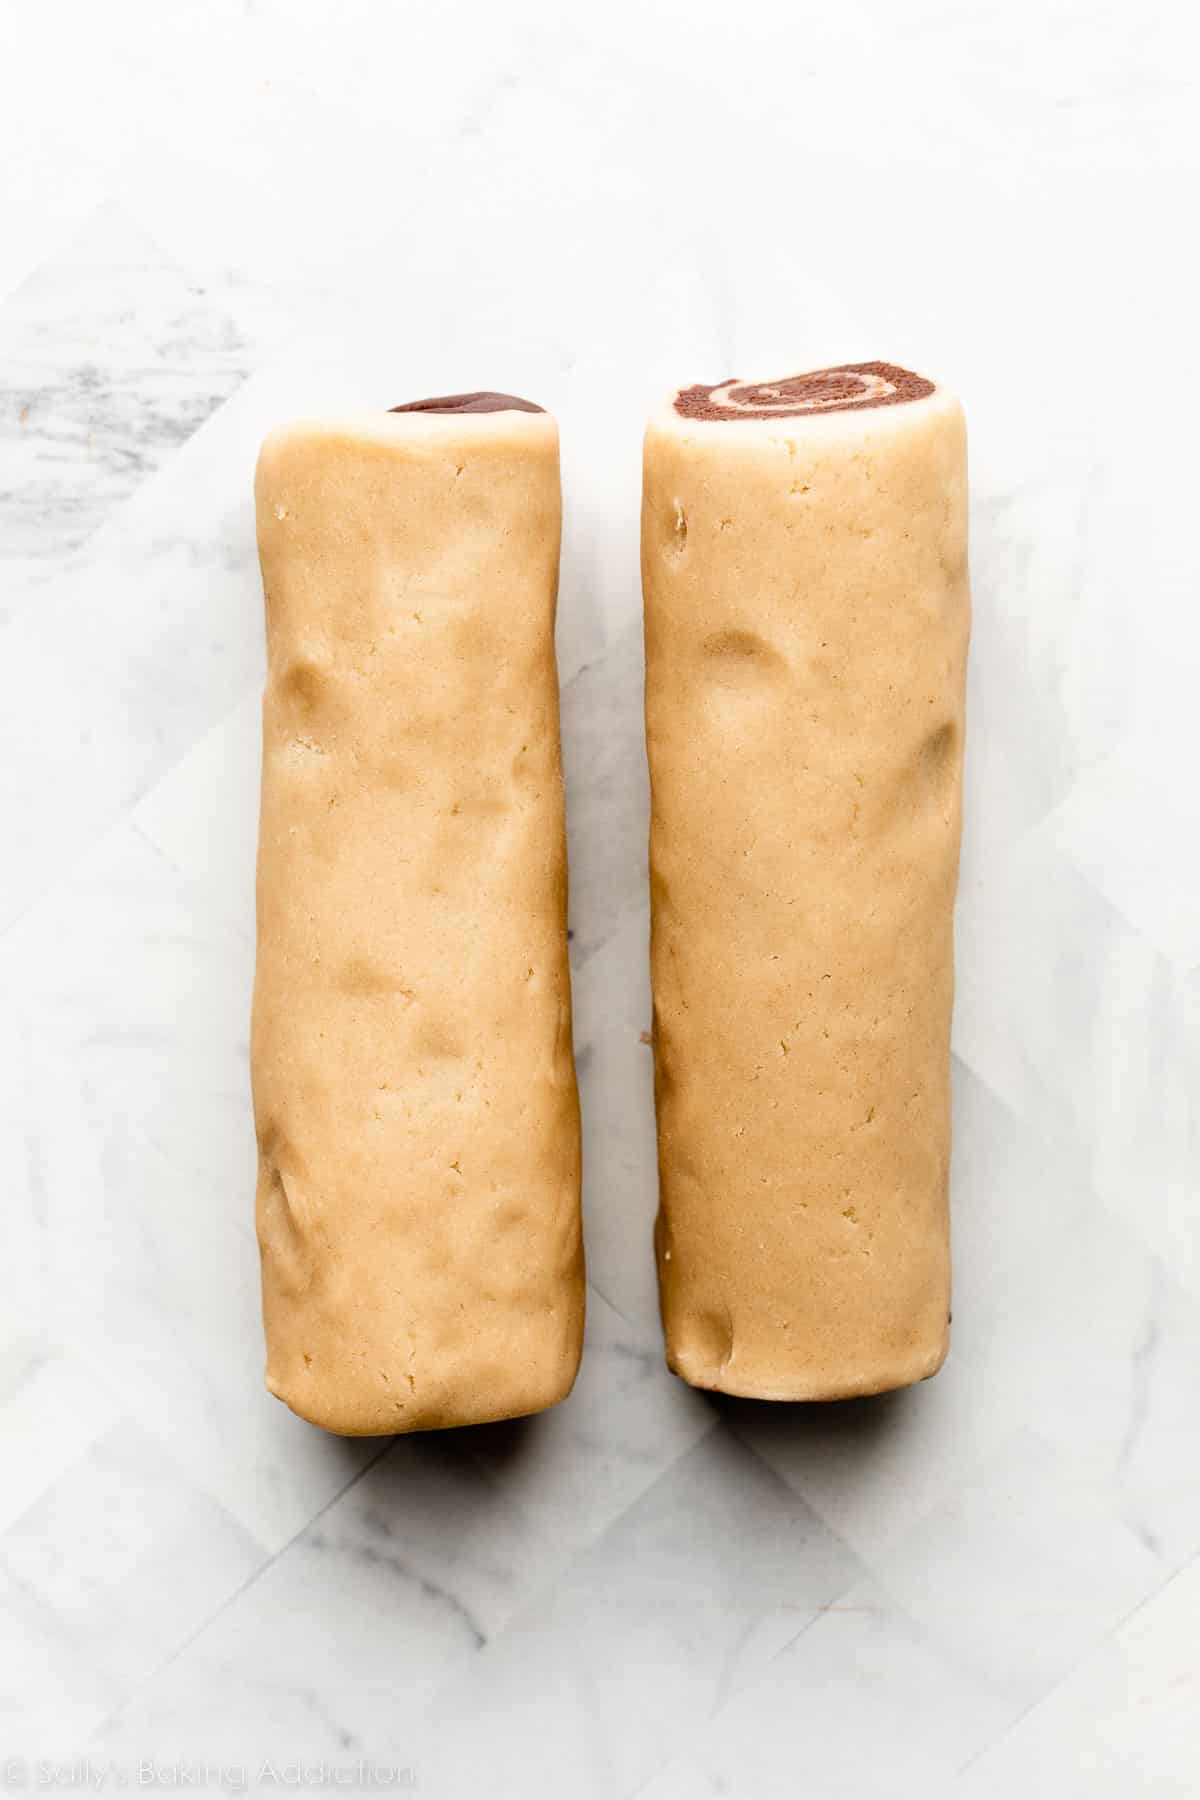
You’ll end up with a log of dough that’s about 14 inches long. Slice it in half. Wrap up both logs of dough, and chill them in the refrigerator for at least 2 hours, and up to 4 days. This chilling time can be much longer than the first, because we’re done rolling/shaping the dough and it no longer has to be pliable.
Let’s Slice & Bake the Cookies
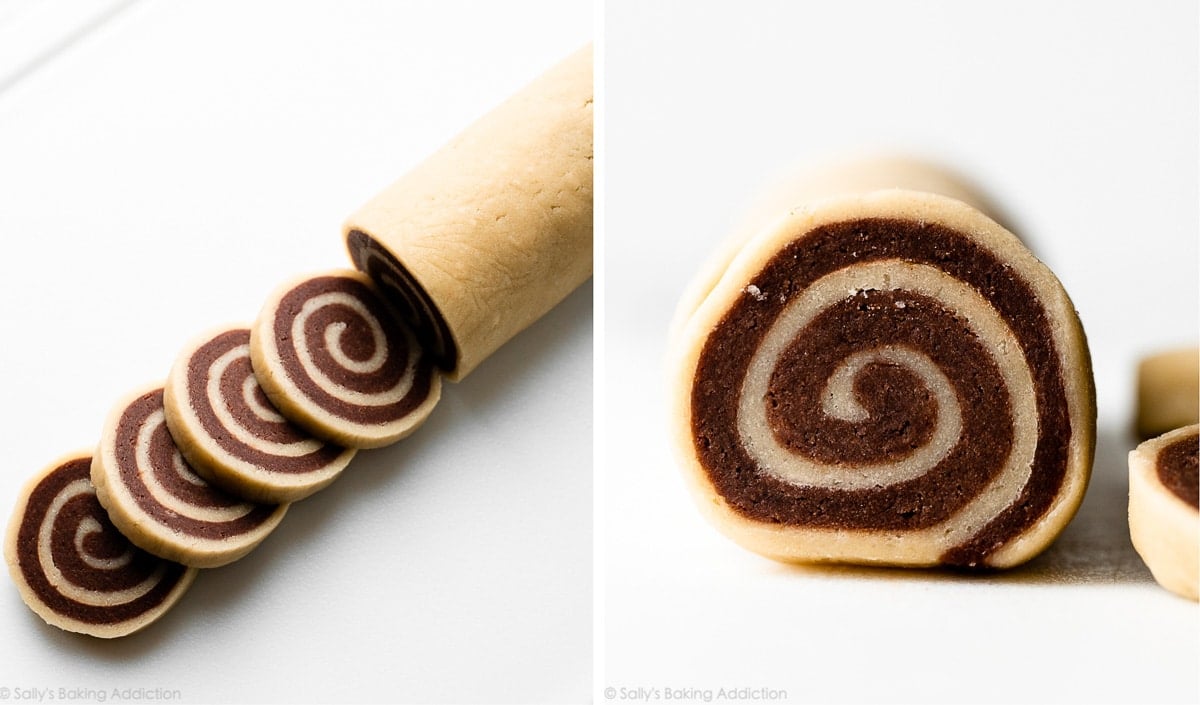
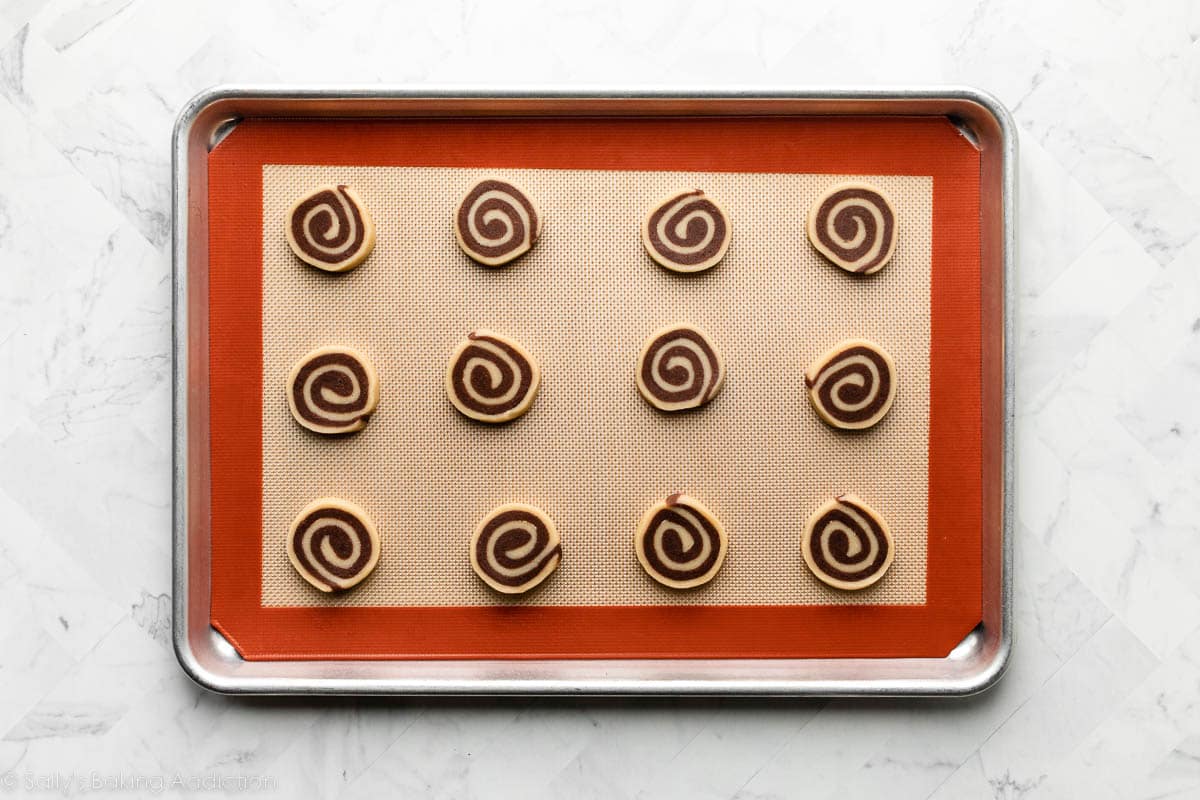
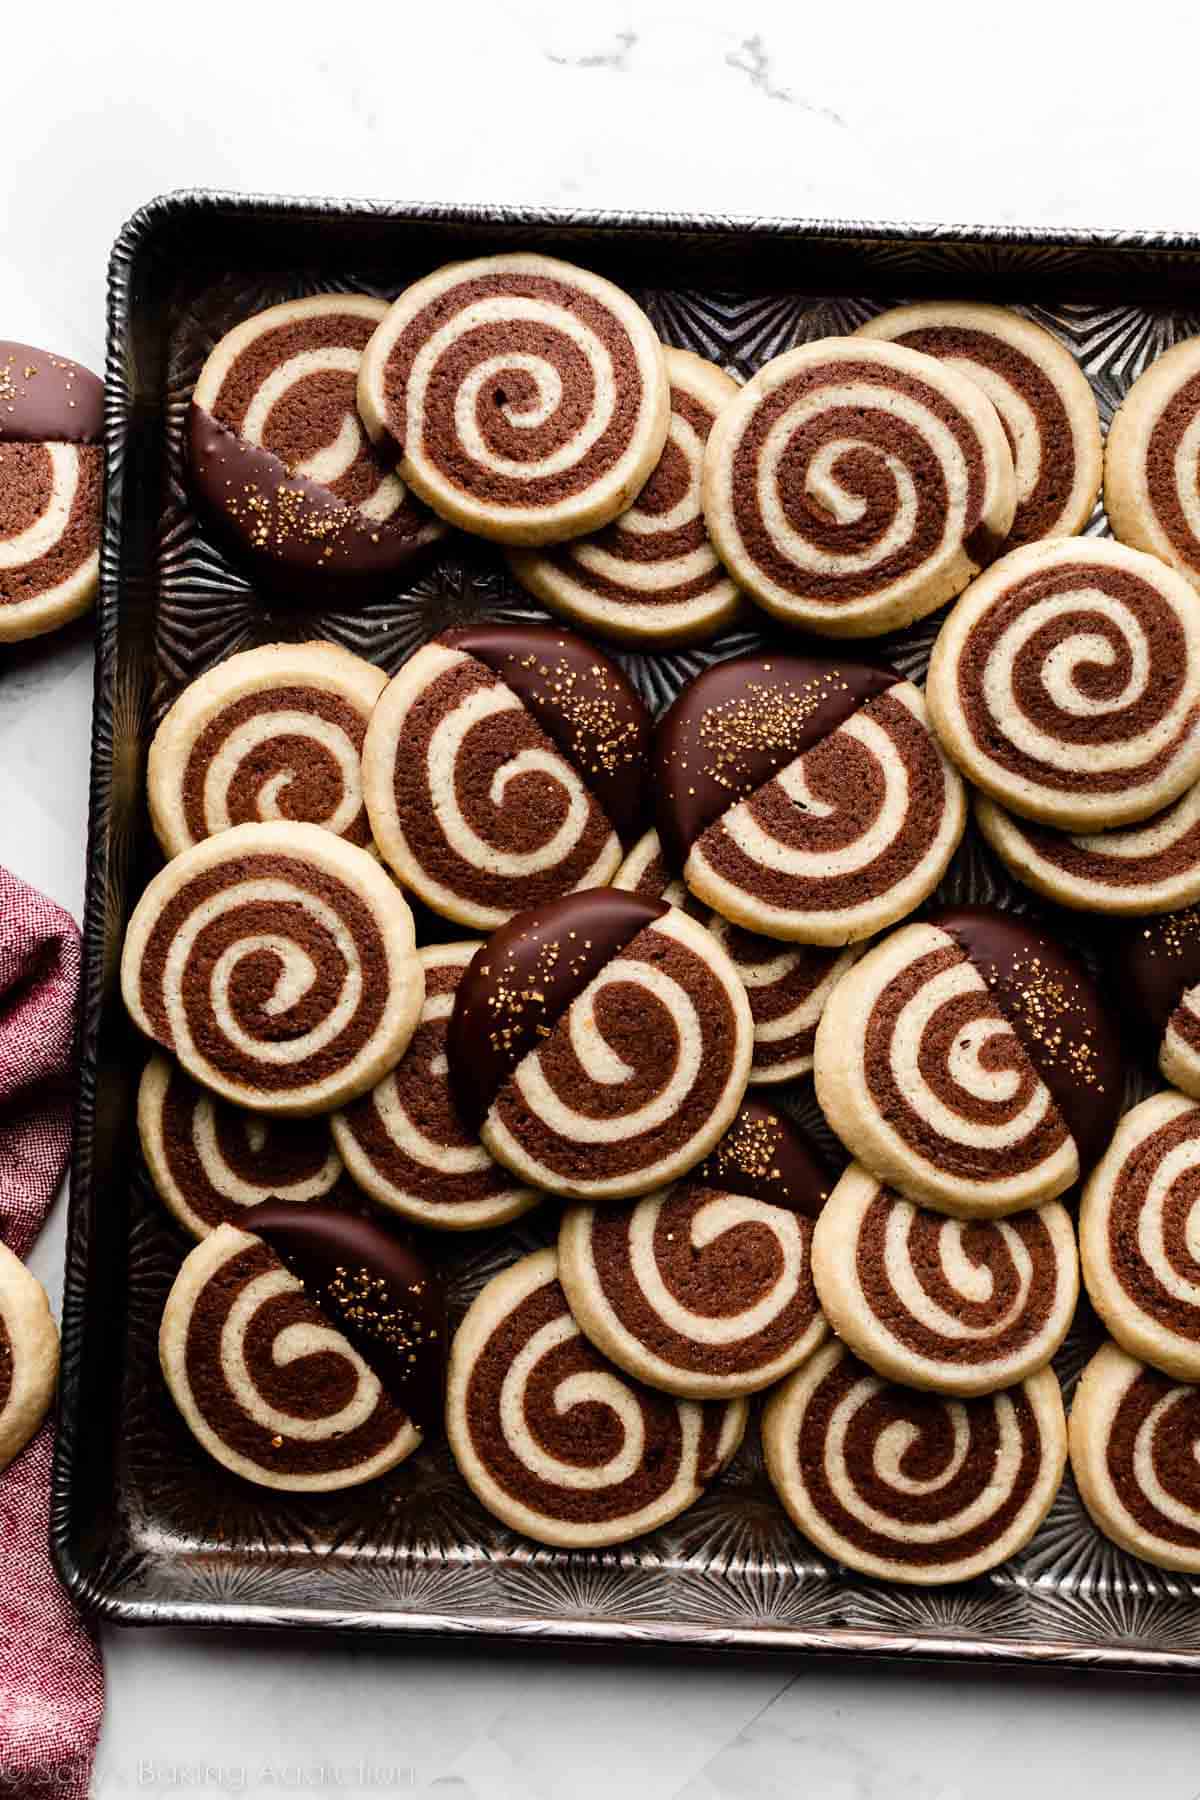
When you’re ready to bake, use a sharp knife to slice each dough log into 14 cookies, about 1/2 inch thick. If any of your cookies look a little misshapen, you can reshape into a circle before you put it on the baking sheet. (Again, you can see me doing this in the video below.) Place the cookies about 2 inches apart on the baking sheet and bake.
How to Prevent Pinwheel Cookies From Over-Spreading
Troubleshooting Pinwheel Cookies
Variations
Or try a mint chocolate version, like these checkerboard cookies. Flavor/tint the vanilla dough just as you do in that recipe. For another slice-and-bake favorite, try my brown sugar shortbread cookies next.