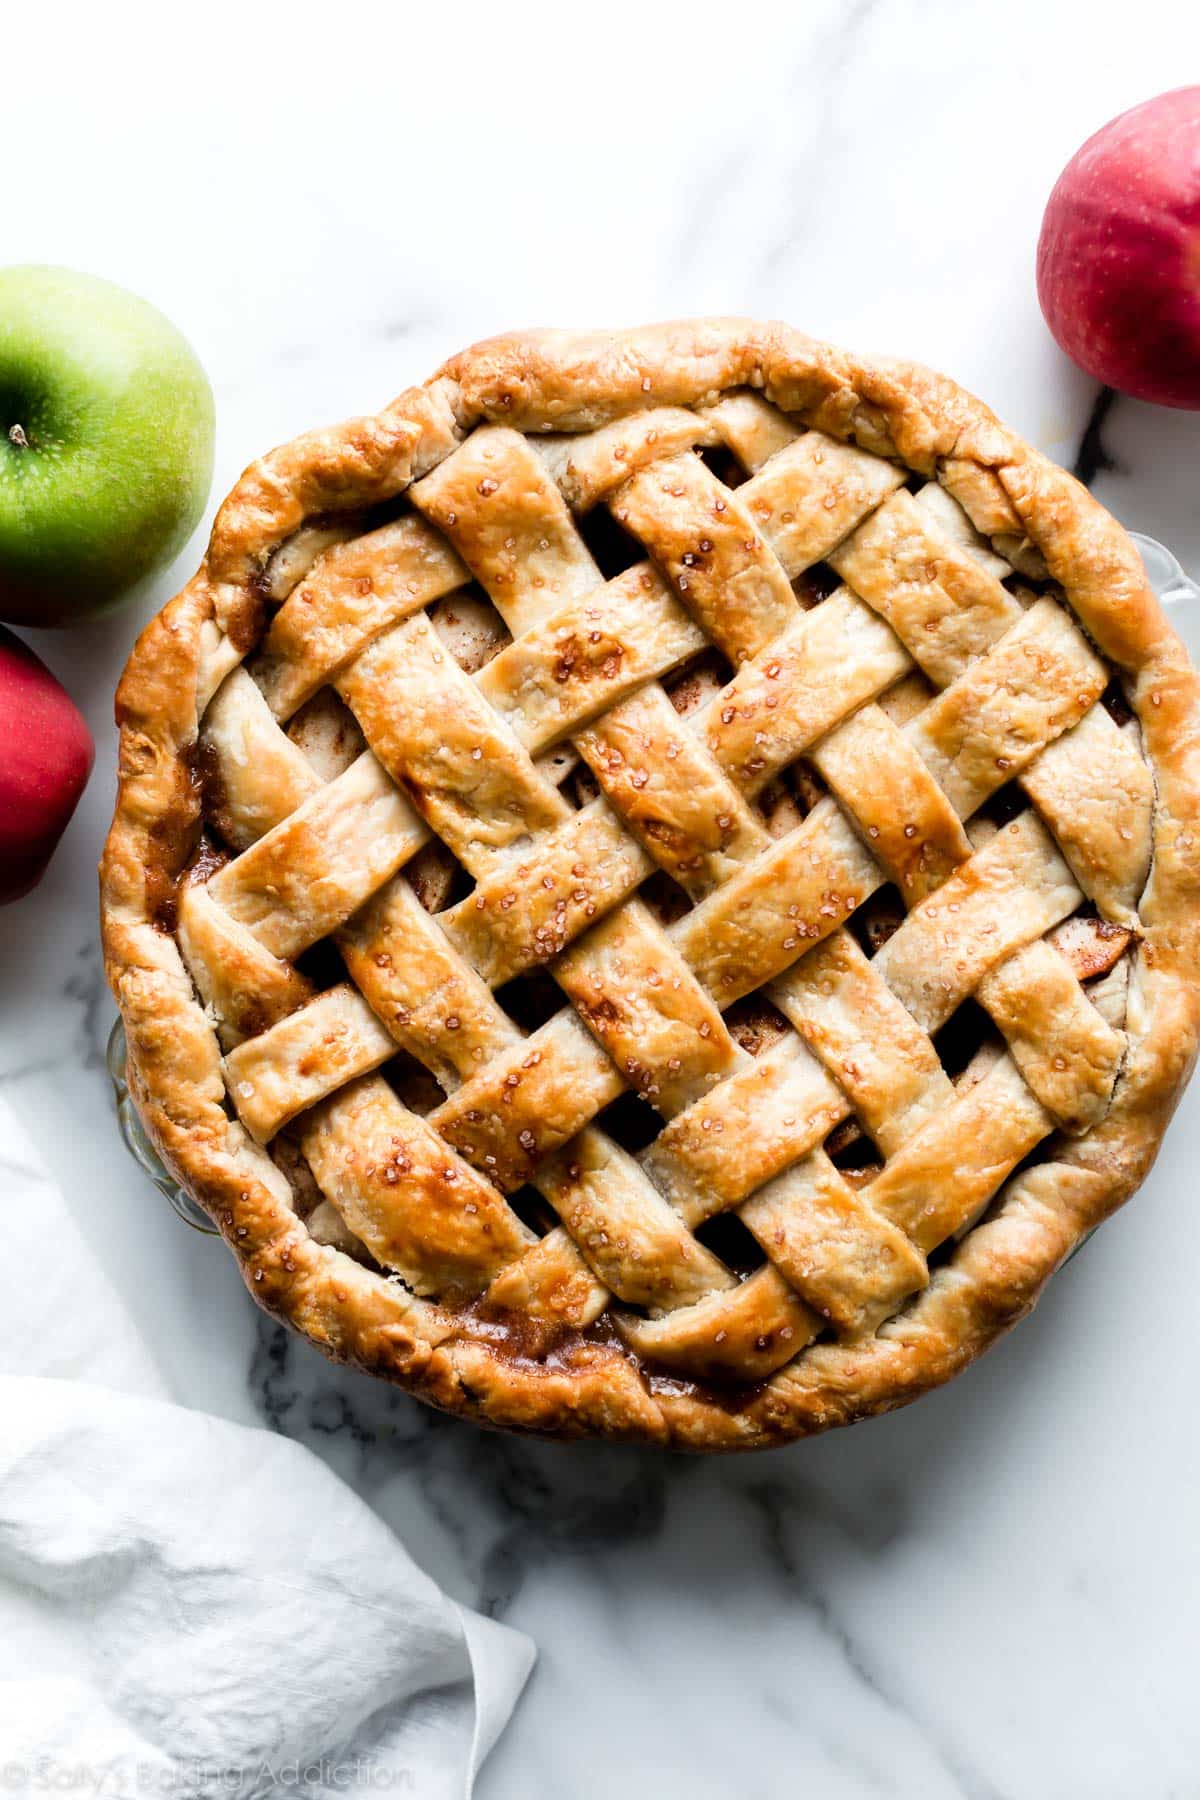
Pies are my favorite dessert. Not only because they taste SO DARN GOOD, but because they’re very satisfying to make. From-scratch pies take careful precision and the end result tastes even sweeter because you know how much love and effort you put into it. I receive a lot of questions about how to lattice pie crust, so I decided to condense all my tips and information on 1 single page. Hope you feel more PIE CONFIDENT after reading and watching! Designing a pie crust is a form of art. There are so many different pie crust arrangements, but the classic lattice weaving is my favorite. The simple, yet stunning lattice design will never go out of style. Even though it’s a very common way to style pie dough, latticing pie crust seems pretty intimidating. Today I’m sharing a full tutorial with a helpful video so you can be confident with your next piece of pie artwork. Trust me, it’s easier than it looks!
What is Lattice Pie Crust?
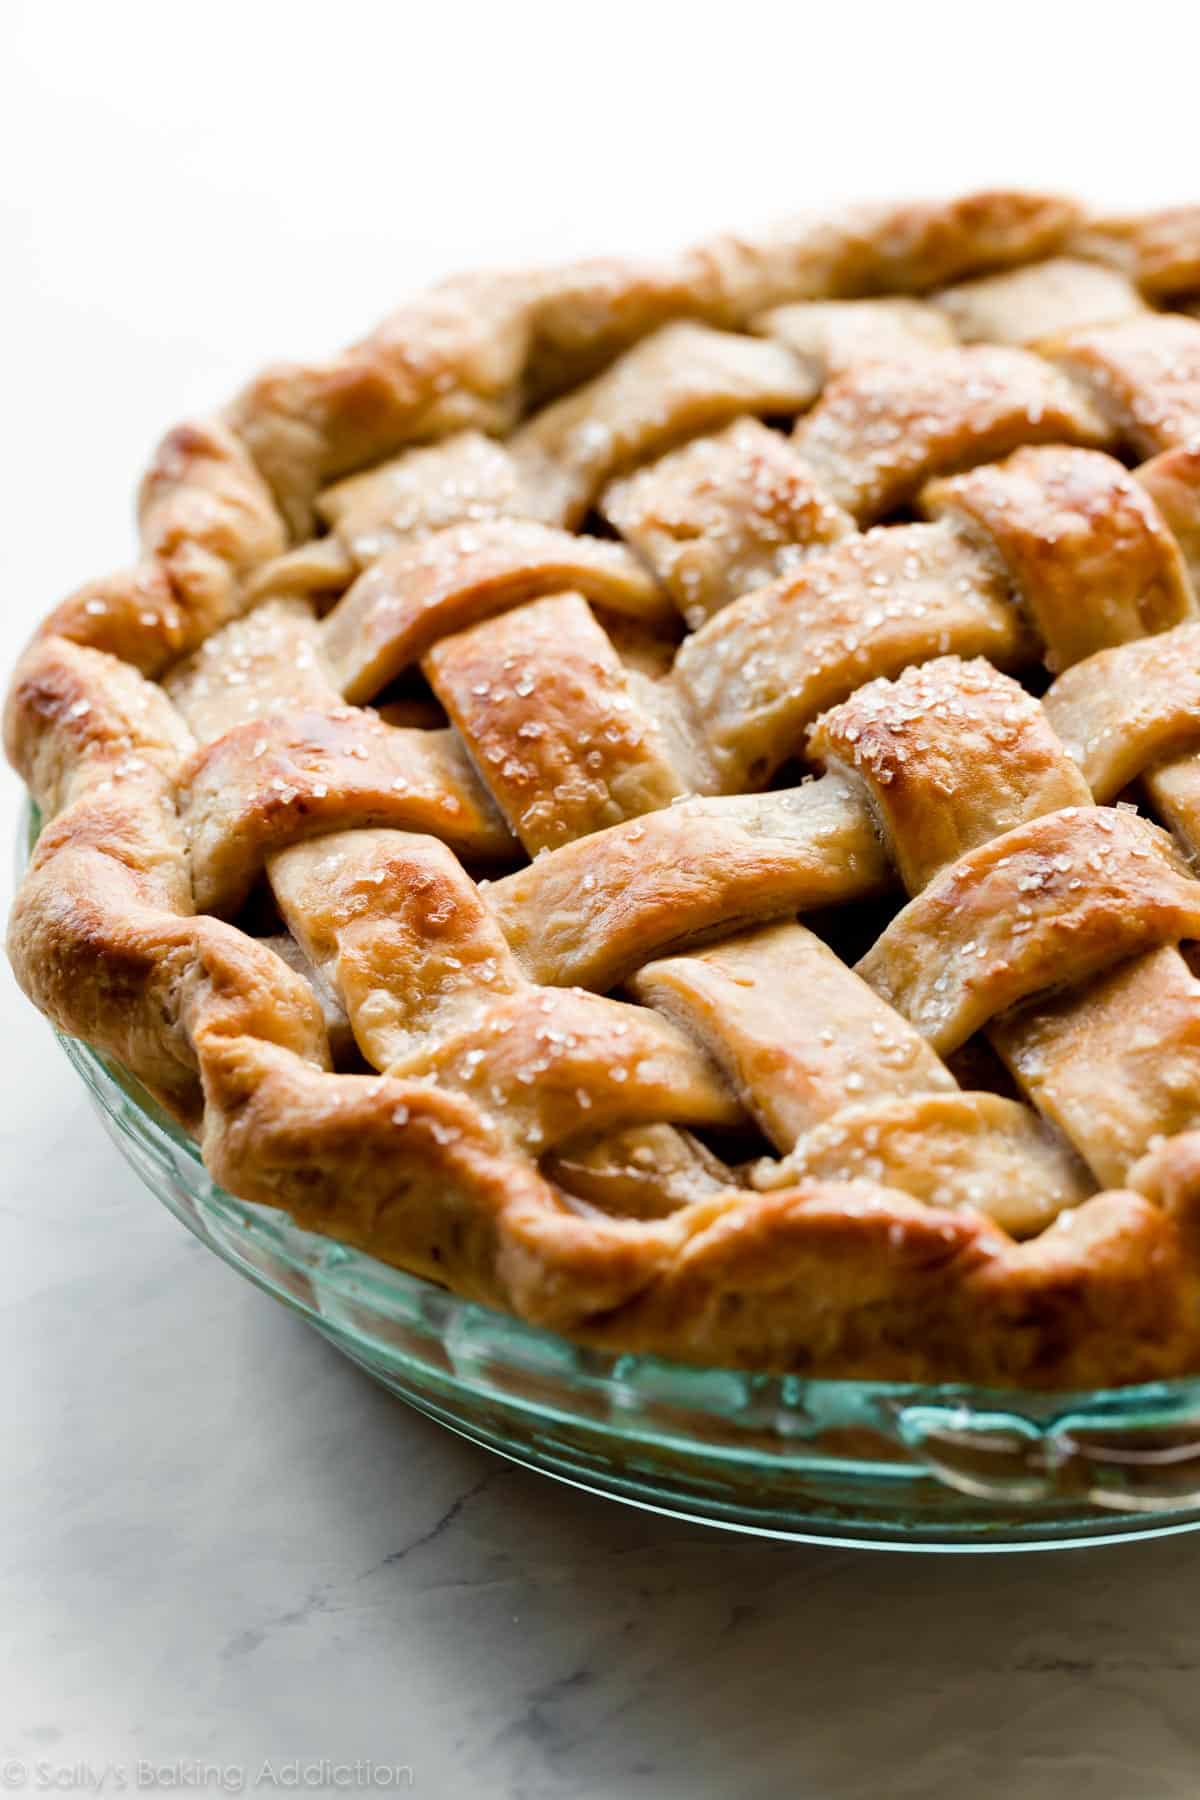
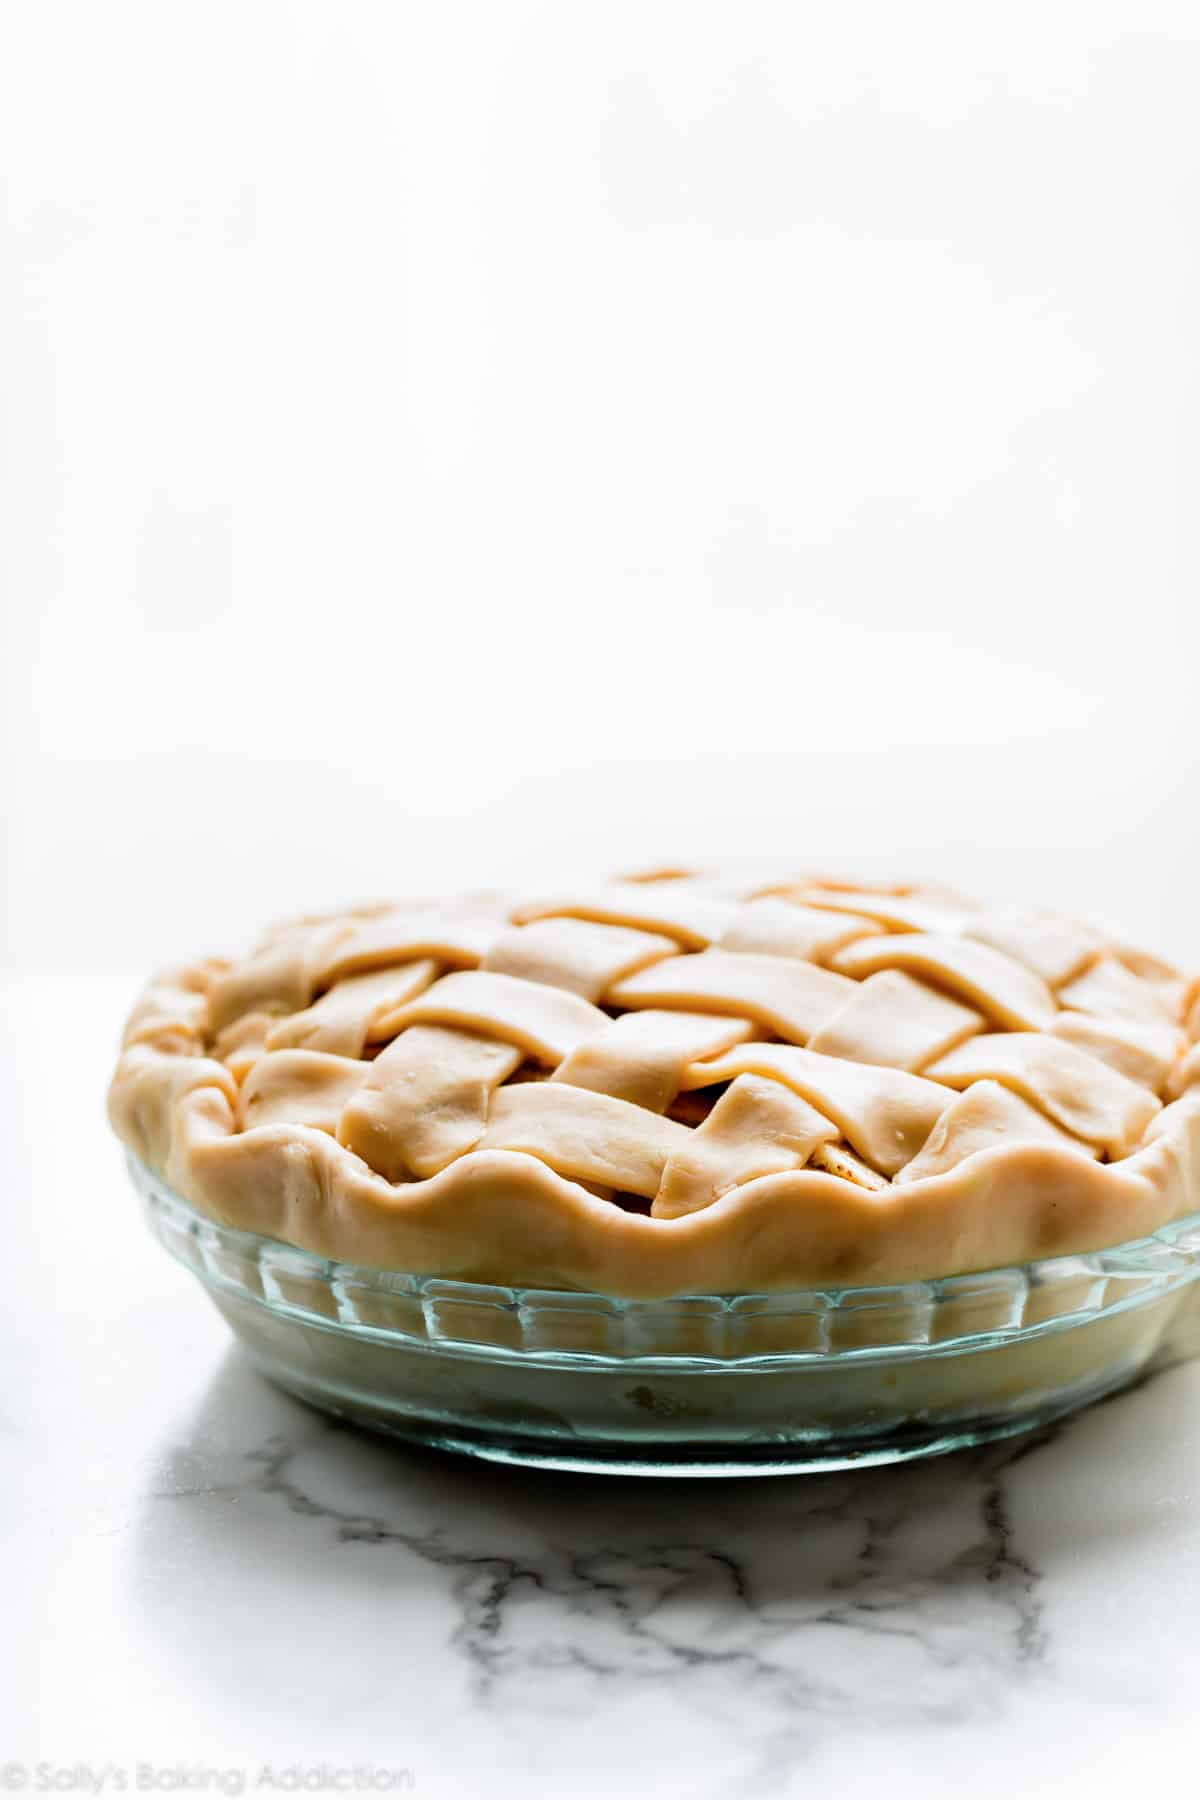
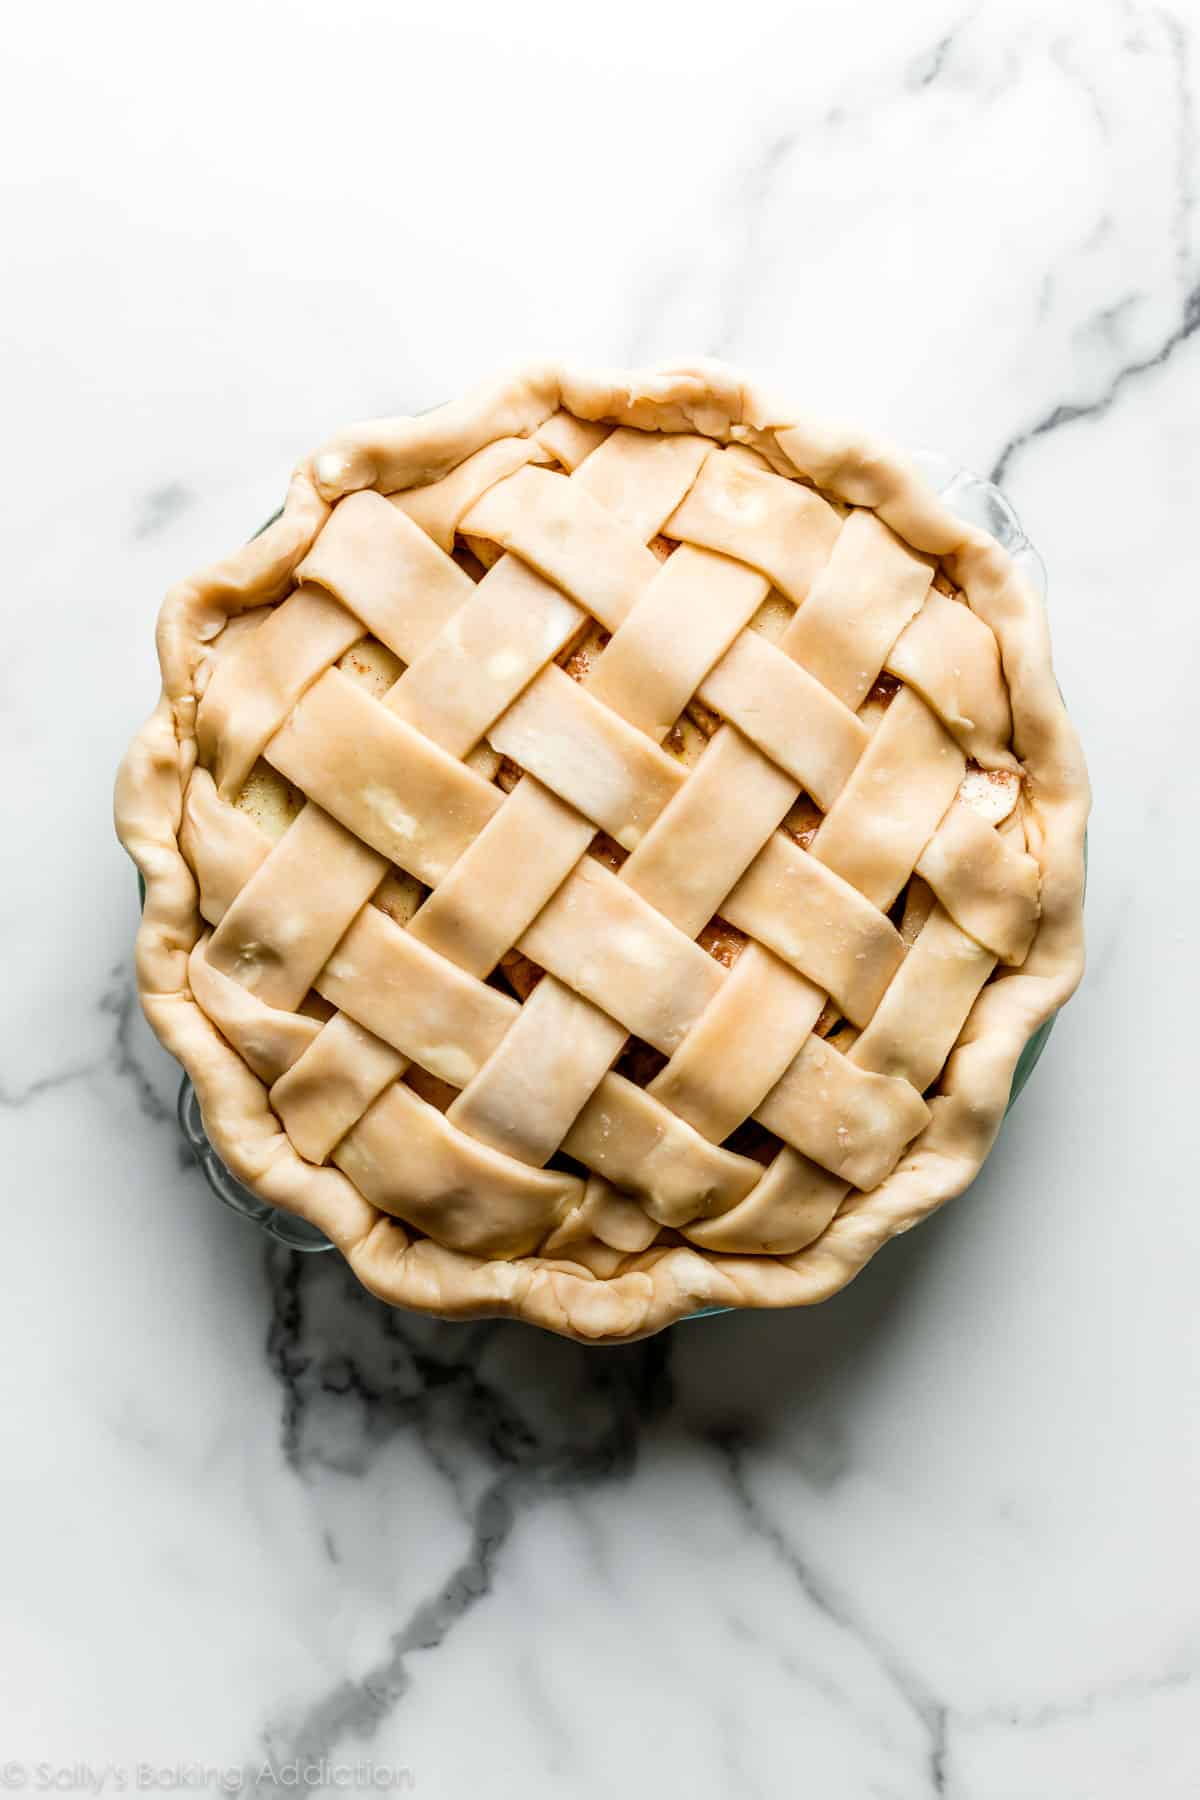
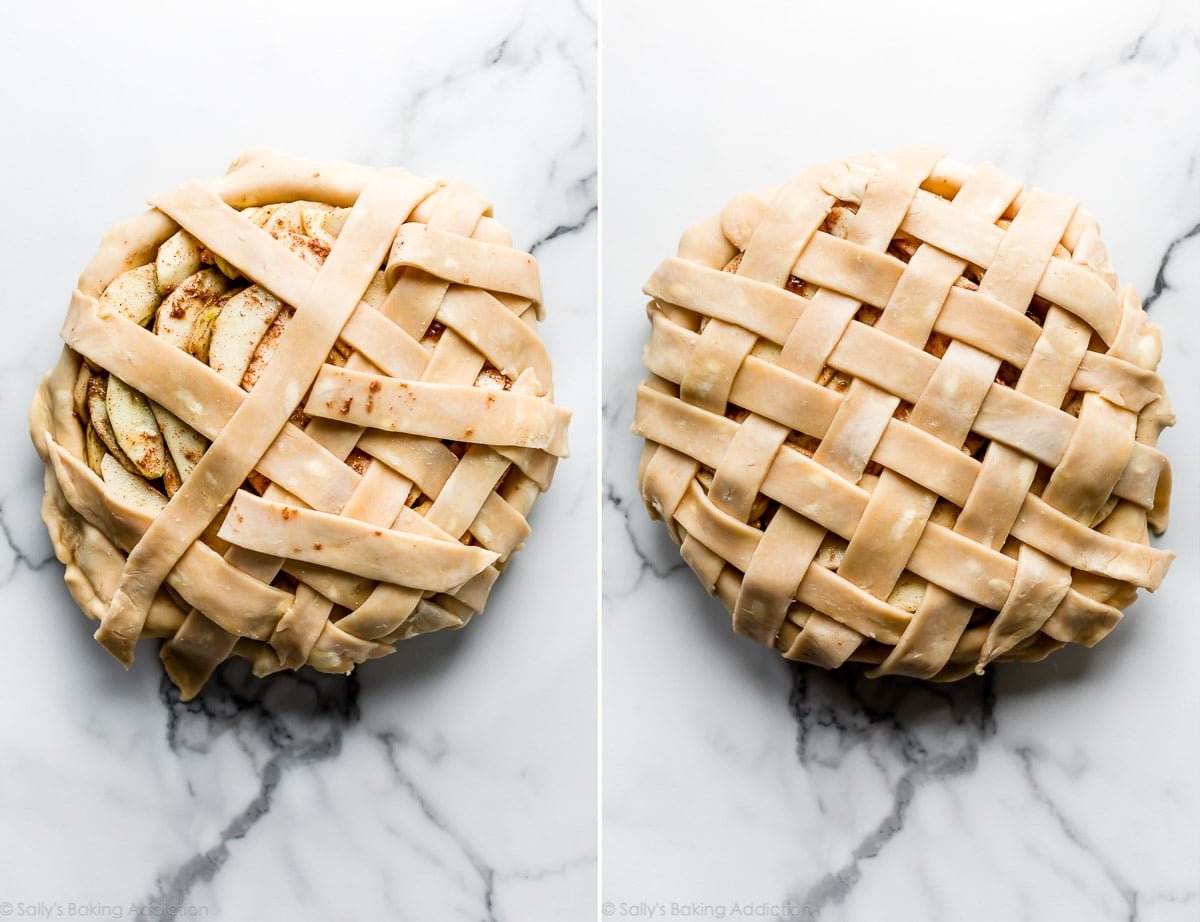
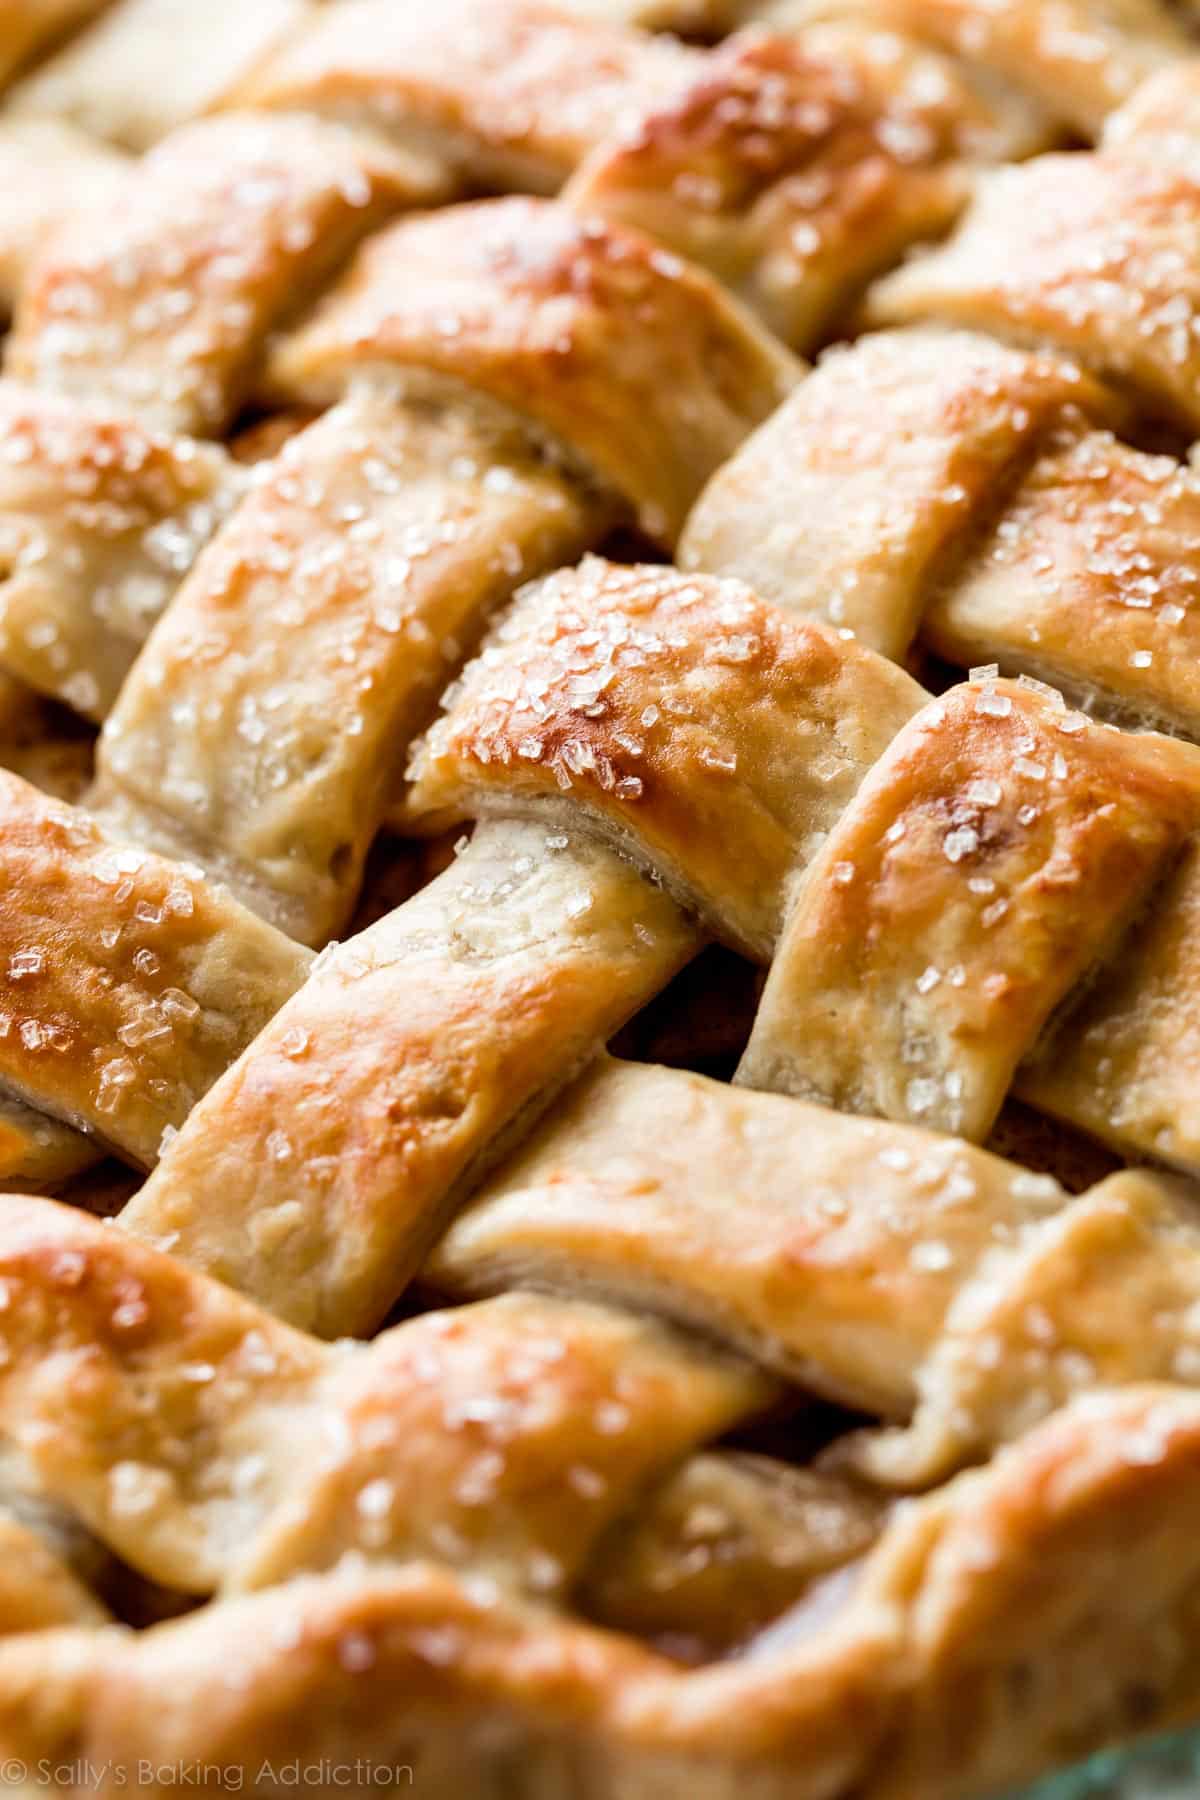
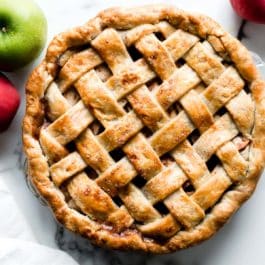
Lattice pie crust is weaved pie dough. Strips of dough lay on top of pie filling, layered over and under one another to create a basket weave appearance. Not only is latticing a beautiful way to decorate a pie, the holes between the strips allow steam to escape. Without these vents, the fruit pie filling could cause a mini explosion in your oven. It’s not pretty!!
Here’s What You Need:
I have a full list of the best pie baking tools, but for this lattice design here’s exactly what you will need:
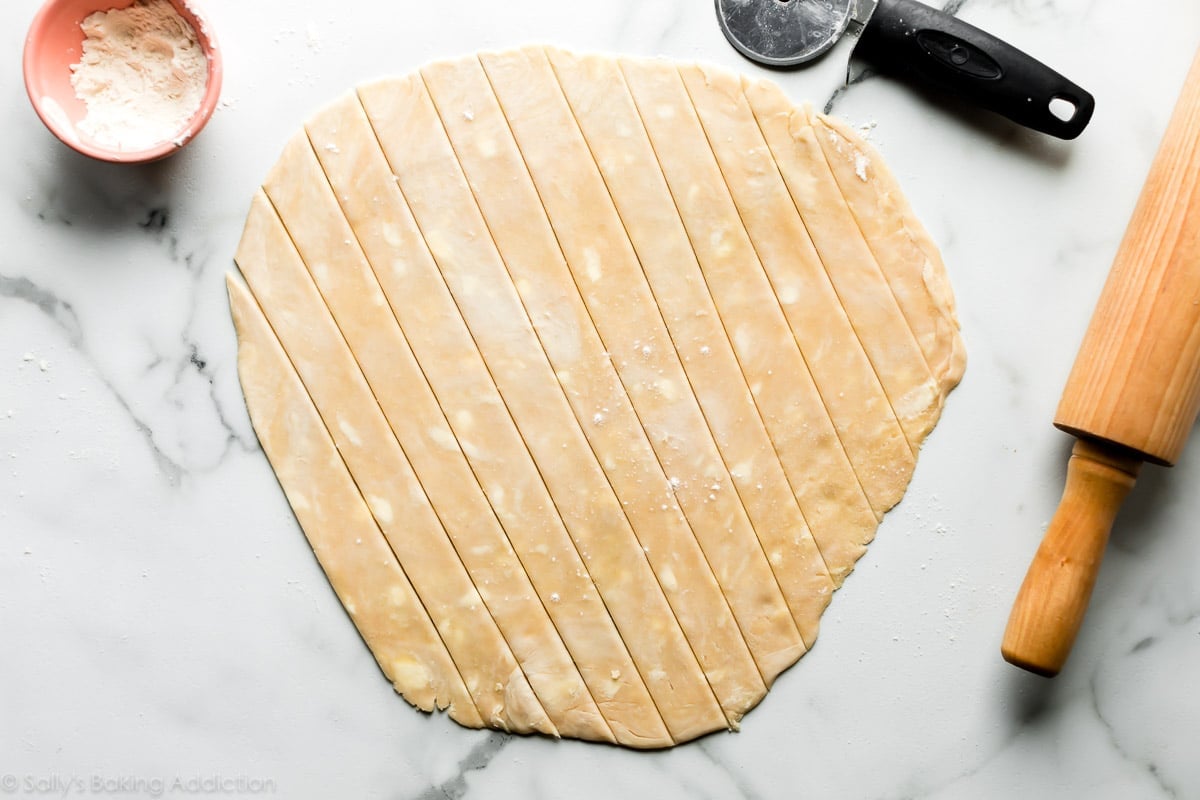
Quality pie crust Extra flour Rolling pin Ruler (or just eyeball it!) Pizza cutter or sharp knife Pastry brush for egg wash
Start with Quality Pie Dough
Lattice will not work unless you begin with quality pie dough. Don’t sabotage your efforts from the start. I recommend my favorite pie crust, which uses both butter and shortening for flavor and stability, or my all butter pie crust. Either are excellent choices for your lattice pie crust because they’re sturdy, yet bake up incredibly light and flaky. I used my butter and shortening pie crust in these photos.
How to Lattice Pie Crust
Video Tutorial: Latticing Pie Crust
If you’re a visual learner, use this video tutorial to help understand the process.
My “Thick Edge” Trick
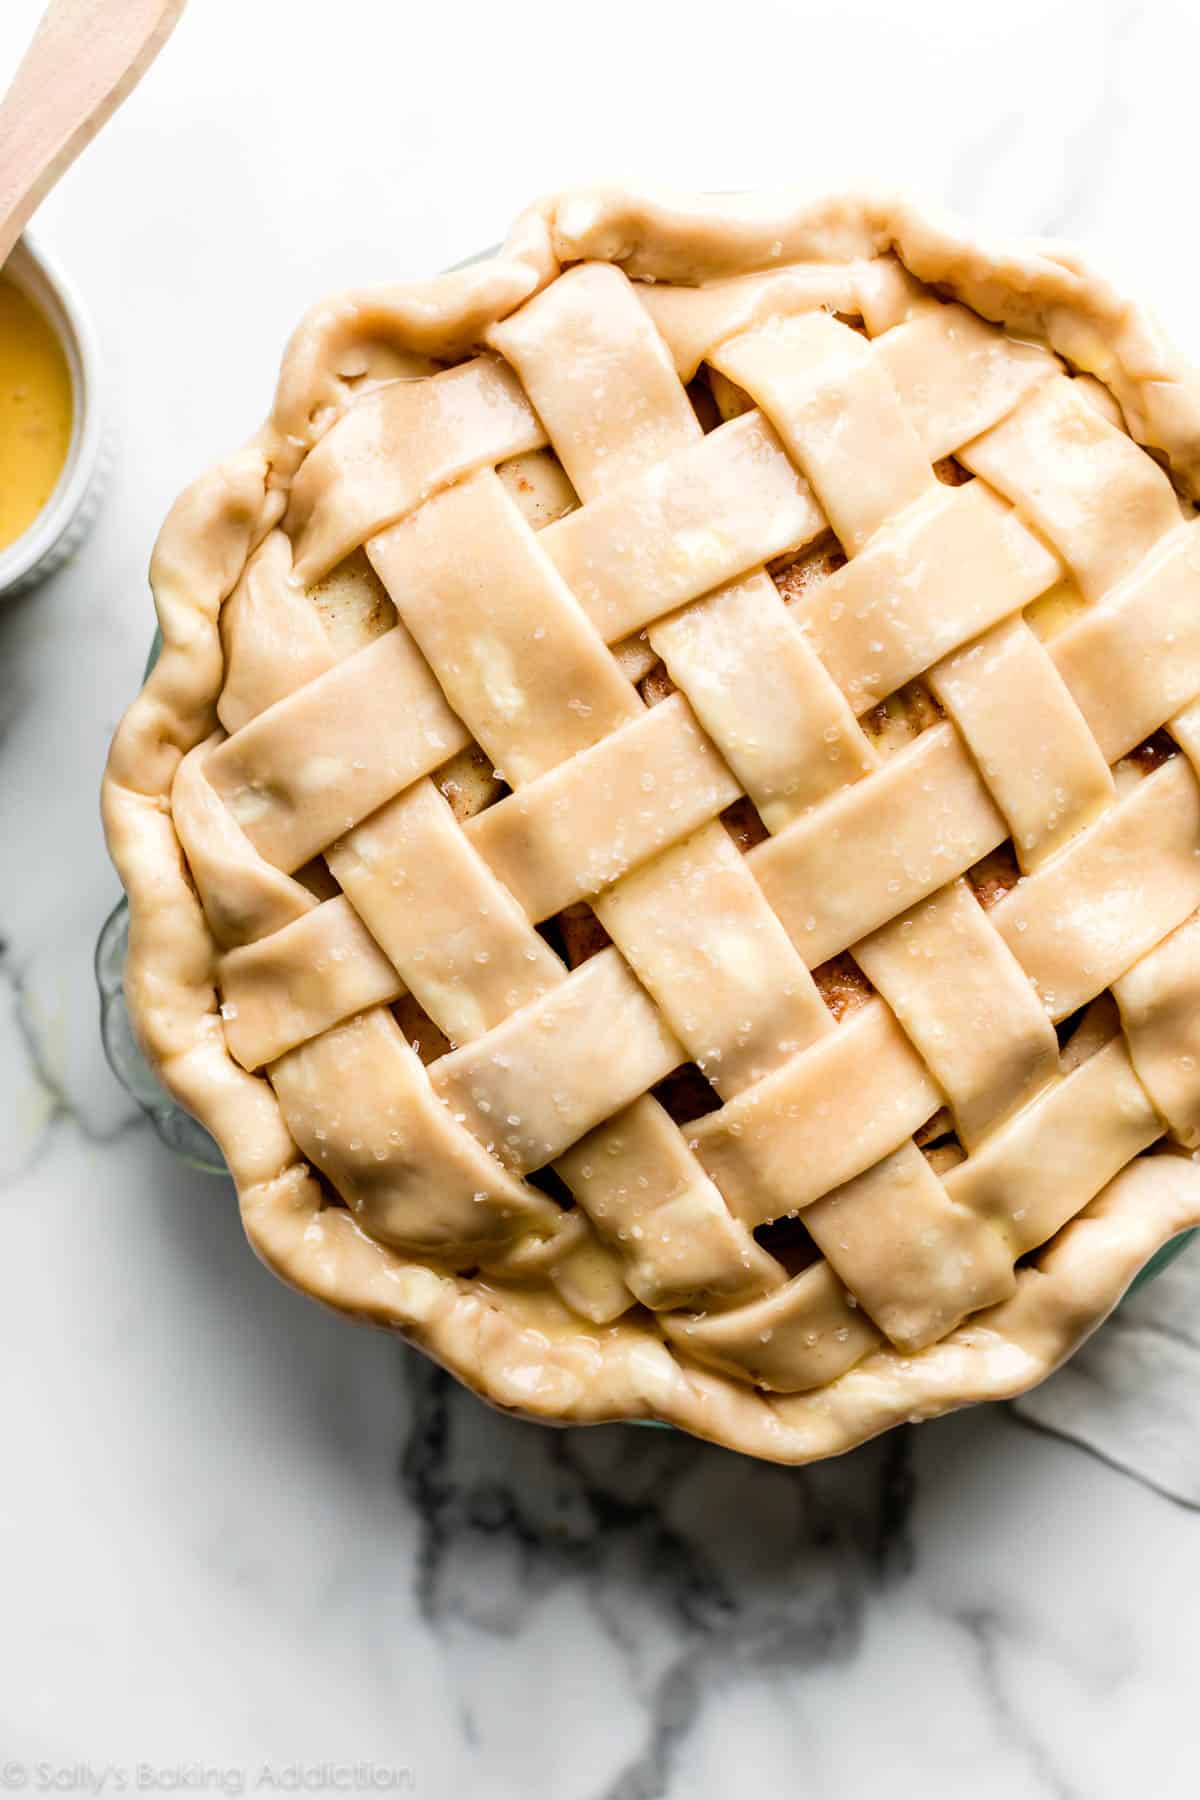
After you create the lattice, you’ll have excess pie dough around the circumference of the pie. Feel free to trim a lot of the excess dough, but if you want enough dough for a pretty edge to flute or crimp, don’t trim it too much or at all. Instead, fold the strips back onto the pie and pinch together with the bottom pie crust. I understand that may not make a ton of sense, but the video tutorial above shows how I do this. You can also watch how I flute the edges using my thumb and index finger on one hand and my index finger knuckle on the other hand. Fluting pie dough seals the top and bottom crusts together with a lovely scallop design. For extra details on this step, see my full tutorial on how to crimp and flute pie crust.
2 Final Success Tips
Homemade Pie Recipes
Each have a lattice crust on top.
Classic Apple Pie Salted Caramel Apple Pie Peach Pie – this one includes braided pie crust using my How to Braid Pie Crust tutorial Caramel Pear Pie Apple Cheddar Pie Cherry Pie Strawberry Rhubarb Pie Blueberry Pie Apple Cranberry Pie Triple Berry Pie