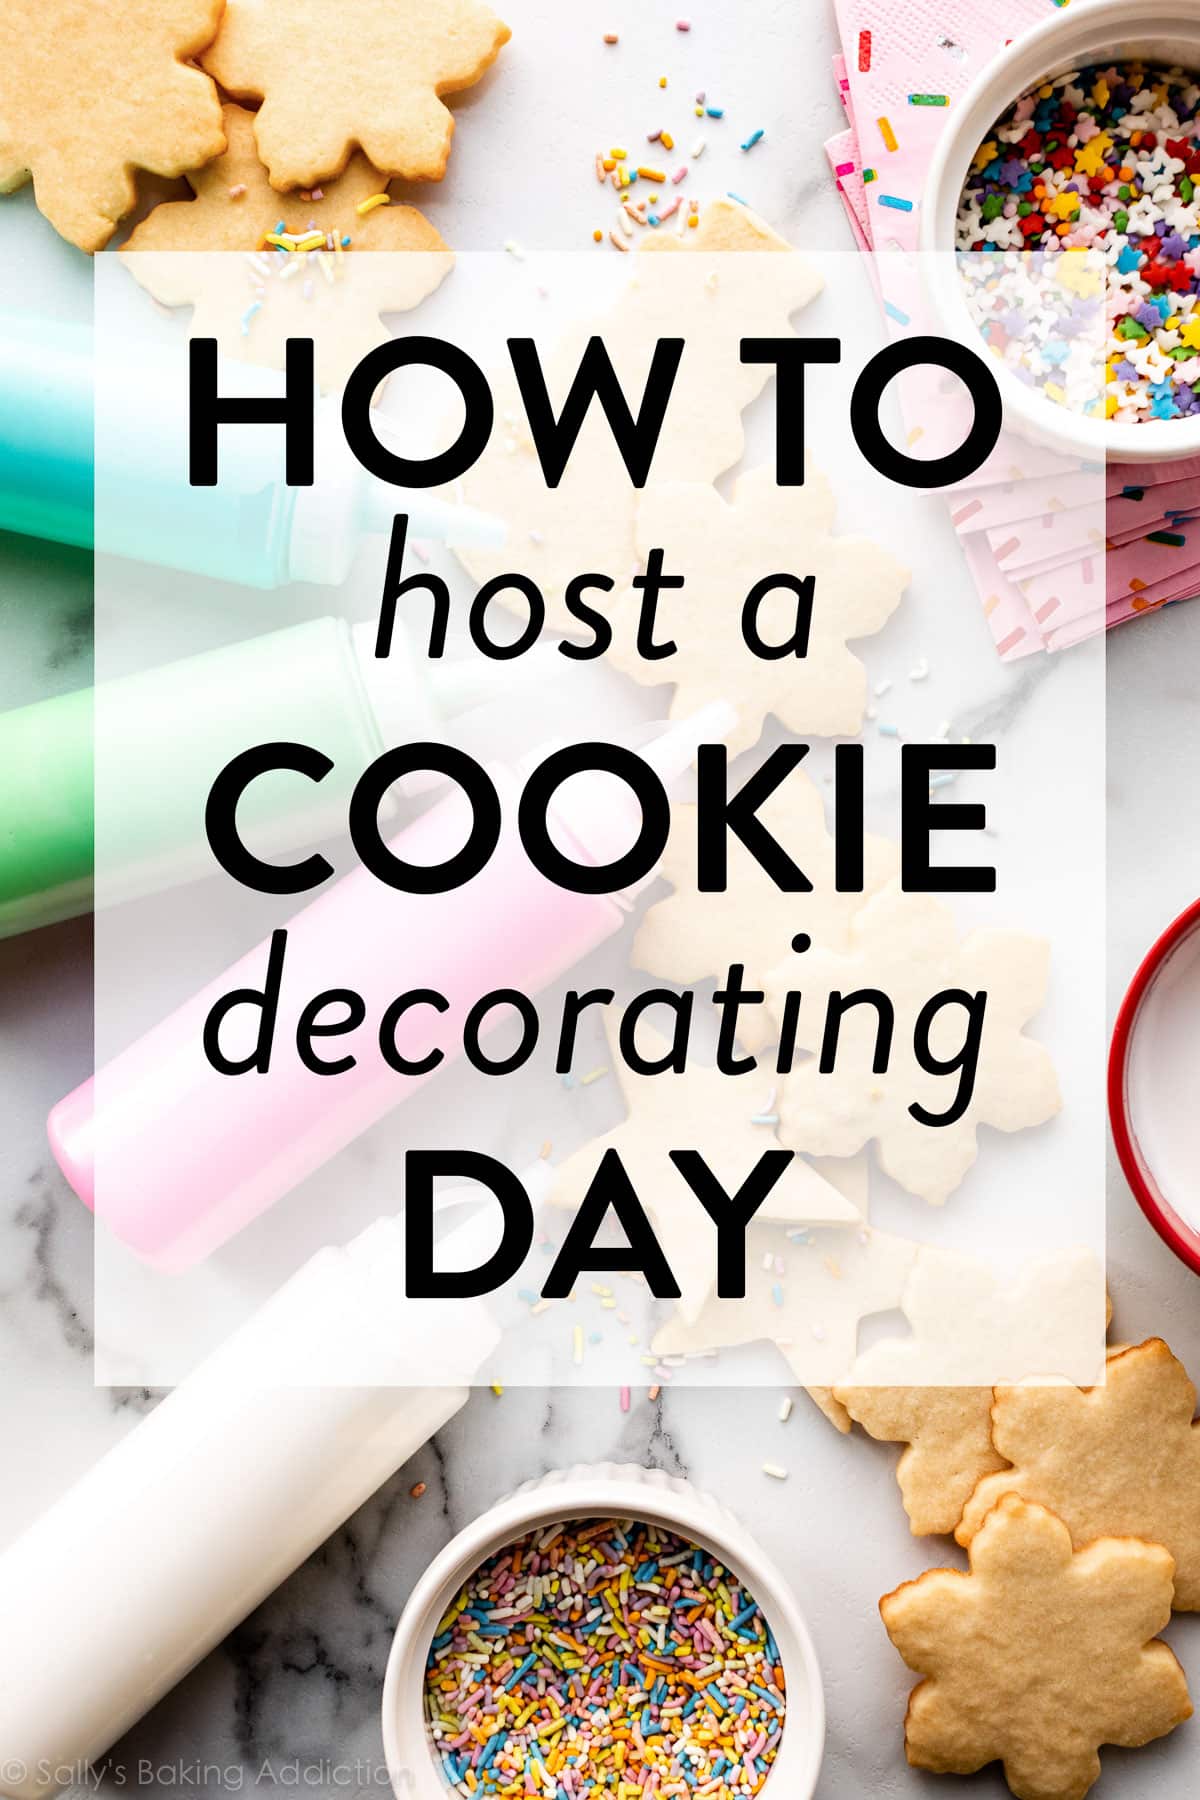
It’s season of cookies! And I want to share my best advice for hosting a cookie decorating day not only during the holiday season, but any time of year you’re gathering together to decorate cookies. This page is especially useful if you’re hosting a cookie decorating day for kids, but decorating days can be for cookie enthusiasts of any age.
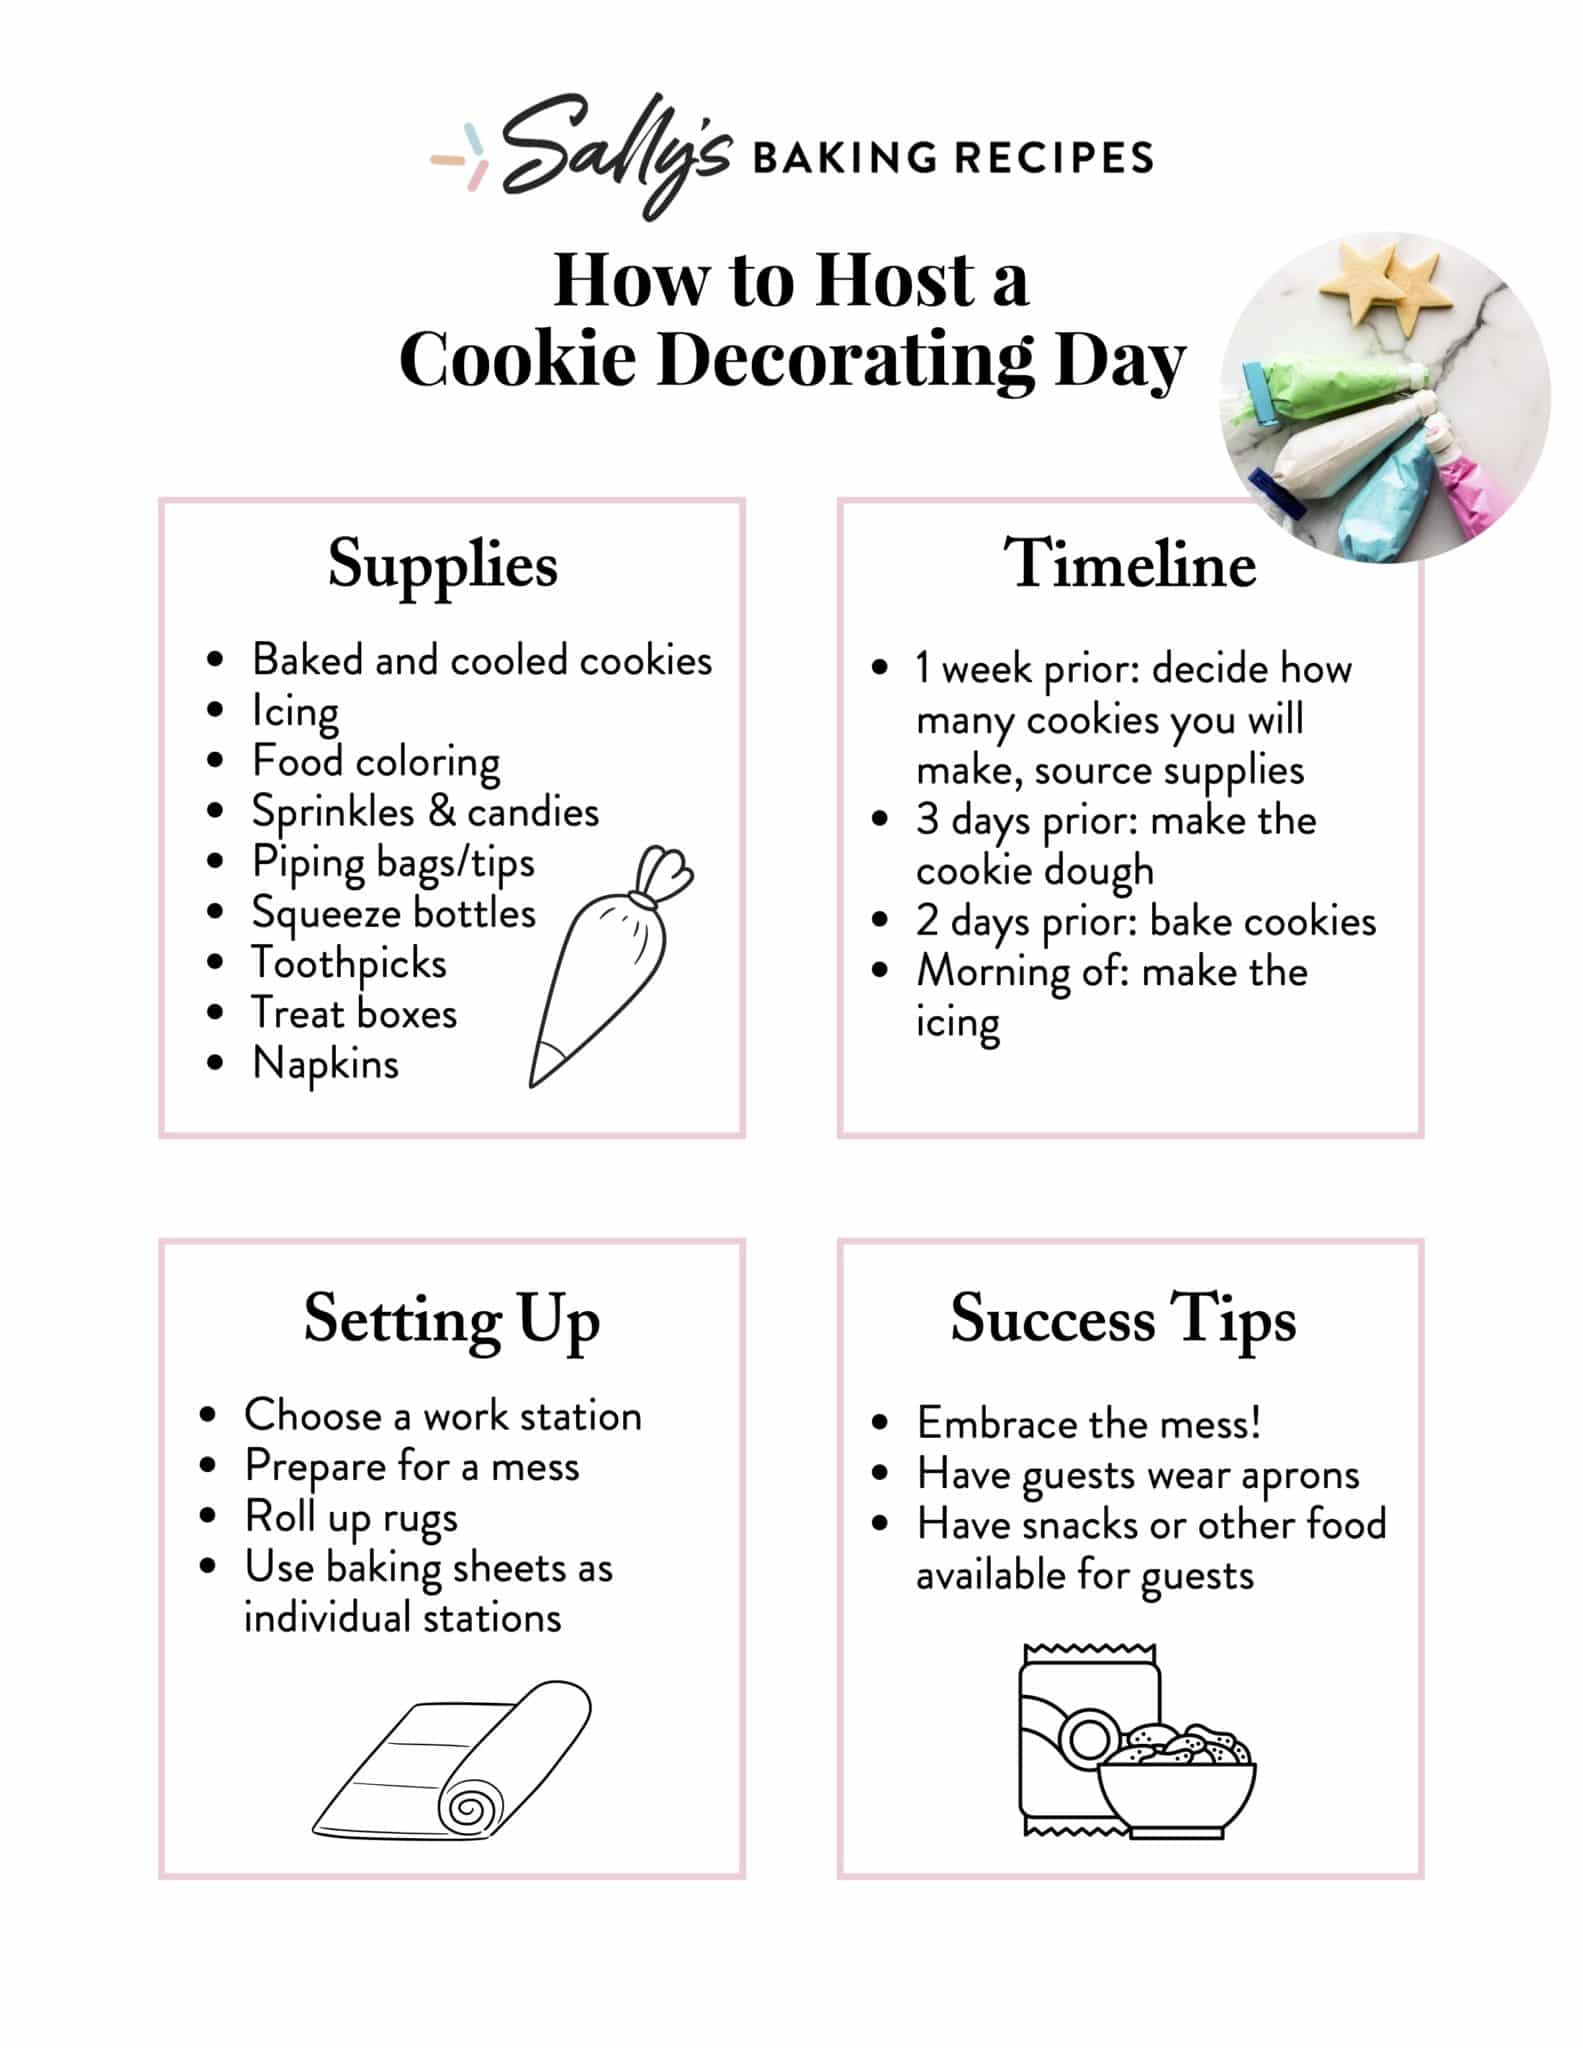
This Cookie Decorating Day Page Includes:
My recommendations for recipes & supplies Make-ahead and timeline instructions Setting up Quick success tips Ways to make the day extra special Free PDF printable to help you stay organized
I include affiliate links to products my team and I use—we are not working with any of these brands—truly items we find useful. We include many of these products in our Holiday Gifts for Bakers guide if you’re doing any shopping this holiday season. 🙂 I’ve hosted plenty of cookie decorating activities—as recent as 2 days ago—and this page sums up what I usually do. Have fun!
Homemade Cookies & Icing
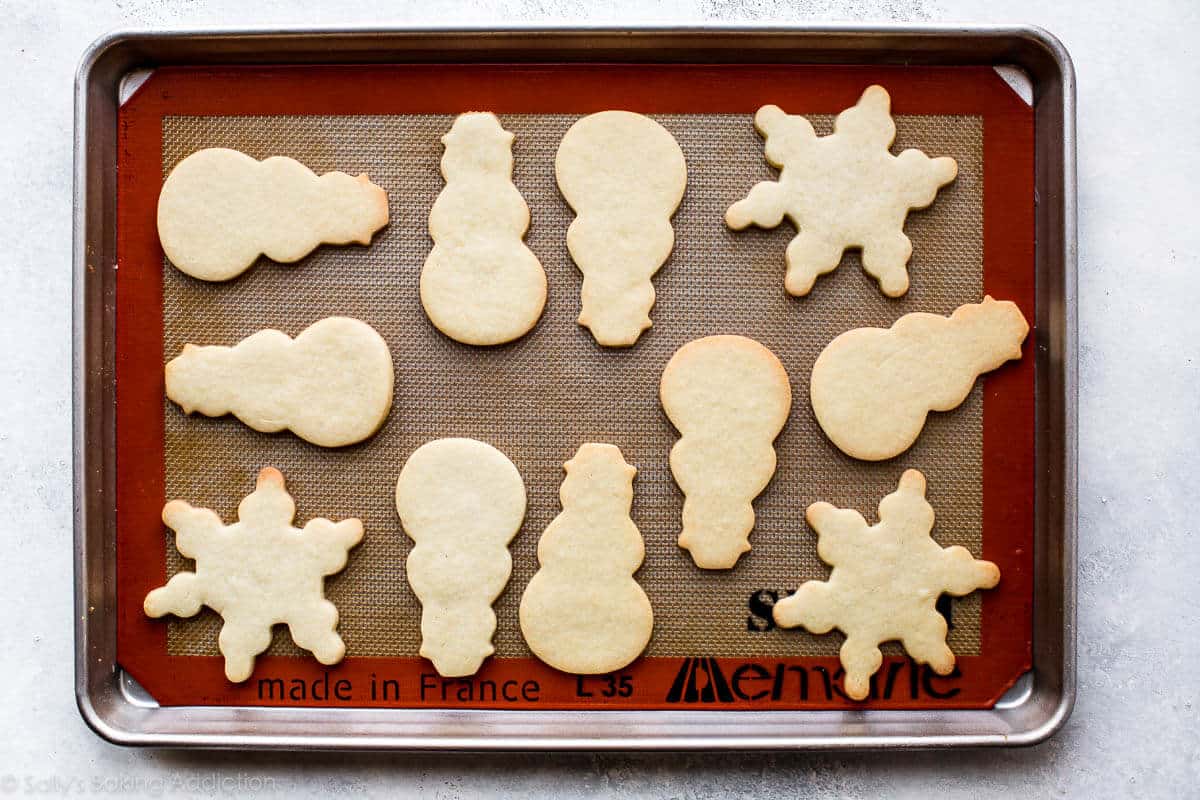
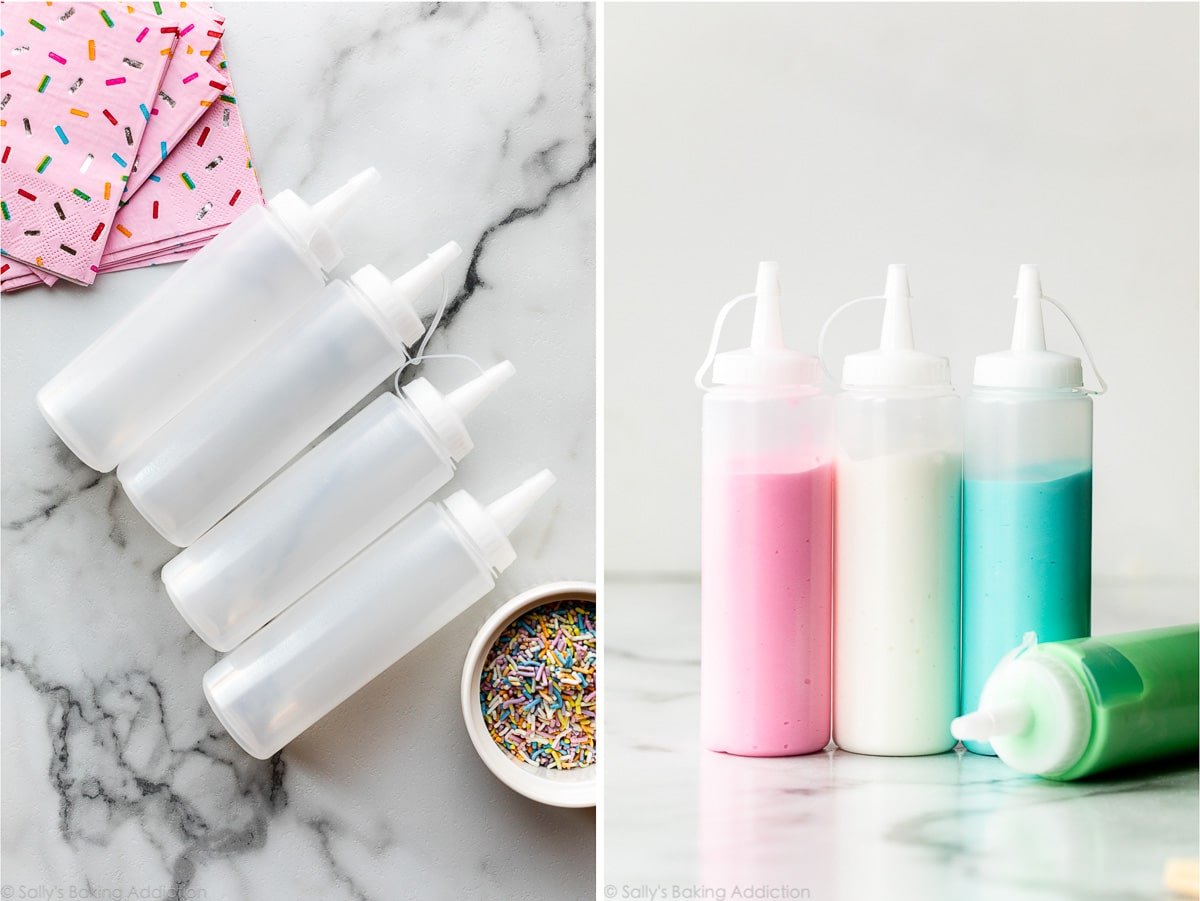
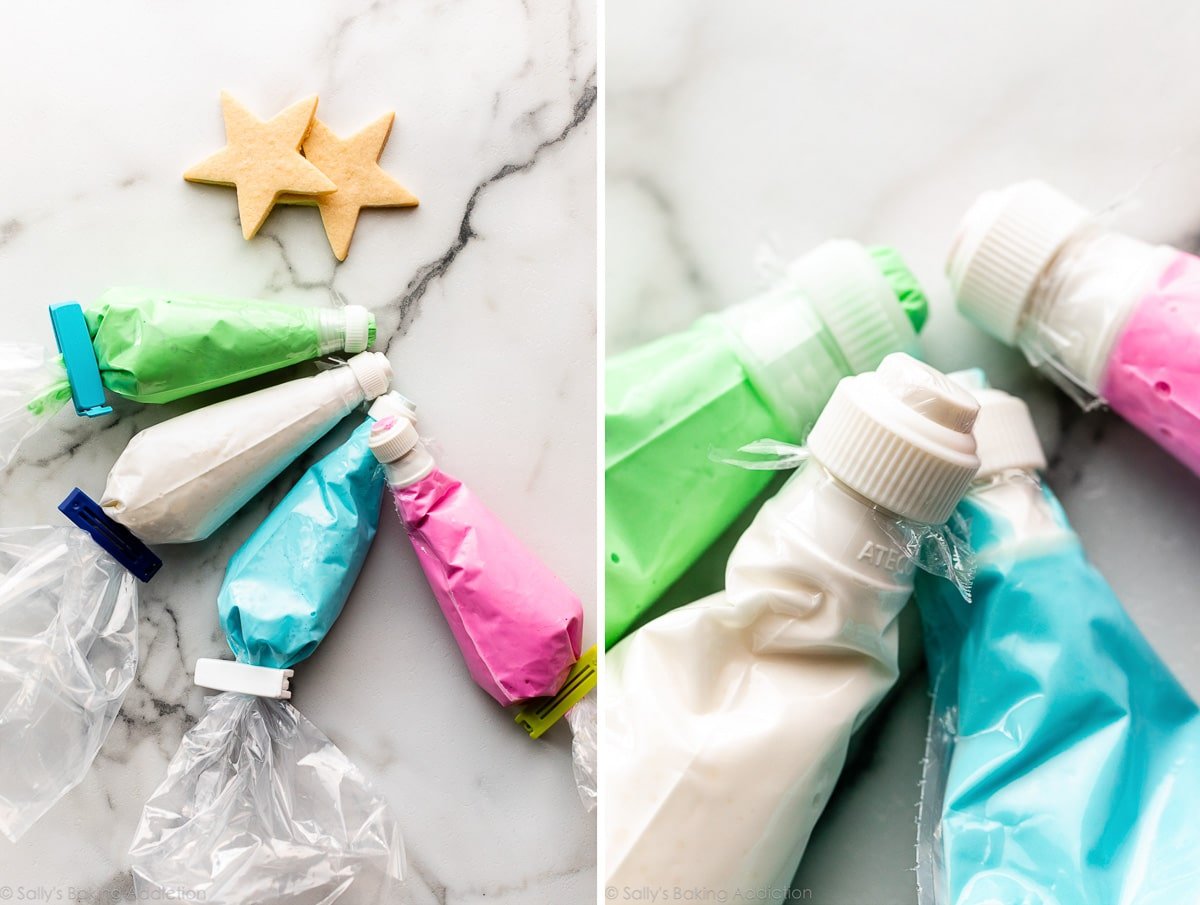
Baked & Cooled Cookies: Start the day with already baked and cooled cookies. Recipes I use are sugar cookies, gingerbread cookies, and/or chocolate sugar cookies. 6-8 cookies for each person to decorate is usually plenty and have extras in case any break, drop, etc. Doubling any of the recipes could work, but the doughs get heavy and it’s a load on your mixer. Therefore, I recommend making separate batches. With 5 children and 2 adult cookie decorators the other day, 1 batch of sugar cookies and 1 batch of gingerbread cookies was enough. Icing: Either royal icing or this easy cookie icing are great. Whichever you choose, I recommend making at least 2 batches of icing. Doubling the easy cookie icing is usually fine, but make separate batches of royal icing because the consistency can be thrown off with excess volume in the bowl. Optional Food Coloring: Tinting the icing is always fun and 3-4 colors total (including white) is manageable and typically enough. Gel food coloring is ideal and I like the brand AmeriColor—you can find their gel colors in the baking aisle of craft stores or give it a quick search online. I use and recommend this set of 6 colors or this set of 12 colors. I also like these Wilton gel colors and I know they’re available in some grocery stores too. As an alternative, you can tint either icing with natural powdered food coloring. Depending on the brand, you need to dissolve the powder in a little water before using, so make sure that you very slightly reduce the amount of water needed in either icing recipe.
For Decorating
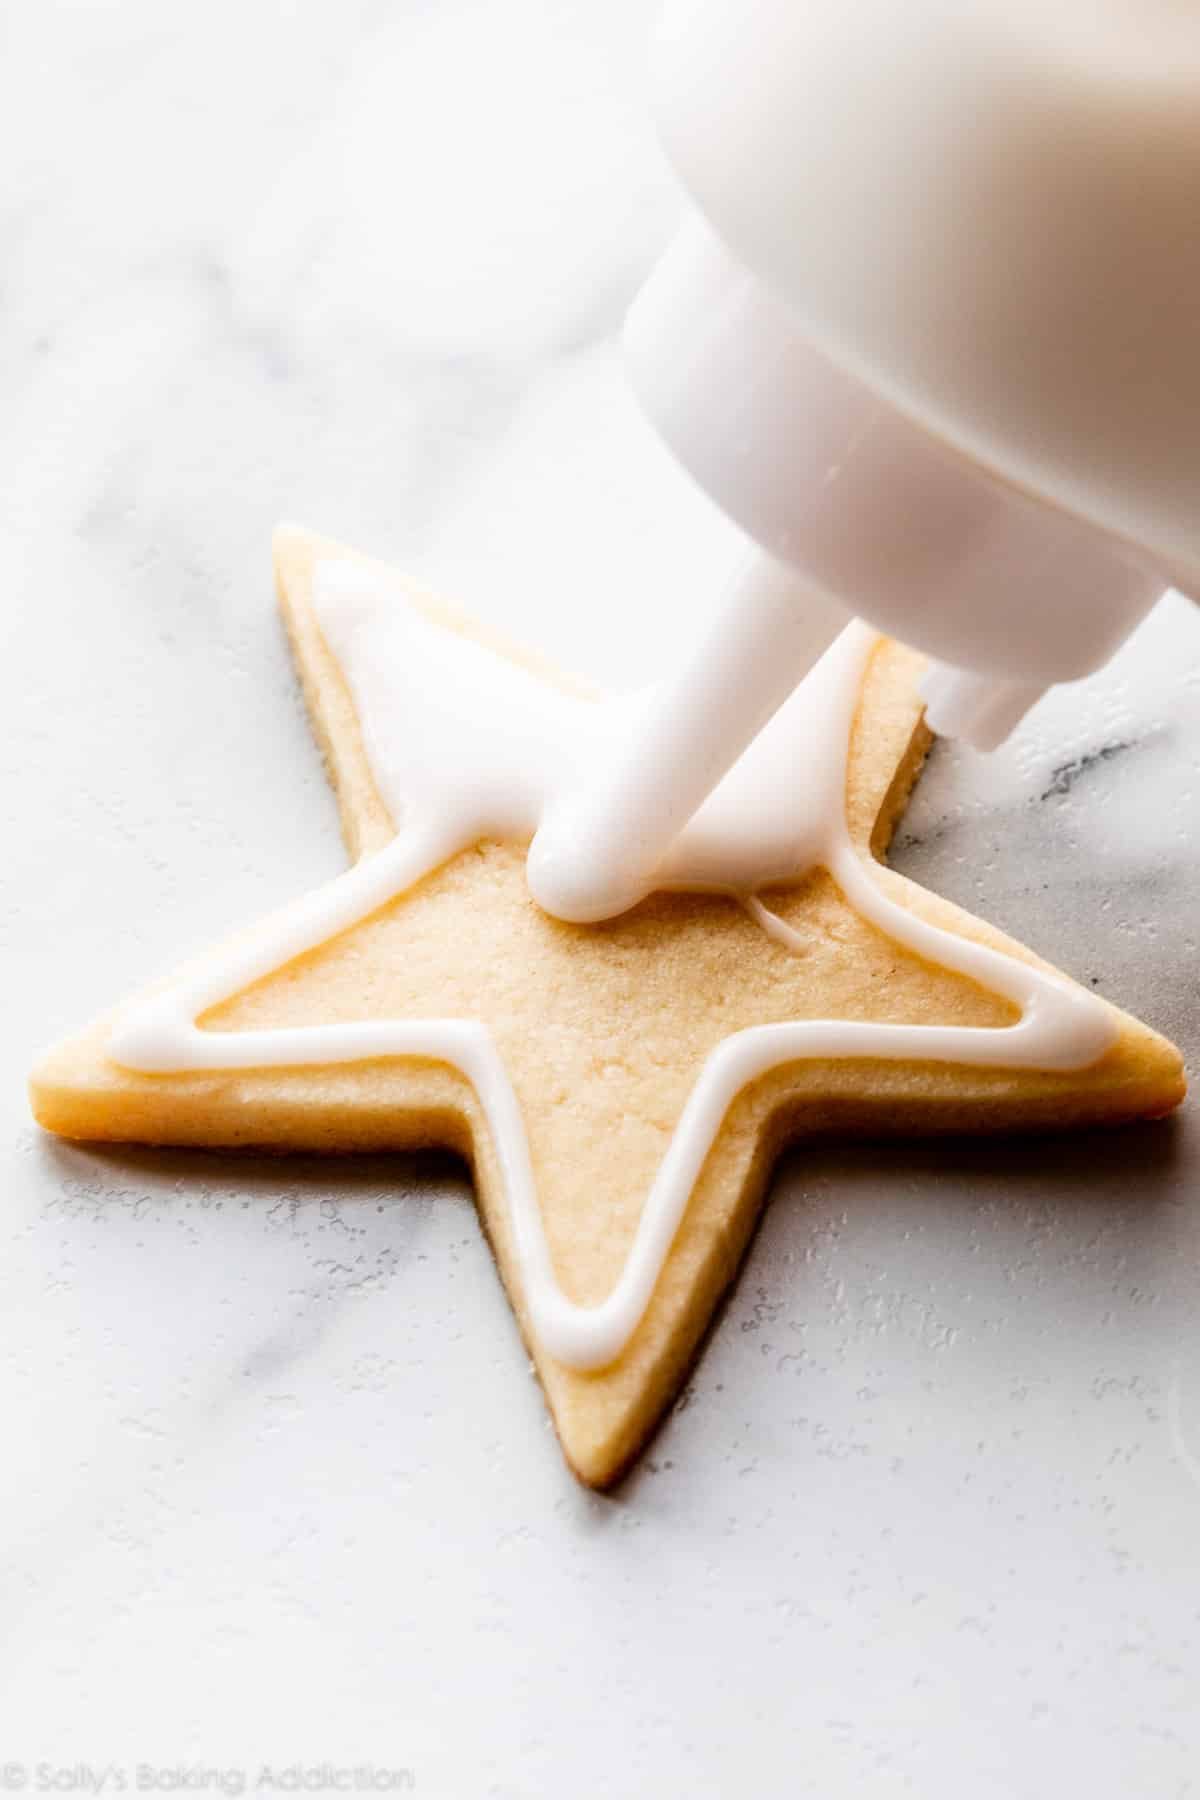
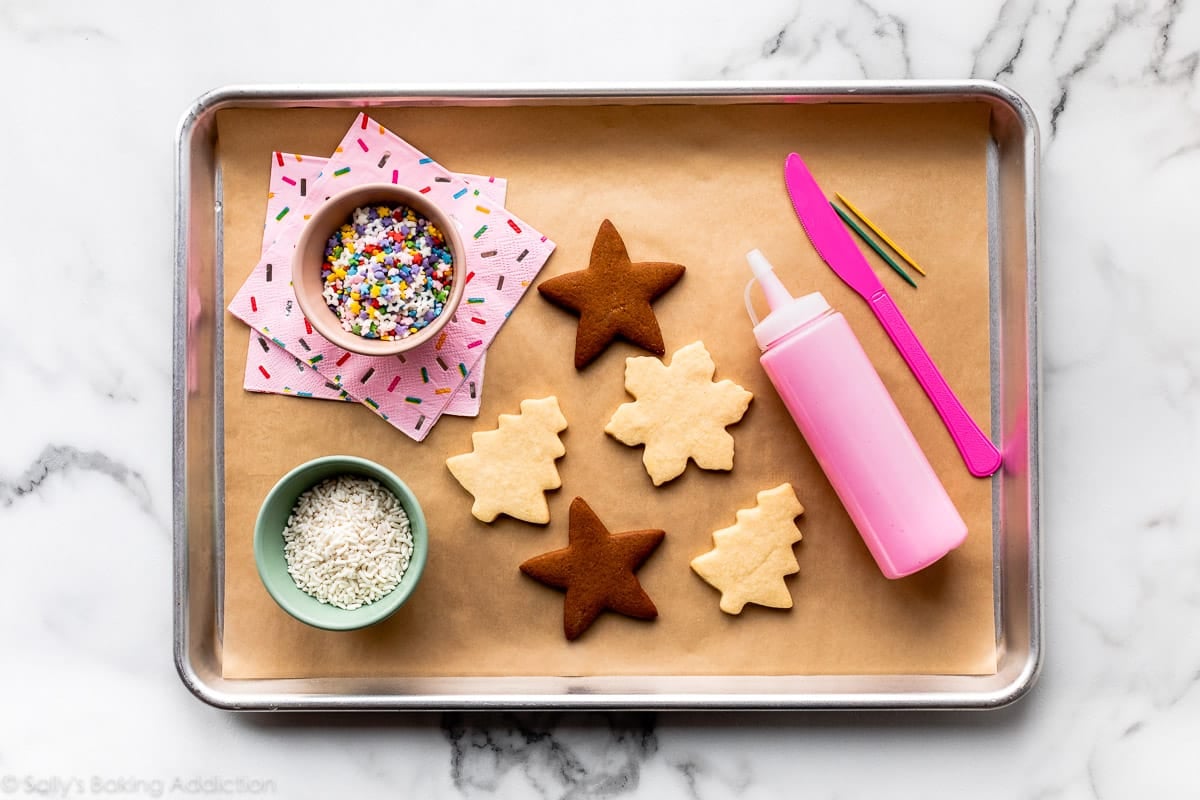
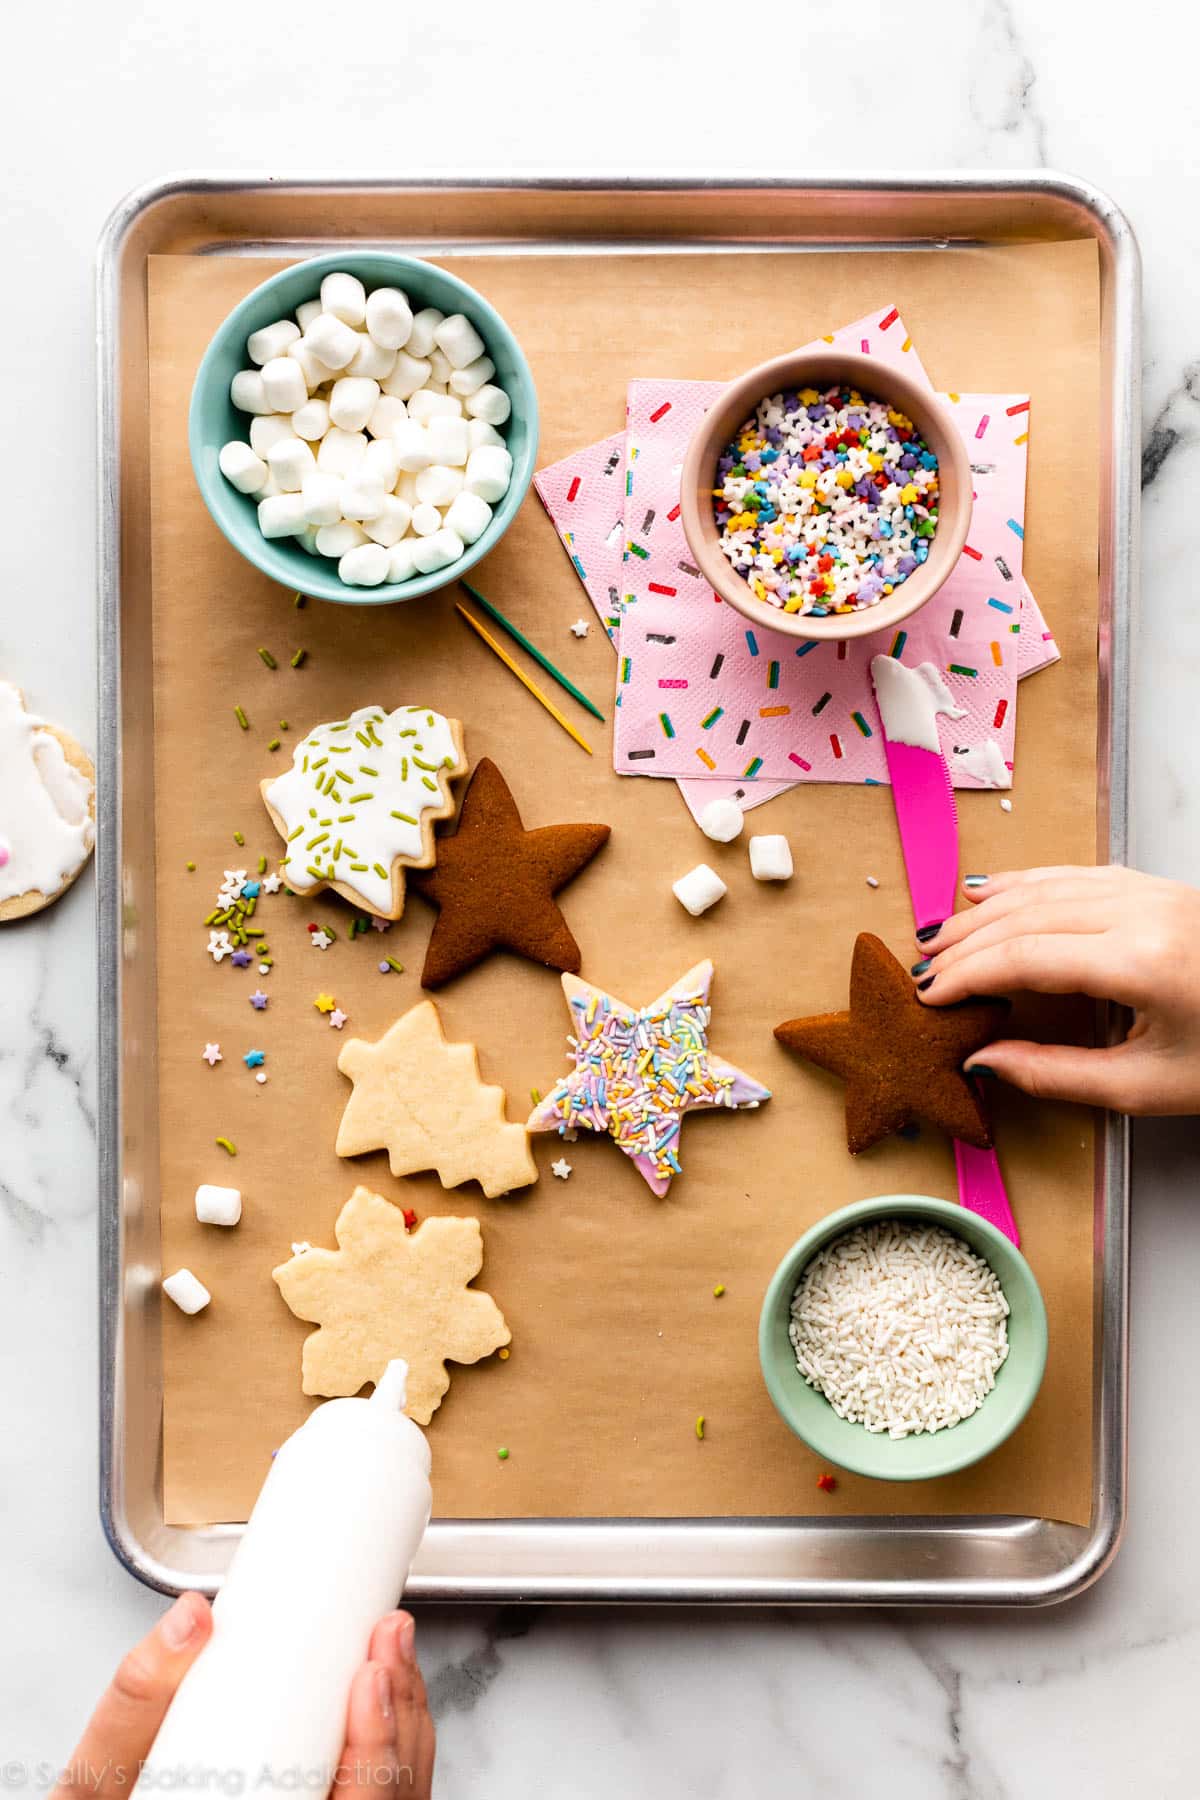
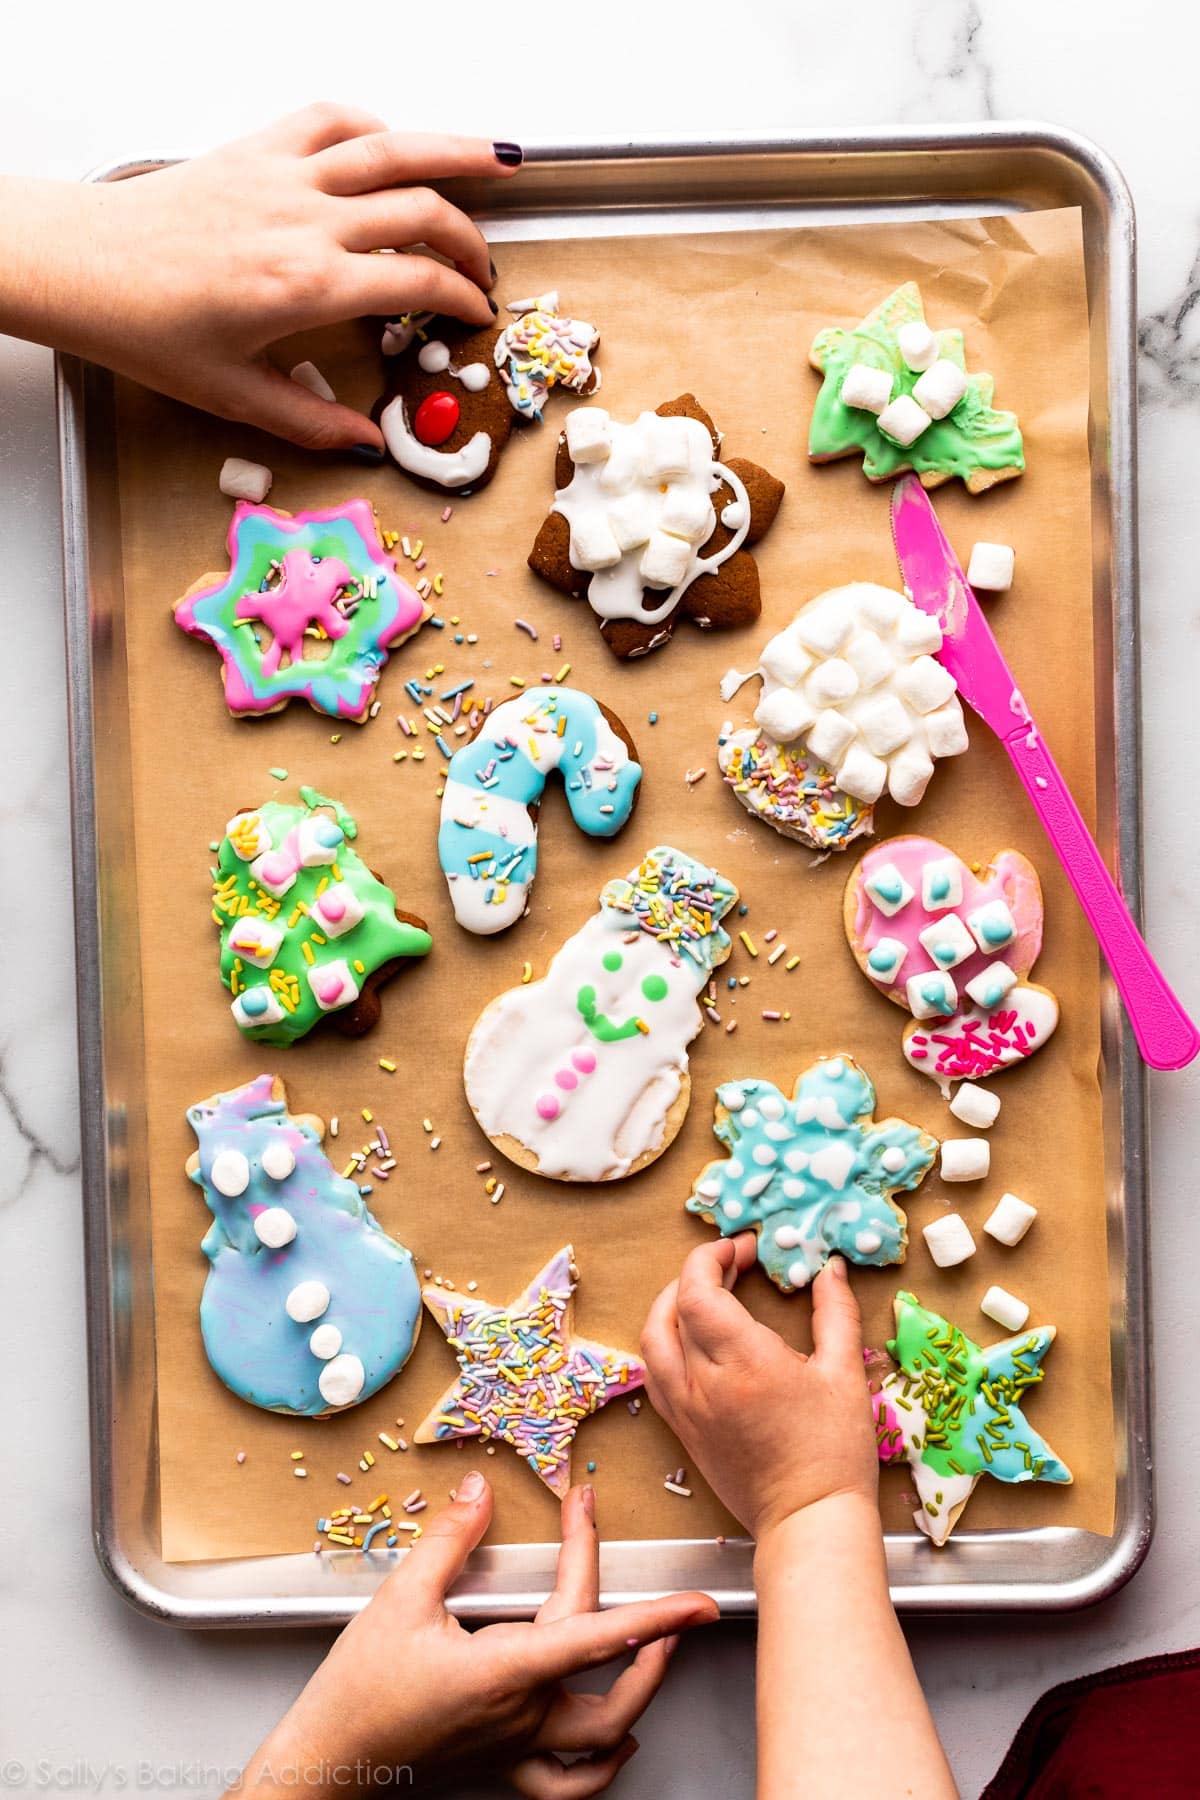
Sprinkles & Candies: A couple favorite colorful sprinkles are these and these. Marshmallows are a popular decoration/garnish with kids. Other options are mini chocolate chips, mini M&Ms, and crushed candy canes. Piping Bags/Tips: Choose what you want guests to use to decorate. Piping bags/tips are always a popular choice—I use and recommend these Disposable Piping Bags or these Reusable Piping Bags. To make things easy, I usually stick with Wilton piping tip #4 (purchase a few of them so everyone has one) and it works wonderfully for both types of icing linked. Of course you can just skip the piping tips and cut the end off the piping bag tip instead. Couplers are needed if you’re switching around your tips and icing colors or if you use my method for storing icing in piping bags (detailed below). Bag clips, bag ties, or rubber bands to keep piping bags closed. I use and love these bag clips. OR Squeeze Bottles: Instead of piping bags/tips, have your guests use squeeze bottles. They’re less intimidating than piping tips and easy for young bakers to use. Toothpicks or Knives: Toothpicks are helpful for intricately spreading/moving icing around on cookies. If you’re decorating with kids and they are able to handle a plastic knife, those are another great option for applying icing. Treat Boxes: Pick up some treat boxes so guests can take their decorated cookies home. I’ve used these pastry boxes before and they’re quality, sturdy, and a nice size. If you don’t have treat boxes, any reusable container or even paper plate covered with aluminum foil works. Napkins: Have plenty of napkins, paper towels, and/or hand wipes because cookie decorating day is messy. LOL! The pictured pink sprinkle napkins are from Home Goods, but here’s a fun option if you’re into sprinkles like we are!!
And for more decorating inspiration, here is my full tutorial (video included) on how to decorate sugar cookies.
Make Ahead/Timing
Here’s a general timeline that I usually follow. Feel free to use it!
1 Week Before Cookie Day: Decide how many cookies you want to make and all the shapes. Again, 6-8 cookies per guest is usually great. Plan for some extra in case of breakage or some sneaky taste testers. Order any harder to find ingredients/supplies like piping bags, specialty sprinkles, treat boxes, and/or meringue powder if you’re using royal icing. 3 Days Before Cookie Day: Make the cookie dough(s). Each cookie dough linked above must chill in the refrigerator. To break up your work, make it in advance and bake the next day. 2 Days Before Cookie Day: Bake all of the cookies and make sure you have a place/enough airtight containers to store them. All cookies are fine covered at room temperature. See individual cookie recipes if you want to make them further in advance to freeze. Morning of Cookie Day: Make the icing. Store in piping bags or squeeze bottles.
Printable PDF Timeline
And because I’m sure you appreciate staying organized, here’s a free PDF to help you get organized and stay on track for the day. **Click this link for the PDF: Host a Cookie Decorating Day Here is a photo preview:
How to Store Icing Ahead of Time
For best taste and optimal freshness, I recommend making the icing the day of. But if you’re busy that morning, both icings linked above—royal icing and easy cookie icing—can be made 2-3 days ahead. (For specific freezing instructions, see each individual recipe.)
Making Ahead & Storing Icing: Prepare icing, cover tightly, and keep in the refrigerator for up to 2-3 days. You can store in piping bags (with clips or rubber bands to seal ends), in squeeze bottles, or covered in a bowl or container. Bring to room temperature before using. If icing has thickened up or separated, add a few drops of water and mix in to thin out. Depending how you stored the icing (squeeze bottle/piping bag/container or bowl) shake squeeze bottle to mix/massage piping bag to mix/whisk in bowl or container to mix.
If I’m storing icing in piping bags and intend to use piping tips, here’s what I do. It’s a handy trick I learned from team member and professional cookie decorator, Stephanie. Cut tip off piping bag, insert coupler base into piping bag, place piece of plastic wrap over opening/coupler base, secure coupler ring over plastic wrap and twist to seal. Fill with icing. When ready to use icing and add the piping tip, unscrew coupler ring, remove plastic wrap, insert tip, and screw coupler ring to lock piping tip in place.
Setting Up/Using Stations
Where to Decorate: Make sure there’s enough space for each guest to decorate. Decorating can be done around a kitchen island or table and bring in extra folding tables if necessary. Cover anything not wipeable for example—upholstered dining room chairs! If you have a rug under your table, you might want to roll it up. Use Baking Sheets as Individual Stations: I love using rimmed baking sheets as individual stations for each guest. If you’re shopping for some, I use USA Pan and Nordic Ware and love these parchment paper sheets. Place 1-2 napkins on it, individual bowls of sprinkles/decorating candies (or use cupcake wrappers instead of bowls!), their cookies, a knife and/or toothpicks if using, and a bottle/piping bag of icing. If you don’t have rimmed baking sheets, wipeable placemats or paper plates work too. You can place all of the icings/candies/sprinkles in the center of the island/table and have guests pick out their own cookies upon arrival. Some guests may want to select their own cookies!
Let Icing Dry
Royal icing dries in about 2 hours, but you can speed it up by placing the cookies in the refrigerator. This easy cookie icing takes a long time to fully dry (about 24 hours), so guests will take the cookies home with partially wet icing. Arrange cookies in a single layer in a treat box or take-home container.
Success Tips for Cookie Decorating Day
Fun Extras
If you’re really into it, these extras make the day even more exciting.
Cookie Day Shirts. My shirt shop is now open! Special cookie shirts turn the activity into a fun event—these are great if cookie decorating day is part of a birthday party or night in with friends. They come in tons of colors, several different styles, and 4 different designs. The “Cookie Crew” shirts would be so cute for the occasion. Kids sizes are available, too. Personalized Aprons. A Personalized Kids Apron is a lovely gift, especially if cookie decorating day is for a birthday party. I also just found these custom aprons that come in adult and youth sizes. Custom Cookie Tins are a beautiful way to store or transport the cookies.
Cookie Decorating Kits
We receive a lot of questions about making and gifting Cookie Decorating Kits—basically a little kit you can gift to someone with baked and cooled cookies, icing, and sprinkles/candies for decorating. I’ve gifted these a small handful of times before and here’s what I do:
Wrap cookies in individual treat bags like these. Store icing in piping bags. (No need for piping tip unless you want to gift a piping tip. The gift recipient can just cut off the tip of the bag.) Add a bottle of sprinkles/candies or seal in individual bags. Gift in a treat box or cookie tin. Icing is fine at room temperature for up to 3 days. After that, it’s best to refrigerate it. Cookies are fine at room temperature for about a week.
Q: What’s your best advice for cookie decorating activities? And again, here is the PDF/printable: Host a Cookie Decorating Day You might also find this list of my most recommended cookie decorating supplies helpful. And for even more holiday baking inspiration, here are 75+ Christmas cookies with all my best success guides & tips. Happy baking!