While I love a good baking challenge, when it comes to decorating baked goods, I like to keep things simple. Much like the Piping Tips 101 tutorial I did for 5 basic (yet beautiful) ways to pipe frosting onto cupcakes, think of this as your Sugar Cookie Decorating 101 course.
Use These Decorating Techniques on Any Cut-Out Cookies
The cookies you see here are my classic sugar cookies. These cookies, with their irresistible buttery vanilla flavor and soft, thick centers, are a wonderful base for decorating with icing. They hold their shape when baking and have a flat surface that’s perfect for decorating. These cookie decorating techniques can all be used on other types of cut-out cookies, too:
Gingerbread Cookies Pecan Sugar Cookies Cream Cheese Cut-Out Cookies Chocolate Sugar Cookies
Now Let’s Talk About Royal Icing
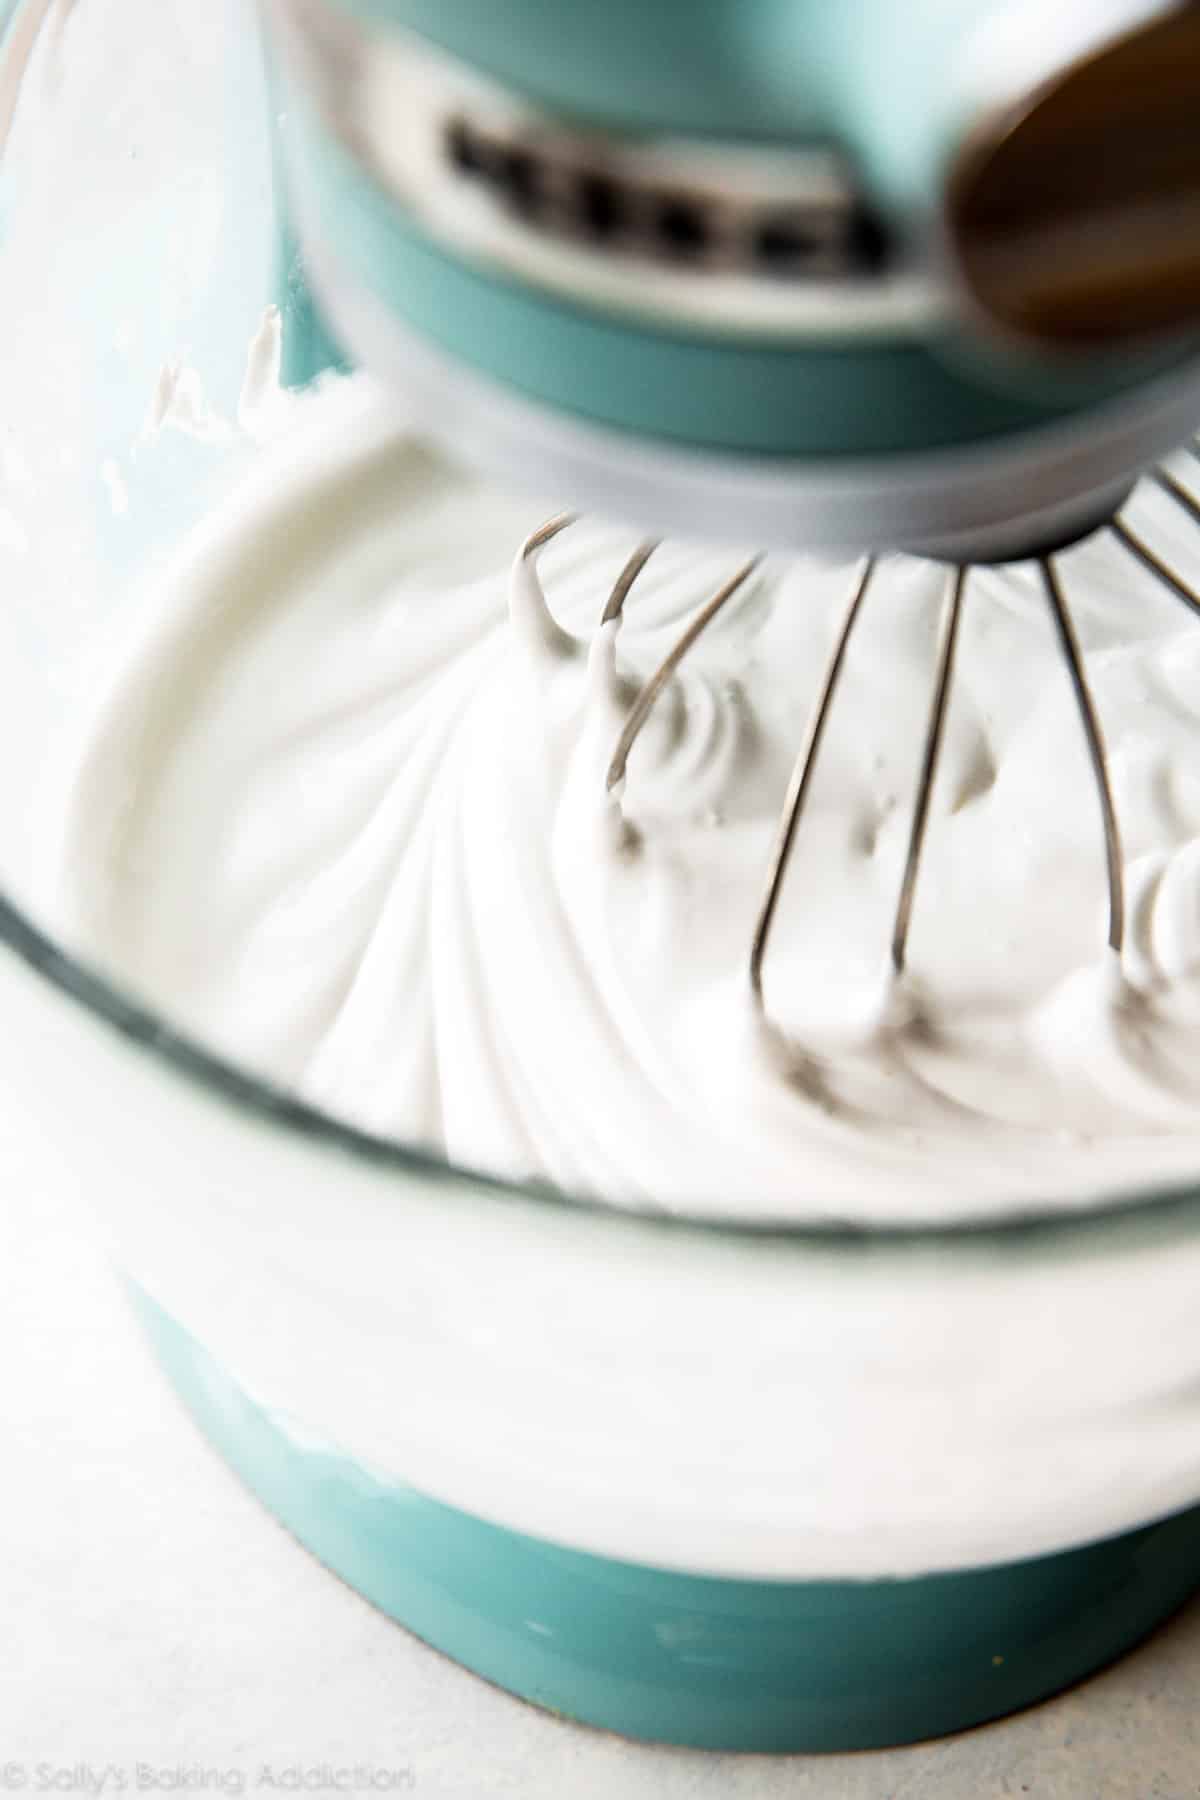
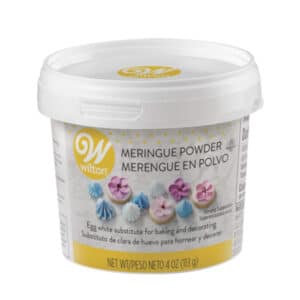
I have a separate post all about royal icing with lots of tips on how to make it, but I’ve also included a printable recipe card below. Royal icing is my preferred sugar cookie icing because it’s easy to work with, dries within 1–2 hours, and doesn’t harden into cement (it’s on the softer side!). I especially love this particular royal icing because you can use it for both outlining and flooding your cookies. It’s made with meringue powder, which takes the place of the raw egg whites found in traditional royal icing recipes. You can find meringue powder in some baking aisles, most craft stores with a baking section, and online; one container should last you a long time.
Royal Icing Alternative: Glaze Icing
If you’d prefer to go with something that’s a little easier to make, try my easy cookie icing. This opaque glaze-like icing doesn’t set/dry as quickly as royal icing (it takes about 24 hours) and it’s not ideal for piping sharp detail. That being said, sometimes it’s just the more convenient option!
Tint the Icing and Fill Your Piping Bags
You can keep the icing white or tint the icing with gel food coloring. To color it, divide it into small bowls. Add gel food coloring to each bowl and mix well. Grab a piping bag for each color of icing. Fit each with a coupler and piping tip. I typically use Wilton piping tip #4 for both outlining and flooding the cookie with icing. This is a wonderful basic piping tip to have in your collection. When I’m using multiple colors with the same piping tip, I always use couplers. This makes it easy to swap piping tips among the different colored bags of icing. Spoon the icing into the piping bag.
Clips: I use these clips to secure the end of the piping bag, so the icing doesn’t leak out the end of the bag.
Now let me show you how to decorate sugar cookies with 4 simple techniques.
1. Flooding Icing: Piping a Single Layer of Icing
Let’s start with the most basic technique: decorating with a single layer of icing. First, pipe an outline all around your cookie. Then fill in the center of the outline—this is called “flooding.” Go ahead and add some sprinkles while the icing is still wet, as pictured on the snowflake- and candy cane-shaped cookies below.
2. Piping Two Layers of Royal Icing
The next method is a double layer of icing, which means you pipe and flood the cookies and let that layer of icing set, and then go back later to pipe some details on top. Polka dots, stripes, swirls, or writing will stand out beautifully with this method. You can switch icing colors and/or piping tips for a finer detail. Start by piping and flooding the cookie with a layer of icing, just like we did before. Let that set for 1–2 hours, and then you can pipe on a second layer of icing details once the first layer has dried. Again, you can speed up the drying time by placing the iced cookies in the refrigerator. To add some swirls on top of the pictured heart cookies, I switched piping tips from the Wilton #4 to the smaller Wilton #2. A smaller tip will pipe a more defined and detailed design.
3. How to Pipe Icing in Defined Sections
I love this look, because if you are only using one color, it gives the icing some dimension. And if you’re using multiple colors, this method keeps the colors from bleeding together. Start with one color, and pipe every other section or area of your cookie, then let it set before you pipe the remaining sections/areas. For the pumpkin cookies, I outline and flood the center, and then the two sides, leaving space between each section. Let the icing dry for at least 30 minutes. Once the icing is semi-set, you can go ahead and fill the remaining sections with icing. This “defined sections” method takes a little more time, but if you’re decorating a lot of cookies, you may find that by the time you finish piping the first sections on all the cookies, the icing will have set enough to start piping on the remaining sections.
4. Piping in Sections + Sprinkle Dip
This technique gives the cookie that same sectioned look as above, but you don’t have to wait 30 minutes for the first section to set. Start by piping on the section you want to cover with sprinkles or sparkling sugar. Dip the cookie into the sprinkles, so that they completely coat the icing. Then pipe on your remaining sections. Again, you can switch colors here if you’d like, and you don’t have to worry about the colors bleeding together because the first color was covered in sprinkles. For the flower cookies below, I used a combination of both techniques #3 and #4: I piped the circle in the center first, and then dipped it in sprinkles. Then I piped on every other petal, and let those set before going back and piping on the remaining petals. Make sure to watch the video tutorial below to see me demonstrate all of these techniques. I hope this post and video helps you overcome any fears you may have about cookie decorating, because even simple techniques can make for beautiful cookies. Just take your time and have fun with it! Now you’re ready to host a Cookie Decorating Day! 😉