Here is how to make ghee with unsalted butter at home using the Instant pot and stovetop with easy step-by-step photos, tips, and video. Homemade Ghee has always been a staple in Indian Kitchen. It is used to cook your curries or Dal (lentils), Indian dessert, or simply smear your chapati, rotis, parathas!!
My Mom and Aaji (grandmother) made ghee the traditional way from scratch by boiling milk, separating the cream (malai), and then cooking the cream to make ghee. In the USA, usually milk is not boiled so it’s easy and convenient to make homemade ghee from butter. Making homemade ghee may seem intimidating at first but it’s actually easy and once you make it at home you will never buy the store-bought ones.
What is Ghee
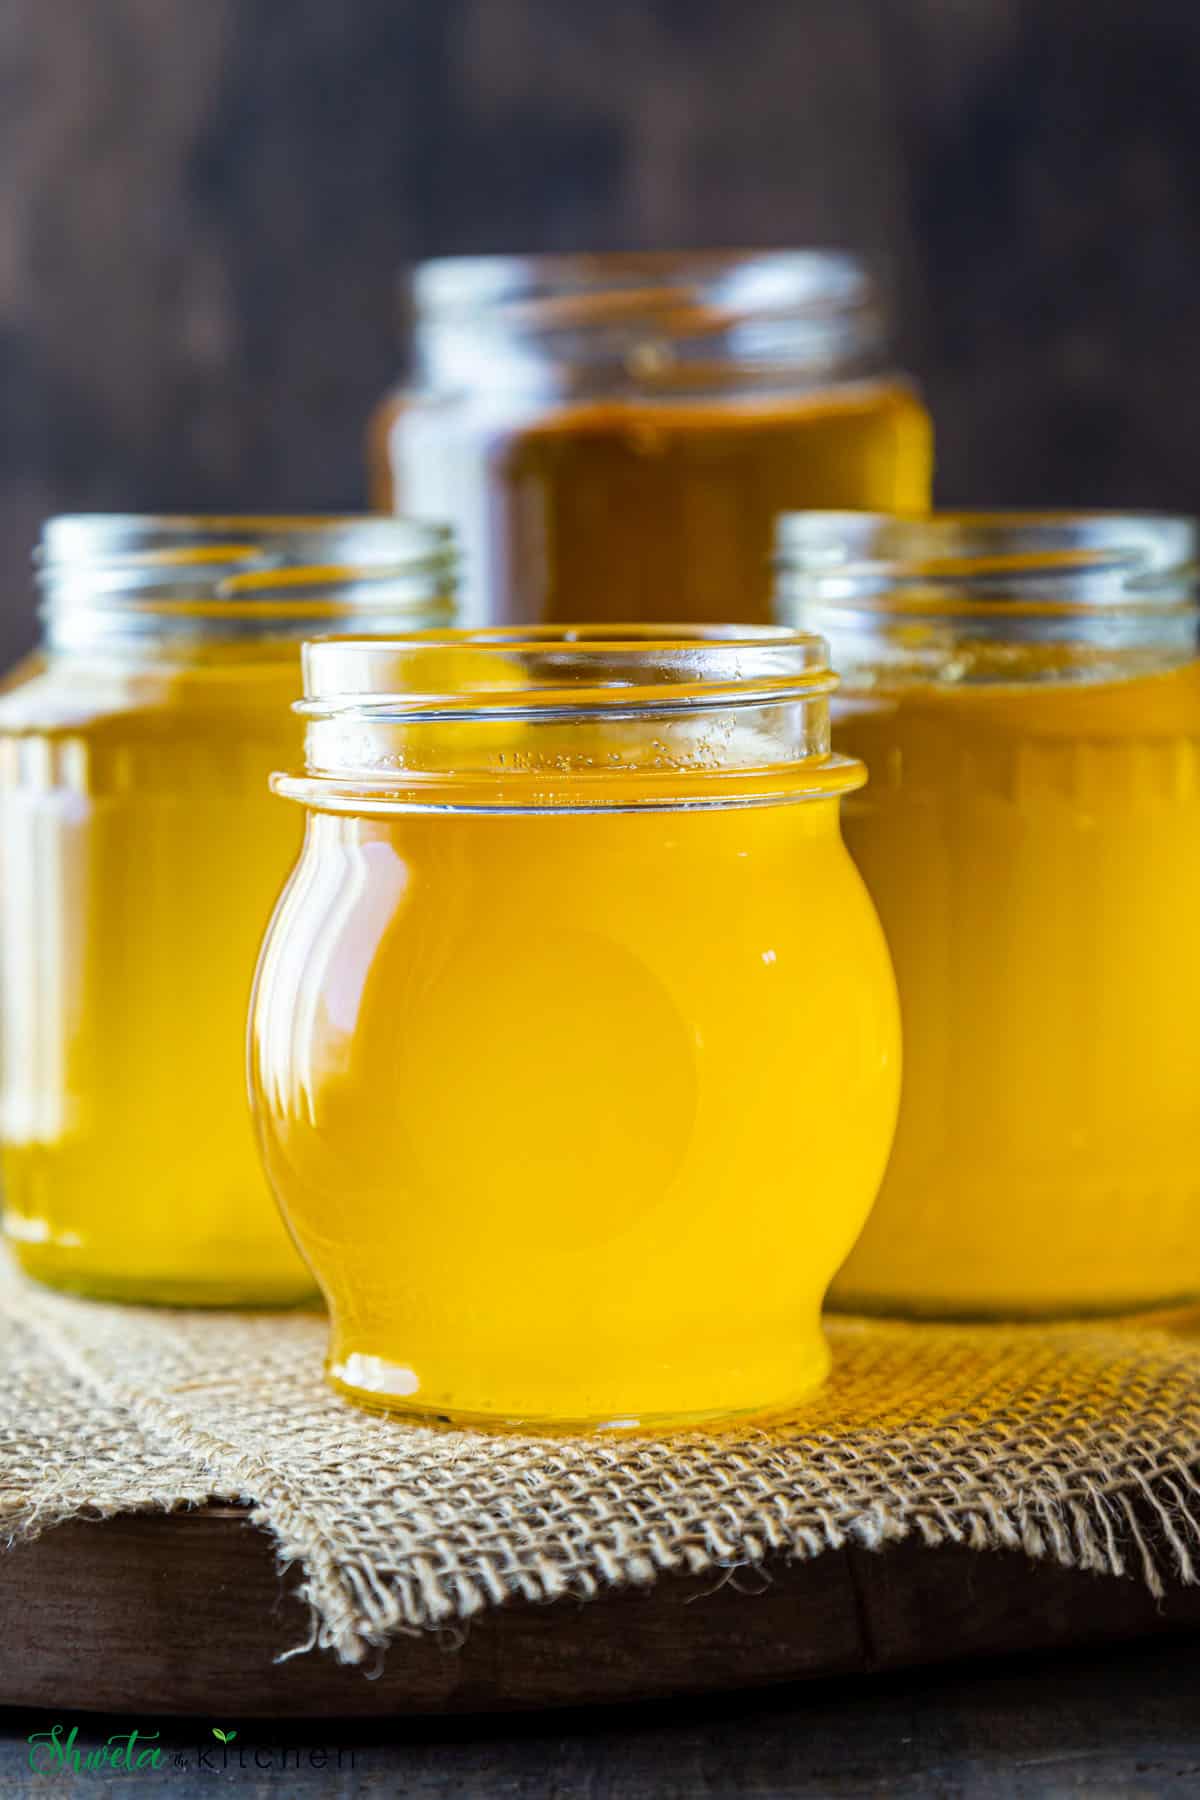
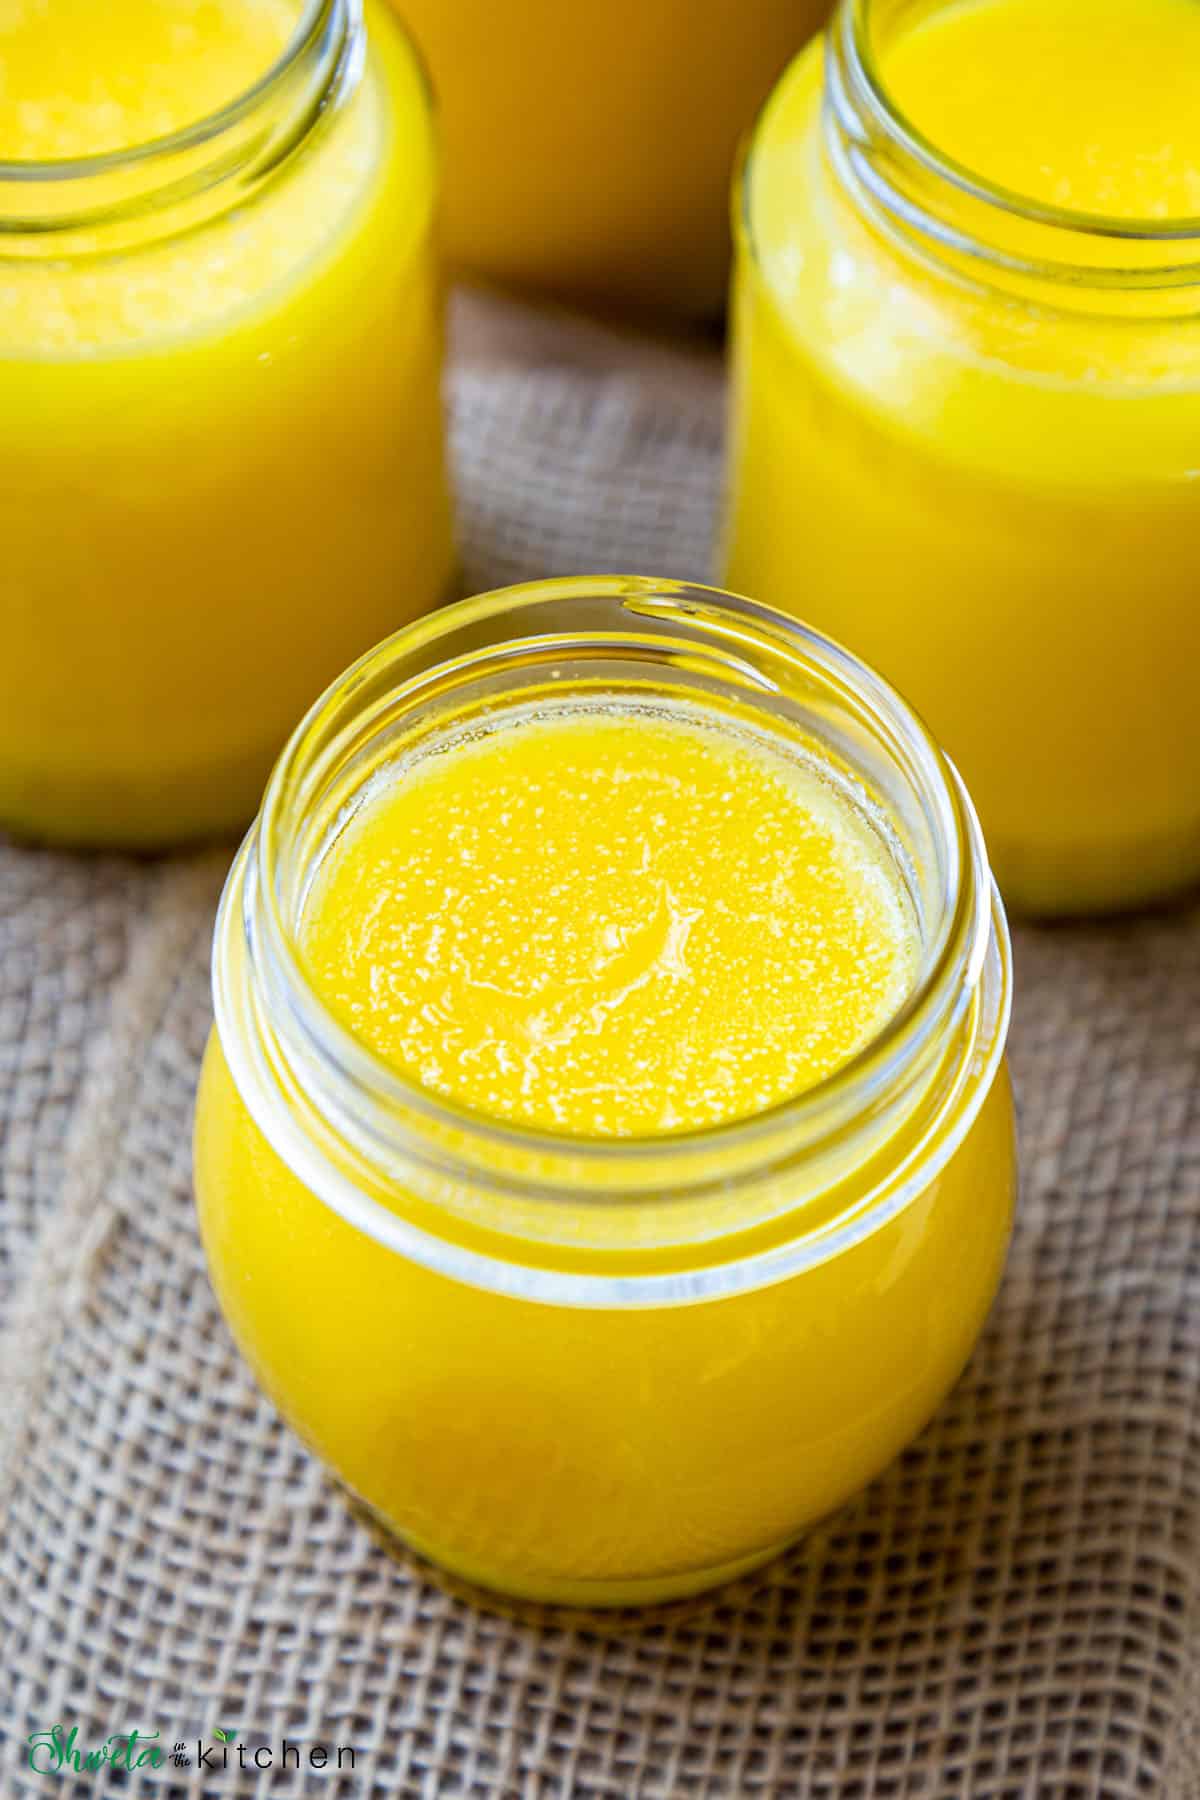
Ghee is a type of clarified butter and the most commonly used fat in Indian cooking. It is also known as Tup (Sajuk Tup) in Marathi and Desi ghee in Hindi. To make ghee, you cook the butter until the milk solids separate, brown (caramelize), and settle to the bottom of the pan. The yellow liquid is then filtered to remove the browned milk solids from it. This process gives a golden yellow liquid called Ghee or Liquid Gold. Ghee has a great shelf life and thus can last for a couple of months or even years at room temperature without any refrigeration. It has a high smoking point making it a great choice for cooking including stir-frying, deep-frying, serving, smearing, topping food to enhance the taste, and for making sweets, desserts for all occasions. Ghee is nutty in flavor and sweet aroma. It enhances the flavor of any recipe it is added to. Generally, saturated fats are considered unhealthy with the exception of Ghee, which has been proven as one of the most beneficial fats to be used in the kitchen.
What is Ghee used for
Ghee is primarily used in cooking in place of butter and oil due to its high smoke point. It makes things crispier without burning them.
A great source of Vitamin A, D, E, and K Rich in monounsaturated Omega-3s (fatty acids) that support a healthy heart. Boosts energy levels, improve digestion and strengthens the immune system. Help reduce inflammation. Known to aid weight loss and improve vision. It is lactose-free since the milk solids are removed during the cooking process. So if you are lactose intolerant use ghee instead of butter (consult with your doctor before consuming).
Here are a few ideas of how you can use Ghee :
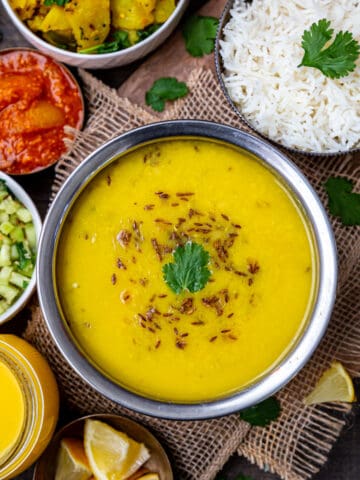
Use it to smear on hot fresh chapati’s and rotis to keep them soft and nice. Roast your parathas in ghee for that authentic flavor. Try toasting your bread with ghee, its adds great flavor. My kids love ghee toast. Use it for making stir fry, sabzis (curries), tadka for dal (lentils), kadhi or any type of Indian food. Indian Sweets such as Ladoo, Sheera, Halwa taste even more tasty when made in ghee. Add a teaspon of ghee to your Khichdi or dal rice to make it tastier and nutritious. Use it to light up your Mandir Diya or Diwali lanterns. Use ghee on chapped lips and see the magic happen. Its helps soothe dry skin. Or apply it as a hair mask to hair and wash as usual.
Recipe Ingredients
You just need one ingredient to make homemade ghee and that is butter.
The primary reason is, it is very cost-effective to make ghee at home and also very easy. You can make ghee in bulk and it can easily last for 3-6 months.
You also have full control over the quality by selecting the best organic butter which is not possible in store-bought varieties.
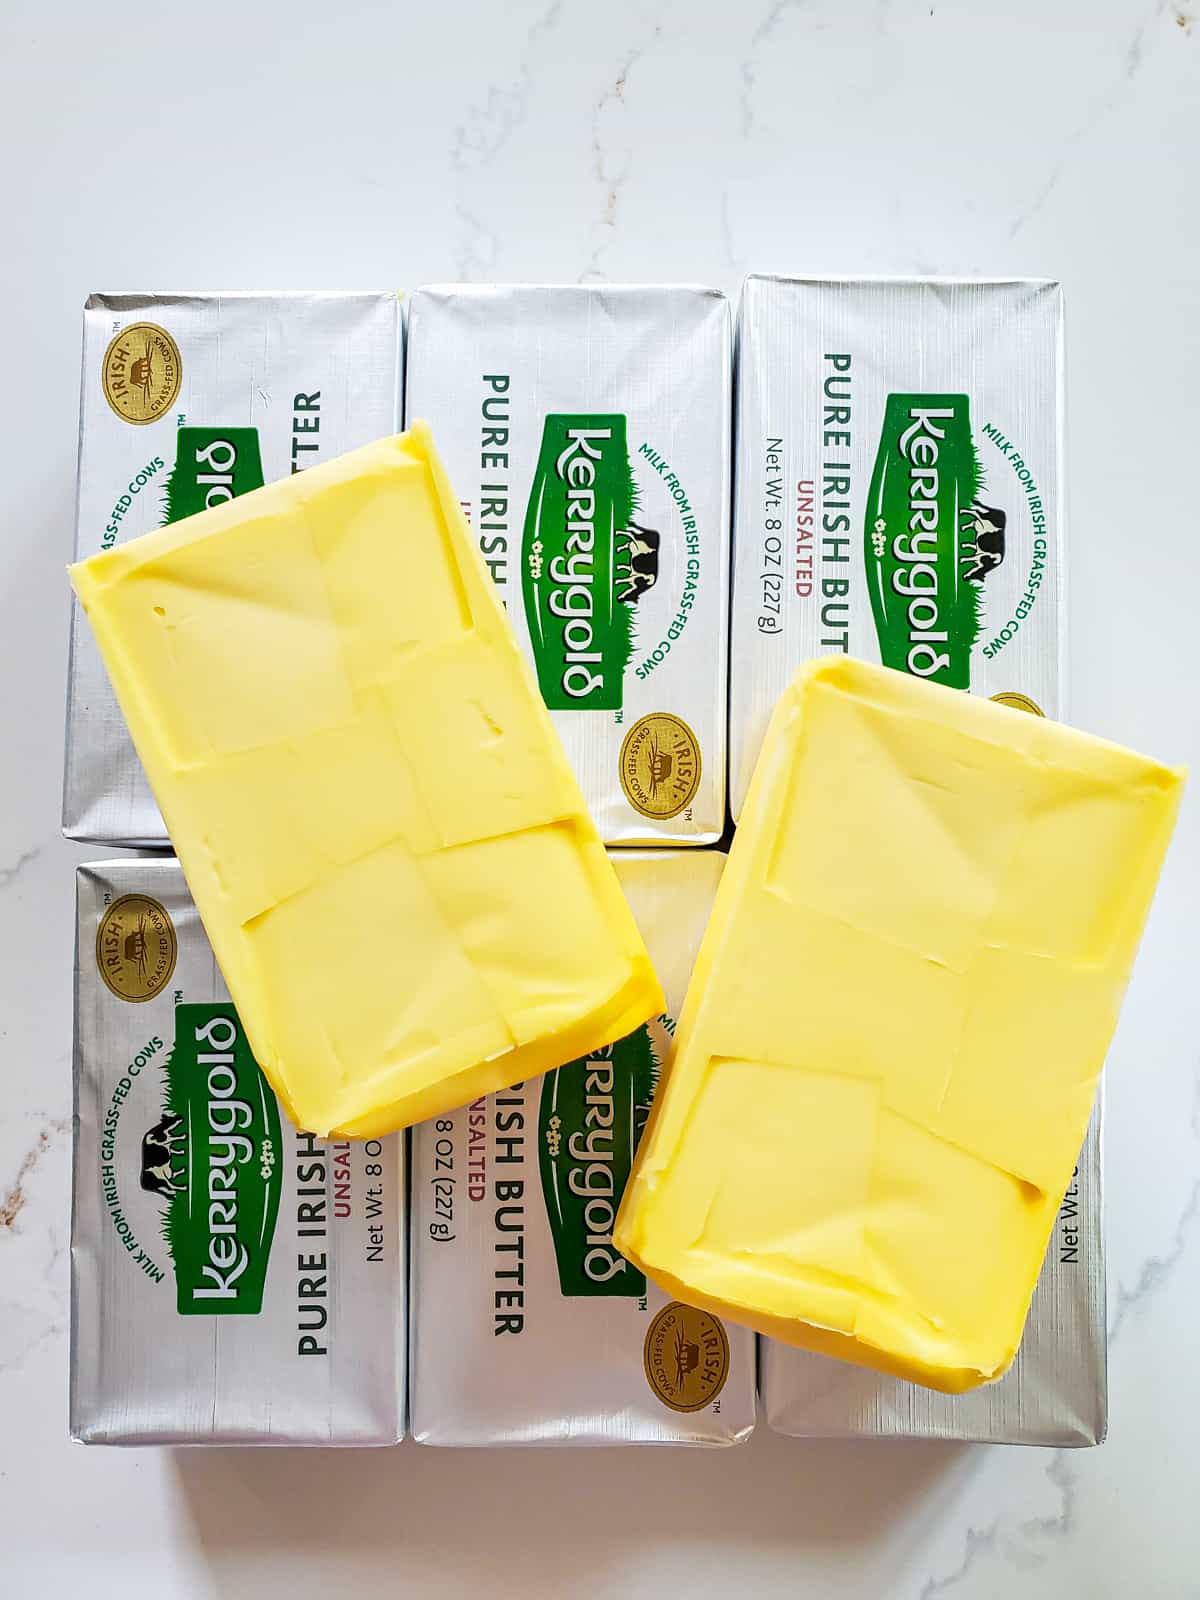
Use good quality butter. I prefer Kerry Gold unsalted butter to make ghee. You can use salted butter too. I buy mine in bulk from Costco.
Kerry Gold unsalted butter is made with milk from Irish grass-fed cows. I find it gives the best color, taste, and texture to ghee which is very close to our Desi ghee made from scratch.
Please refer to the recipe card for exact measurements of ingredients.
How to make Ghee in Instant Pot
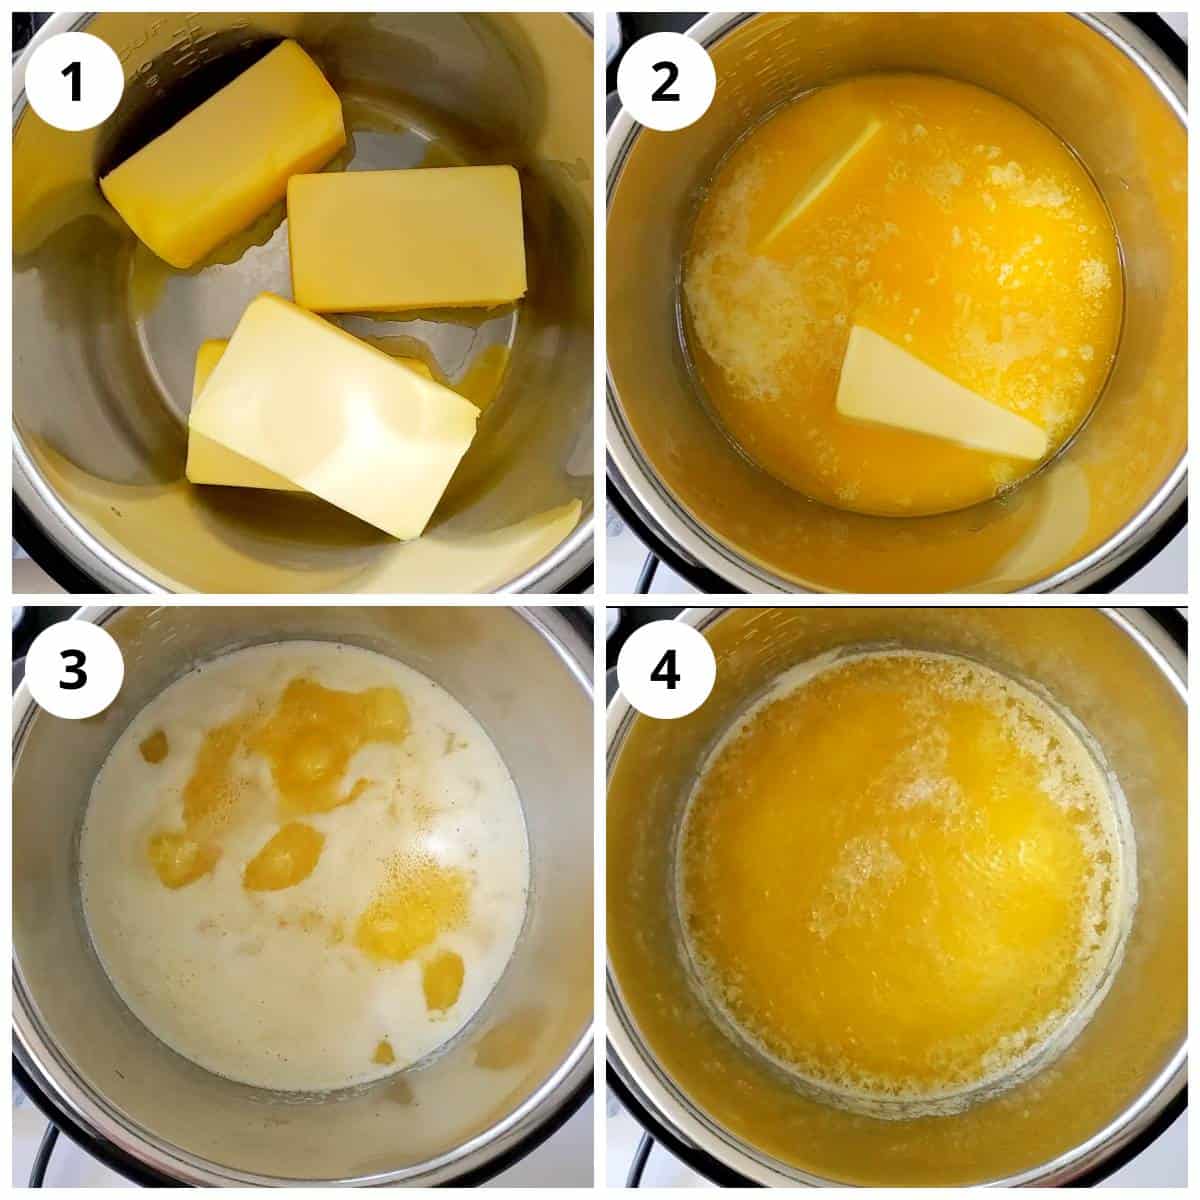
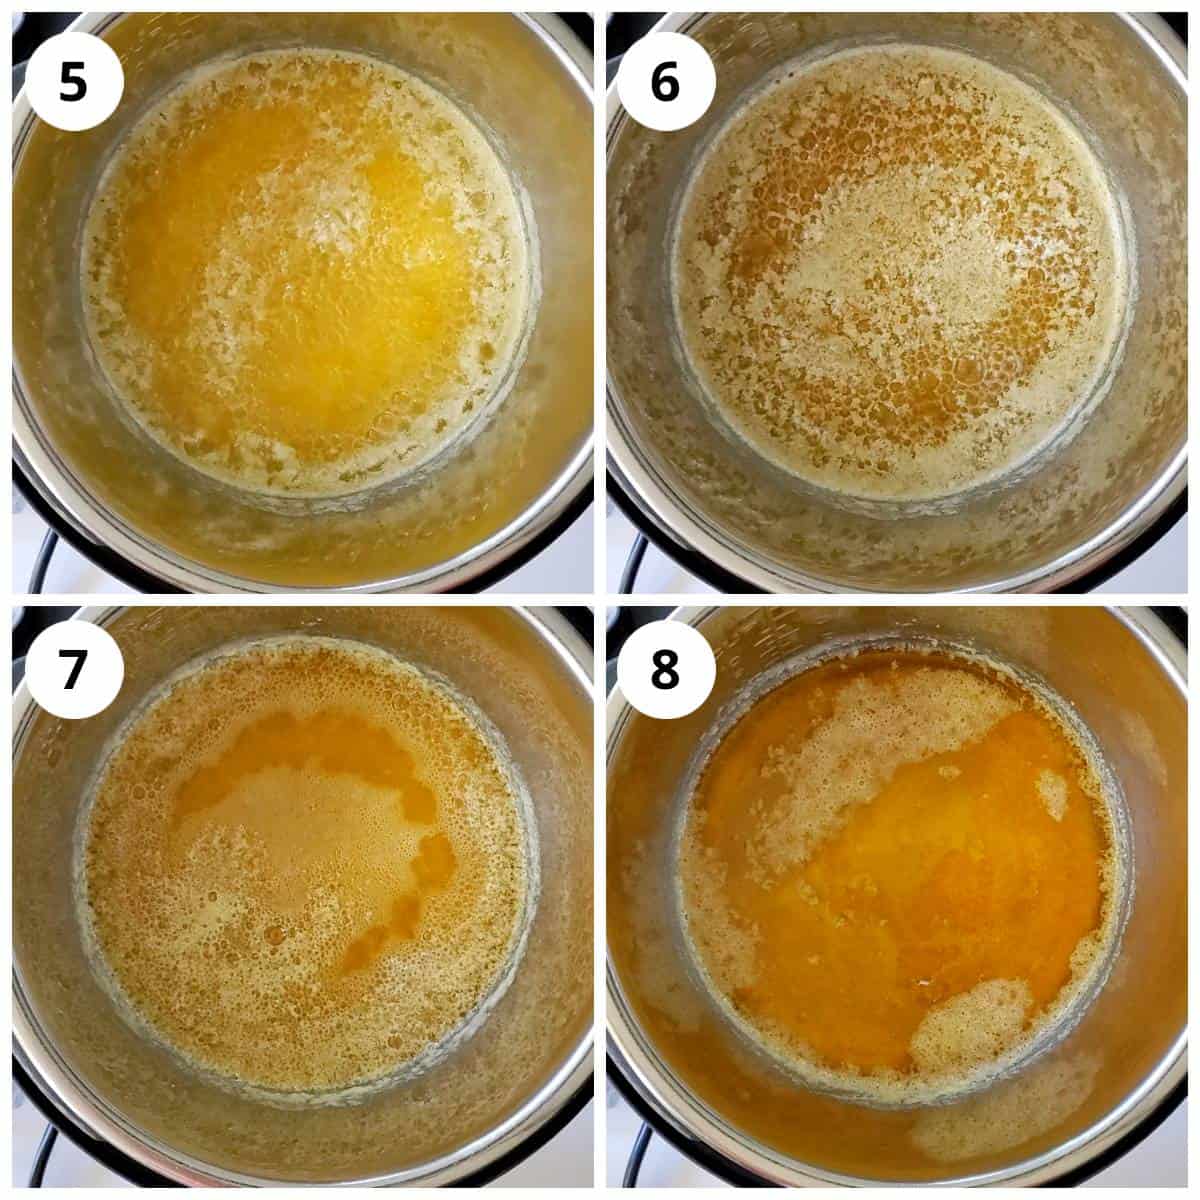
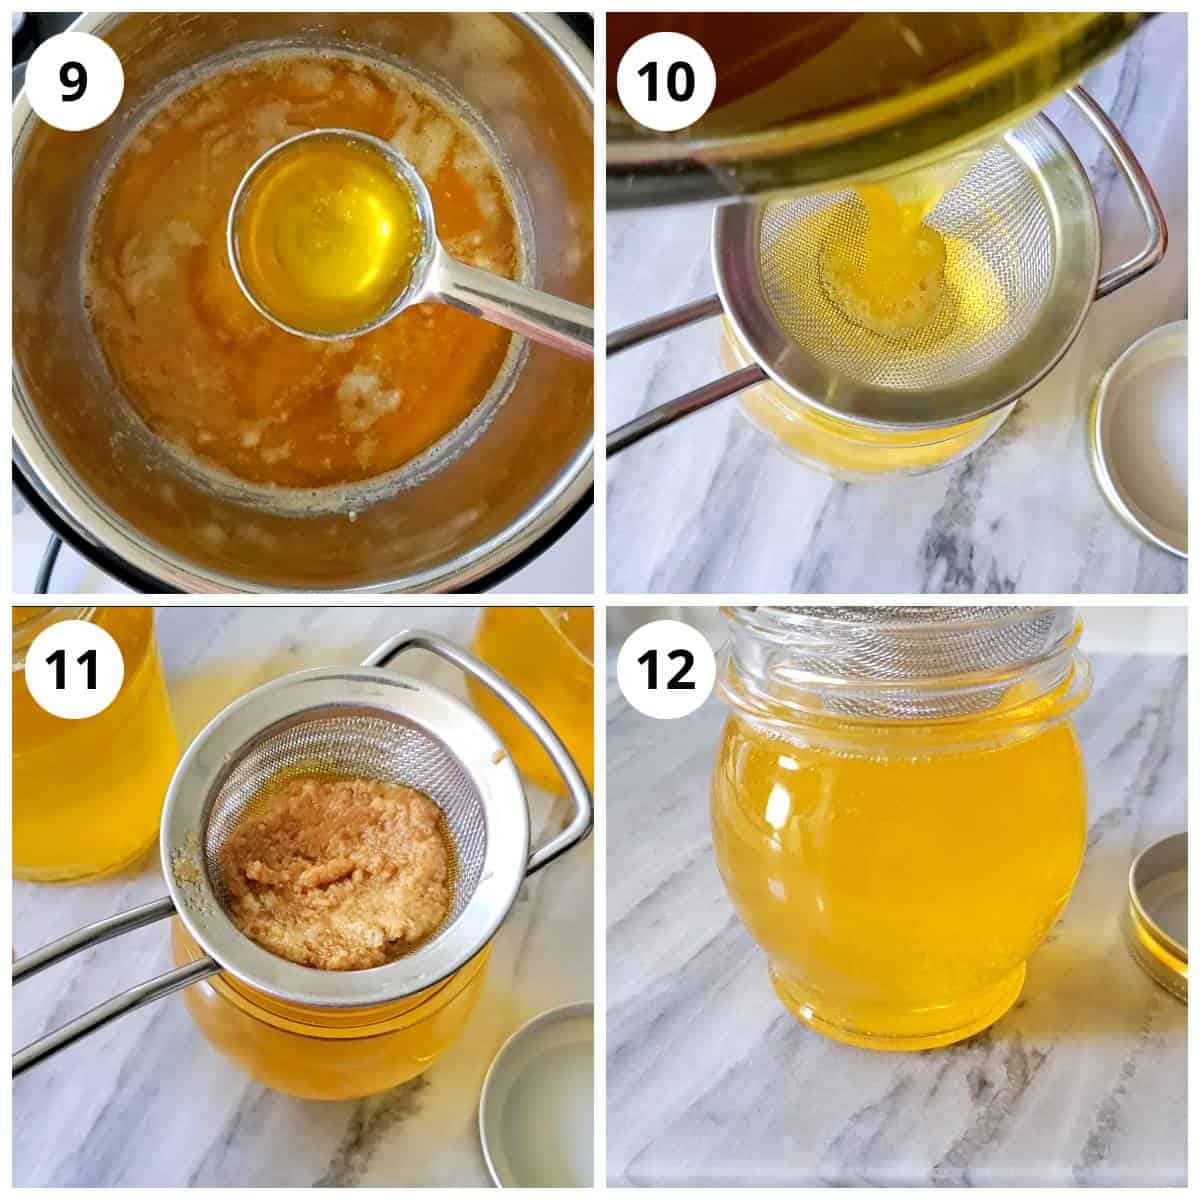
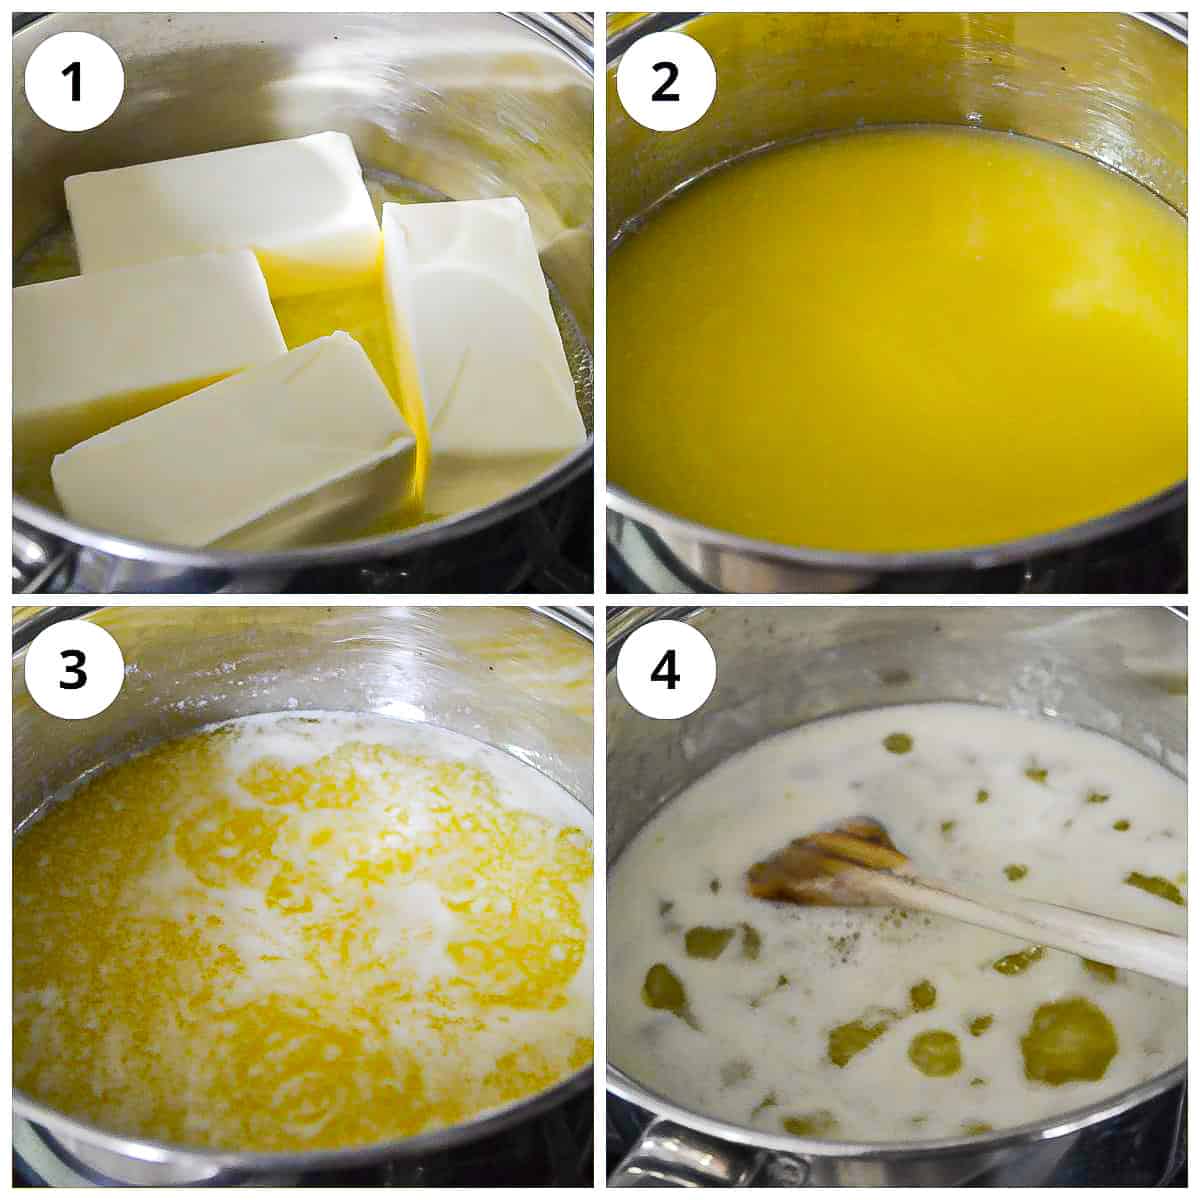
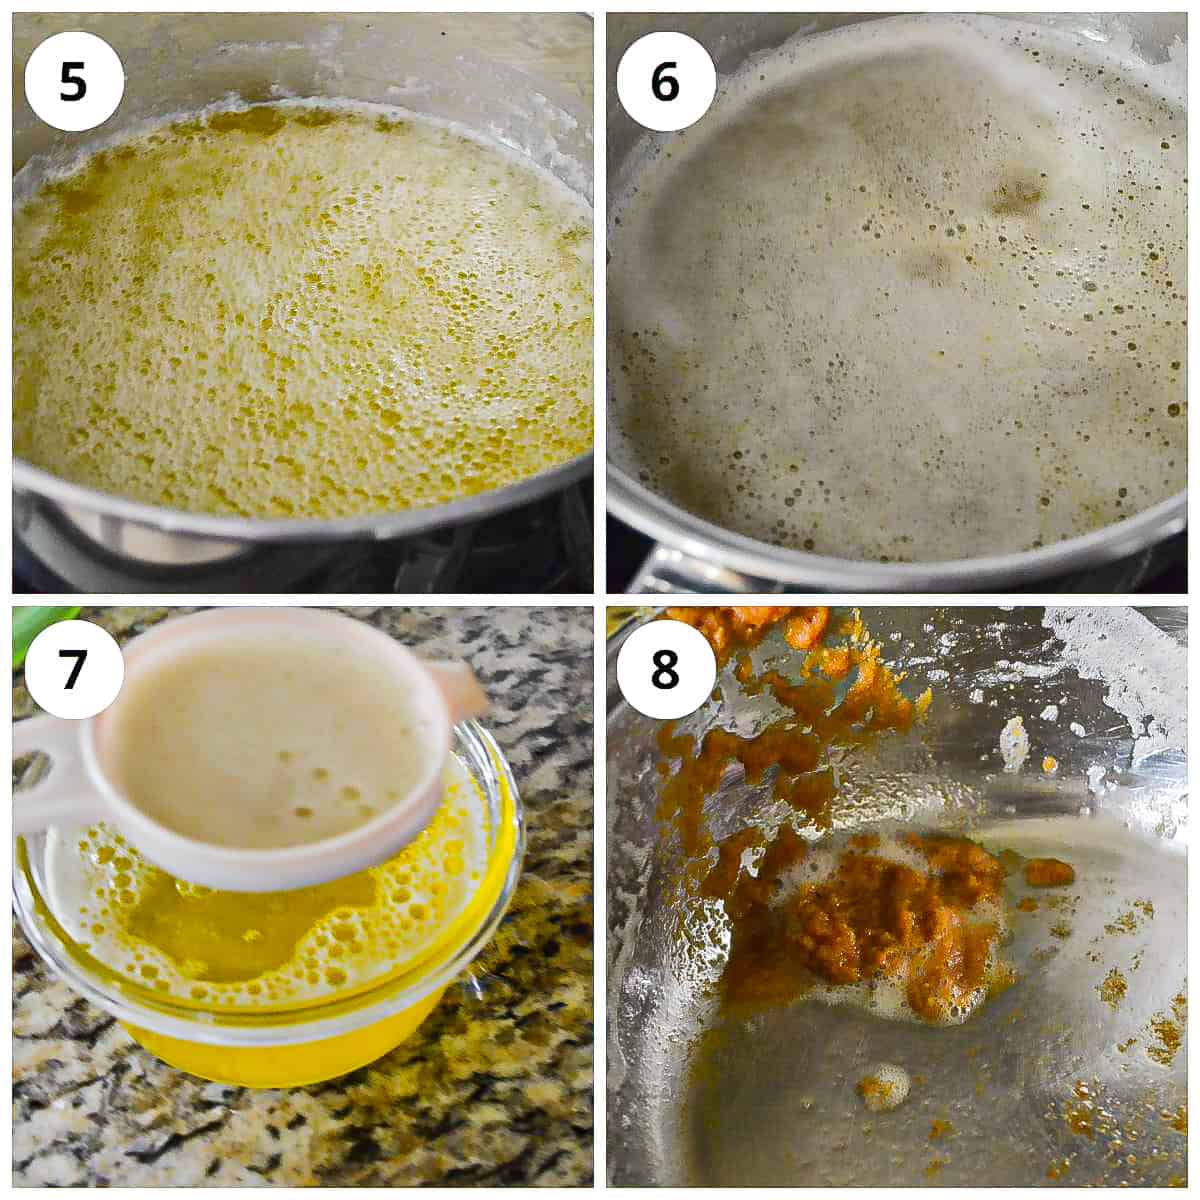
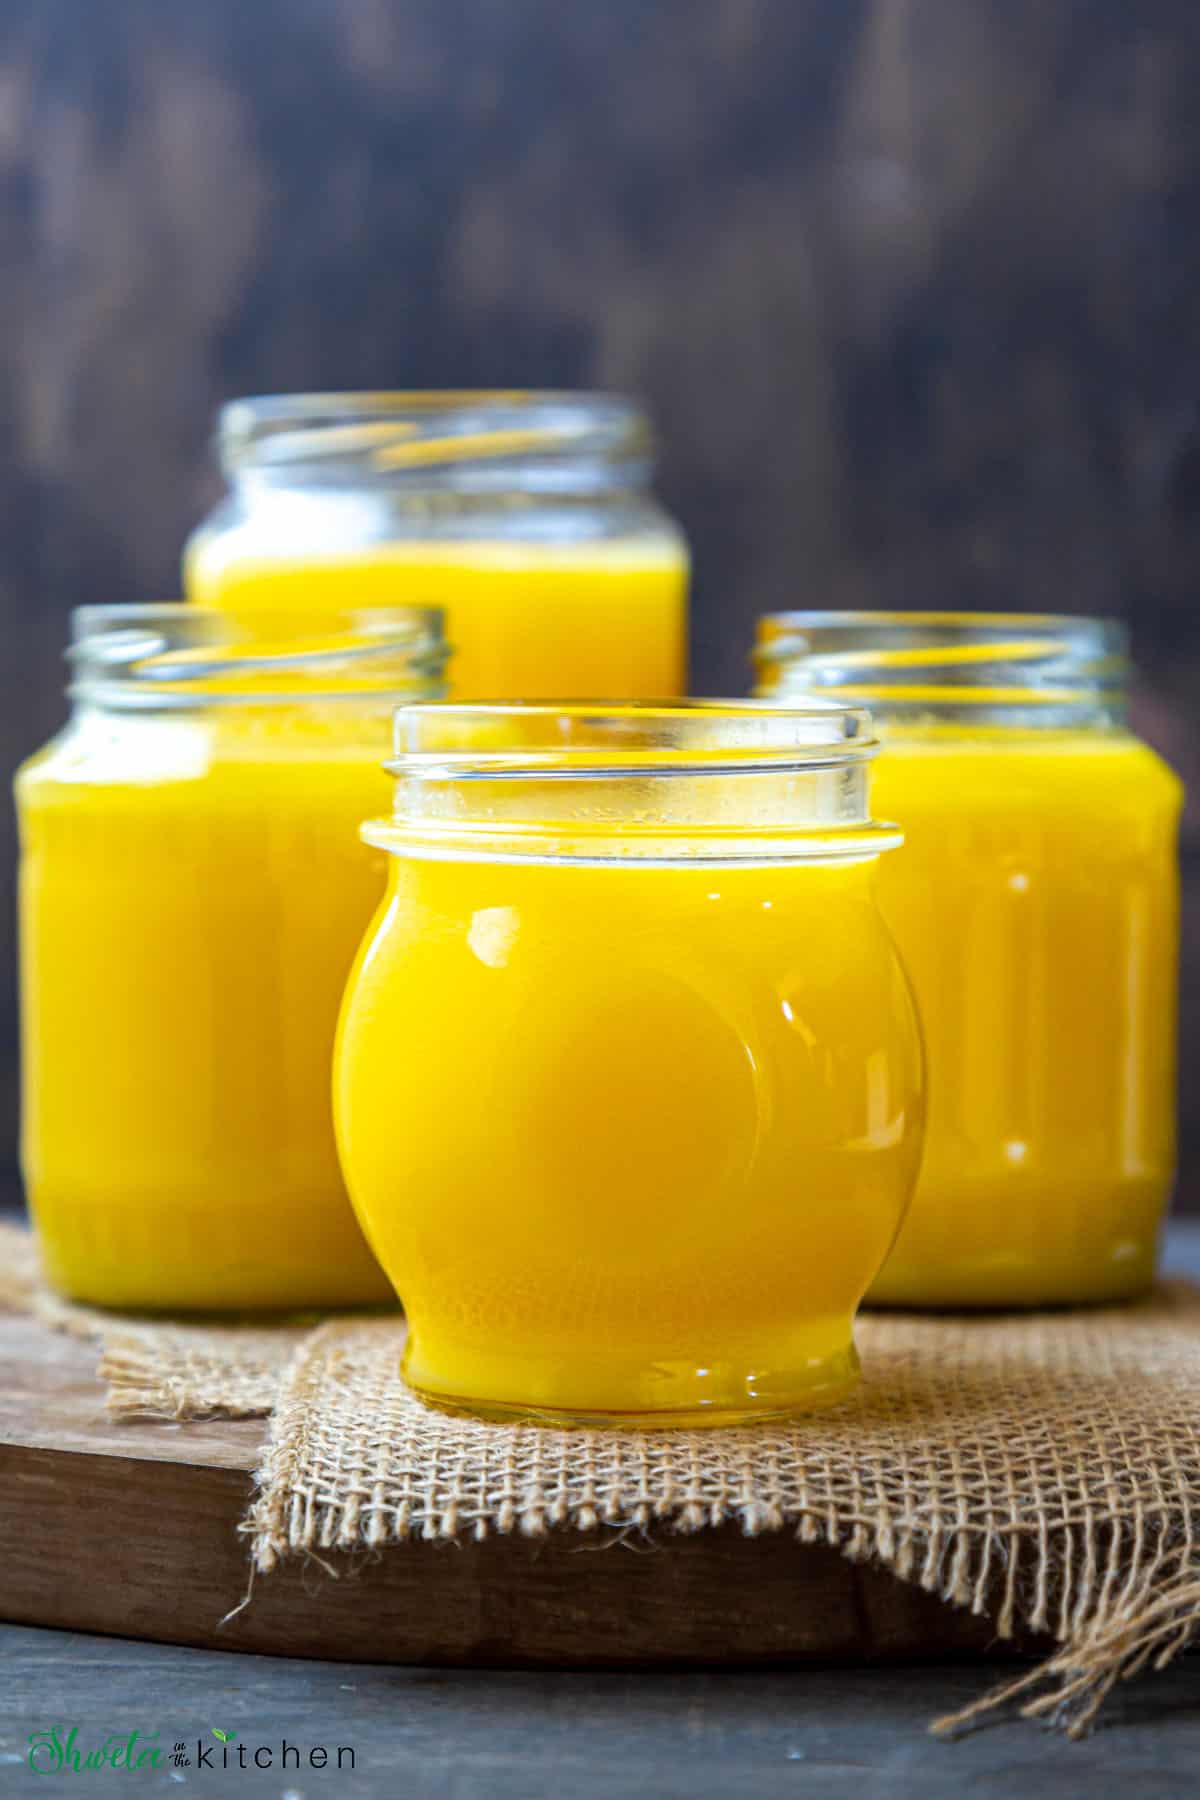
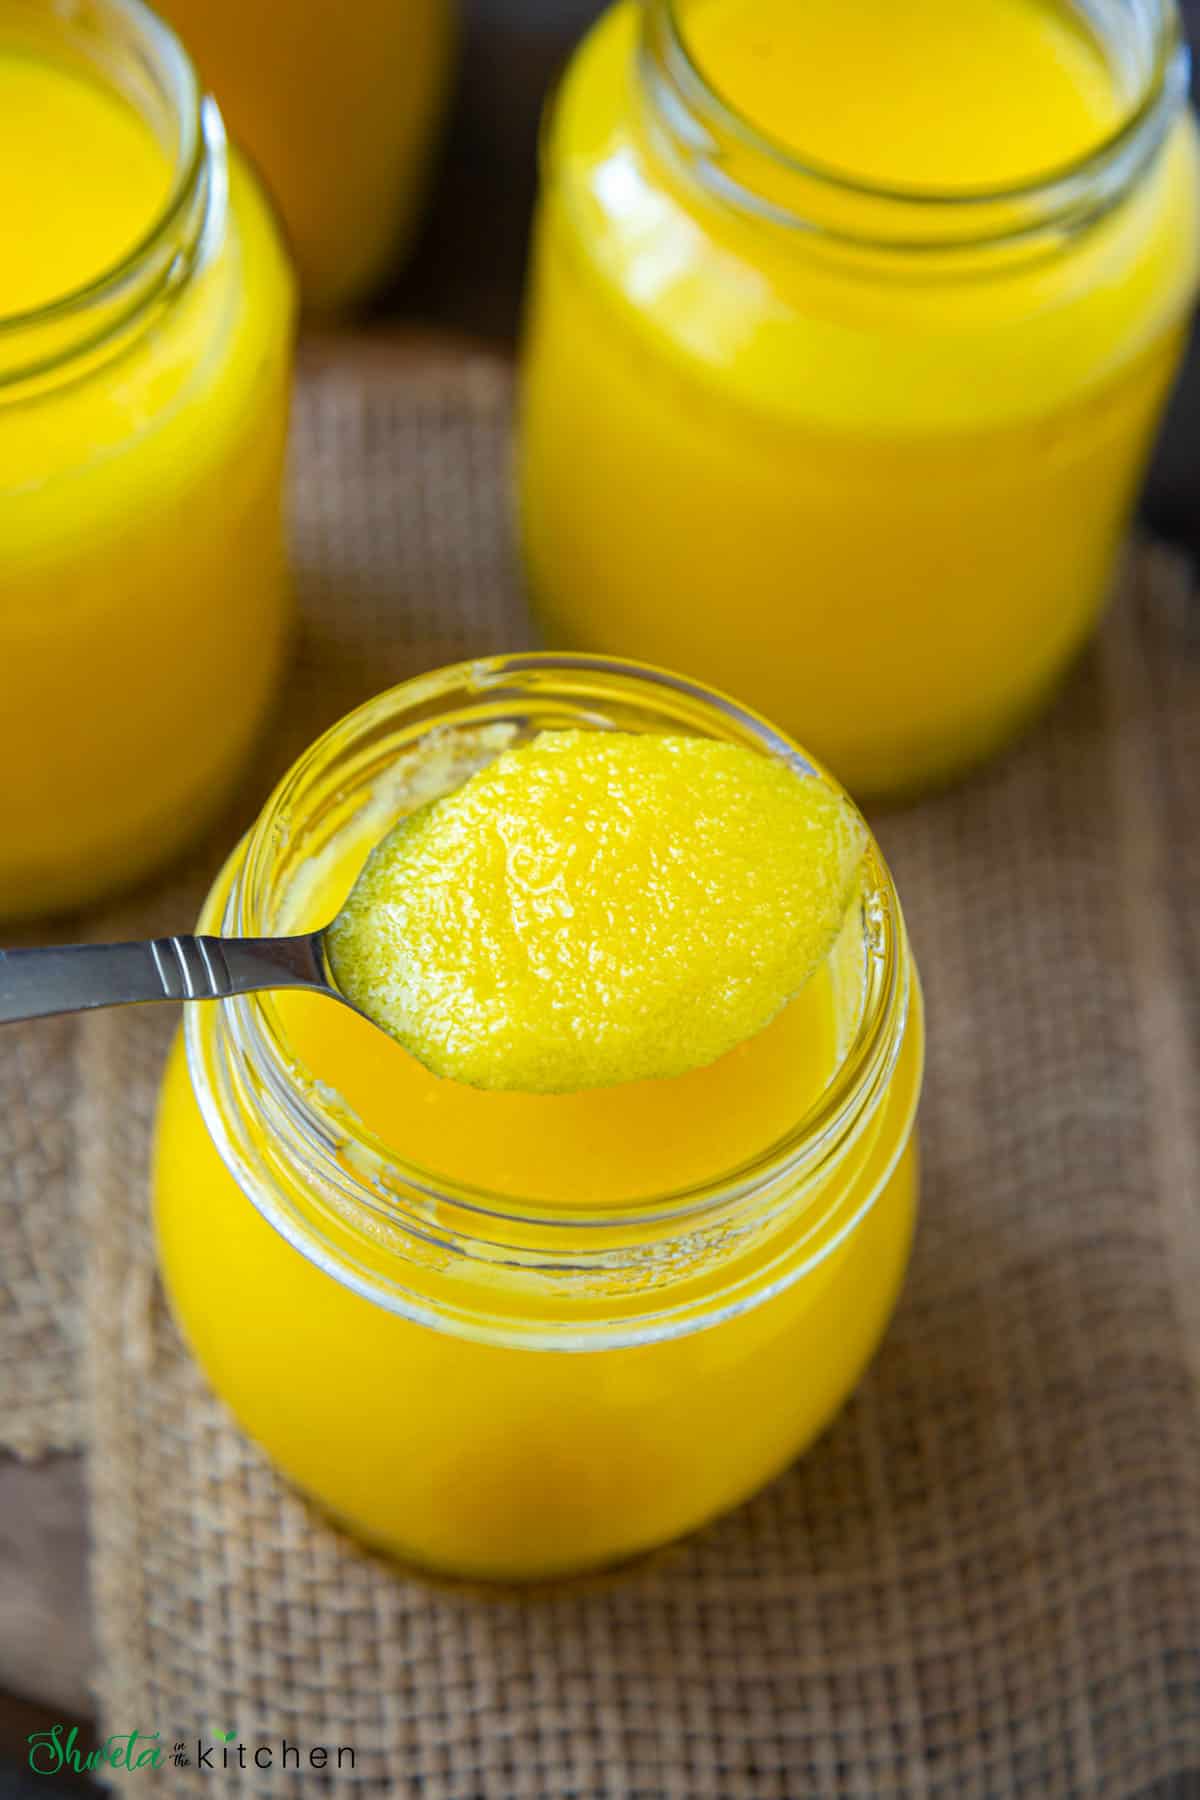
Below are the stepwise pics with approximate times for making ghee in Instant Pot using 2 Pound (32 ounces) of unsalted butter. I highly recommend looking at visual cues more than time for making ghee as the time can vary depending on butter type, temperature, and quality. 1 - Unwrap the refrigerated unsalted butter (2lbs, 32ounces) from its cover and add it to a stainless steel insert of the Instant Pot. 2 - Turn on the Instant Pot on saute-normal mode. Also, start an external timer (stopwatch). Butter will start to melt. Stir butter every 5 mins, no need to stir very often. After 5-6 mins the butter will be all melted and froth will start to form. 3 - Between 7-8 mins, there will be heavy frothing and bubbling which will eventually reduce. 4 - At 10 mins give a quick stir. You will notice the froth starting to clear up 5- At 11-12 mins, the milk solids will start separating and settle at the bottom of the pan. They will be white not be brown at this point. 6 - After 15 mins, give a quick stir and you will notice tiny fizzy bubbles covering the surface. 7 - The tiny bubbles are a good indicator to go ahead and turn off the Instant Pot (16-17 mins). If you prefer darker color (amber orangish) ghee, let the ghee cook for additional 2-3 mins before turning off the pot. 8 - The ghee will continue to cook even when the Instant Pot is turned off. The simmering will cause the milk solids settled at the bottom to caramelize and turn brown in color and the ghee to develop a nice golden yellow hue. If the bottom of the pot is browning too quickly remove the inner pot and place it on the stove without any heat so it does not cook further. 9 - Add a pinch of salt (optional), and mix. Ghee is ready!! 10 - While the ghee is still hot, filter it into a clean, dry glass jar using a mesh sieve or cheesecloth. 11 - The browned milk solids collect in the sieve or cheesecloth. 12 - Allow the ghee to cool completely in the jars before closing the lids and storing the ghee.
How to make Ghee on Stove top
1 - Unwrap refrigerated unsalted butter (using 1 lb, 16oz, 4 sticks of butter). Add it to a clean dry, deep heavy-bottomed pot. Ghee can overflow in a shallow pan so a deeper pan or the saucepan is preferred. 2- Place the pot on the stove and melt the butter on medium heat. Keep string intermittently. 3 and 4 - The melted butter will slowly start to froth and bubble. Keep stirring and scraping the sides at regular intervals. 5 - After a couple of minutes, the foam clears and the surface is filled with tiny bubbles. Reduce the heat to low and continue simmering. Stir intermittently. At this stage, the milk solids will separate, settle to the bottom of the pot and begin to caramelize. Keep a close watch. 6 - Ghee is ready when the surface is covered with fizzy bubbles and you smell the nutty aroma from ghee. At this point, turn off the heat, ghee will continue to simmer for few more mins and the milk solids from the bottom will turn light to medium brown. Add a pinch of salt (optional), and mix. Ghee is ready!! 7 - Cool the ghee in the pot for 5-10 mins and while the ghee is still hot, filter it into a clean glass jar using a mesh sieve or cheesecloth. 8- The browned milk solids collect in the sieve or cheesecloth. Allow the ghee to cool completely in the jars before closing the lids and storing the ghee.
Storage Suggestion
Ghee is a shelf-stable fat and stored right can last easily last for 3-6 months at room temperature and up to a year refrigerated. Here is how to store ghee in the right way.
Allow the ghee to cool completely before closing the lid. Store it air-tight in a cool dark place away from sunlight. I store mine in the pantry. For daily use, keep a separate jar in your kitchen and refill it as needed. Use a clean dry spoon every single time to refill your ghee jar. This is to ensure the ghee does not spoil due to any water or liquid getting inside the ghee jar. To determine if ghee is spoilt, check for change in smell and texture.
Recipe Tips
Butter - Use good quality butter for making the best ghee in terms of taste, texture, and flavor. I prefer Kerry Gold unsalted butter. You can also use salted butter but it cooks fast and also tends to splash more and high as compared to unsalted so be careful. Cooking Pot - Use tall stainless steel or heavy-bottomed pan with a light interior to make ghee. Pot with a light-colored interior makes it easy to see the change in color of ghee and browned milk solids. The height of the pot prevents the ghee from overflowing when it bubbles and froths. Cooking Ghee - Whether you are making ghee on the stovetop or Instant Pot, never leave it unattended. The stages change very quickly so be attentive. Especially keep a close watch once the milk solids start separating. Keep the heat on low to prevent ghee from burning. If the milk solids burn they will impart that flavor to the ghee and will not taste best for cooking. Storage Jars - Use heat-proof glass jars to store ghee. I recommend Mason jars or stainless jars. Never use plastic jars to store ghee. You can also use recycled pasta sauce glass jars. Make sure to clean, sanitize and dry the jar and lid them thoroughly before using. Cooking times - You can make ghee in bulk or less quantity as per your preference. More quantities of butter will require more time to cook. I strongly recommend following visual cues as the times can vary based on the quality, type, and temperature of the butter. Flavoring Ghee - You can add some curry leaves or moringa leaves while cooking ghee. The flavor will impart to ghee. Discard the leaves and stems.
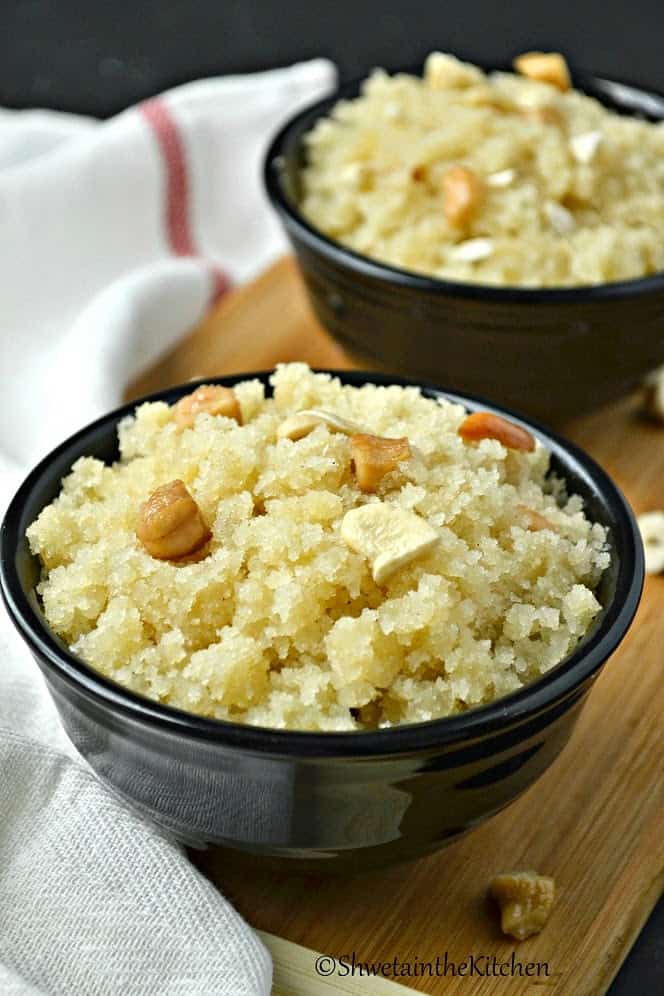
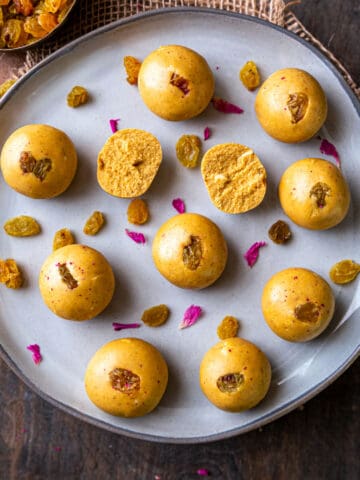
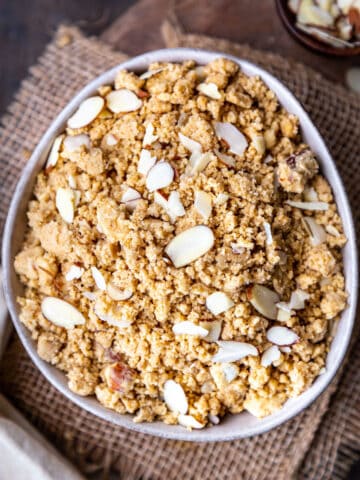
Recipes using Ghee
Hope you enjoy this Easy Homemade Ghee from Butter!! If you give this recipe a try, please rate by clicking stars ⭐️ on the recipe card. Thank you ❤️! You can also follow me on Facebook | Instagram to see what’s cooking in my kitchen!!
Recipe Card
Update Notes: This post was originally published on Oct 10, 2014, but was republished with, step by step instructions, new photos, tips, and a video in August of 2021.