No store-bought pie filling or pie crust because today we’re making cherry pie completely from scratch. Does making homemade pie intimidate you? I promise this dessert specialty is nothing to fear and that’s exactly why I’m sharing my recipe with you. Out of all pie flavors, cherry pie is where most bakers depend on canned filling, but I’m going to teach you how to make the most of fresh cherries and a delicious crust.
Cherry Pie Details
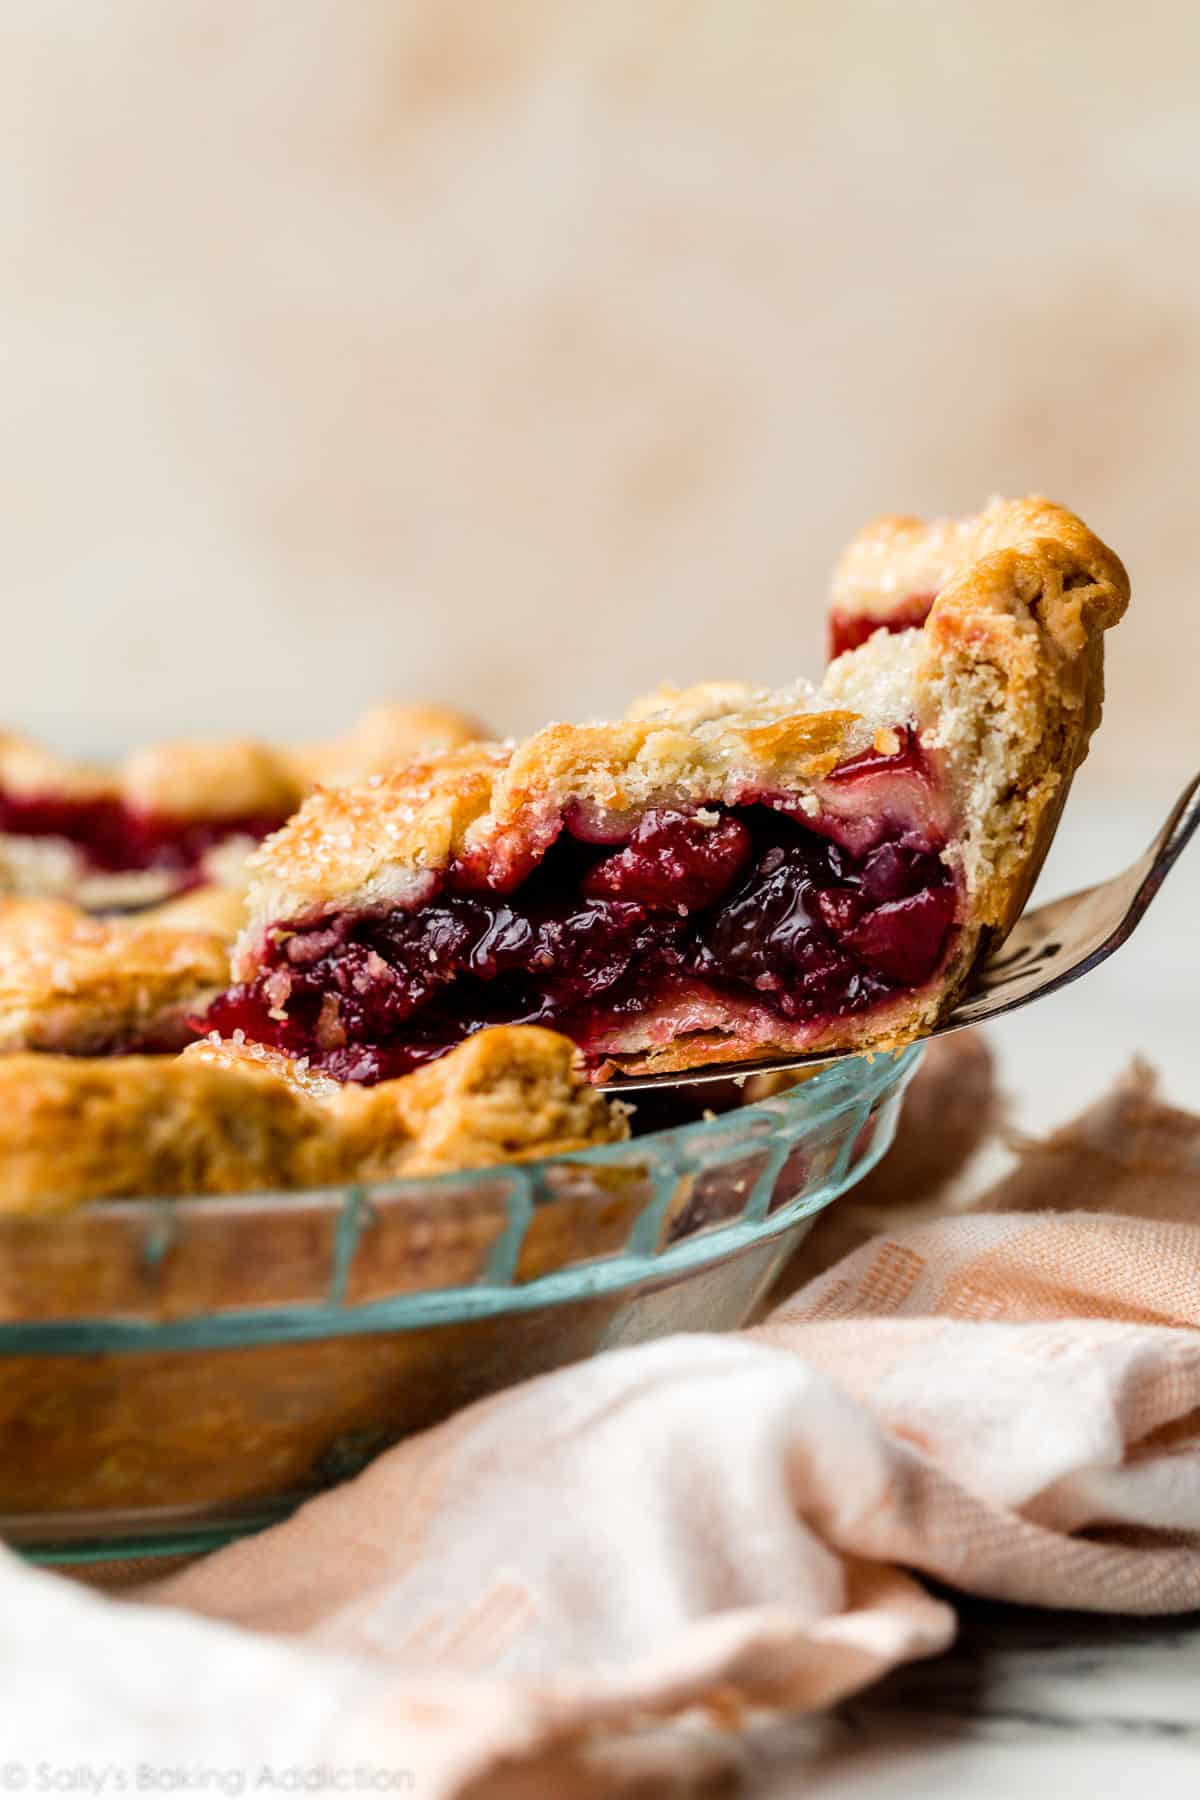
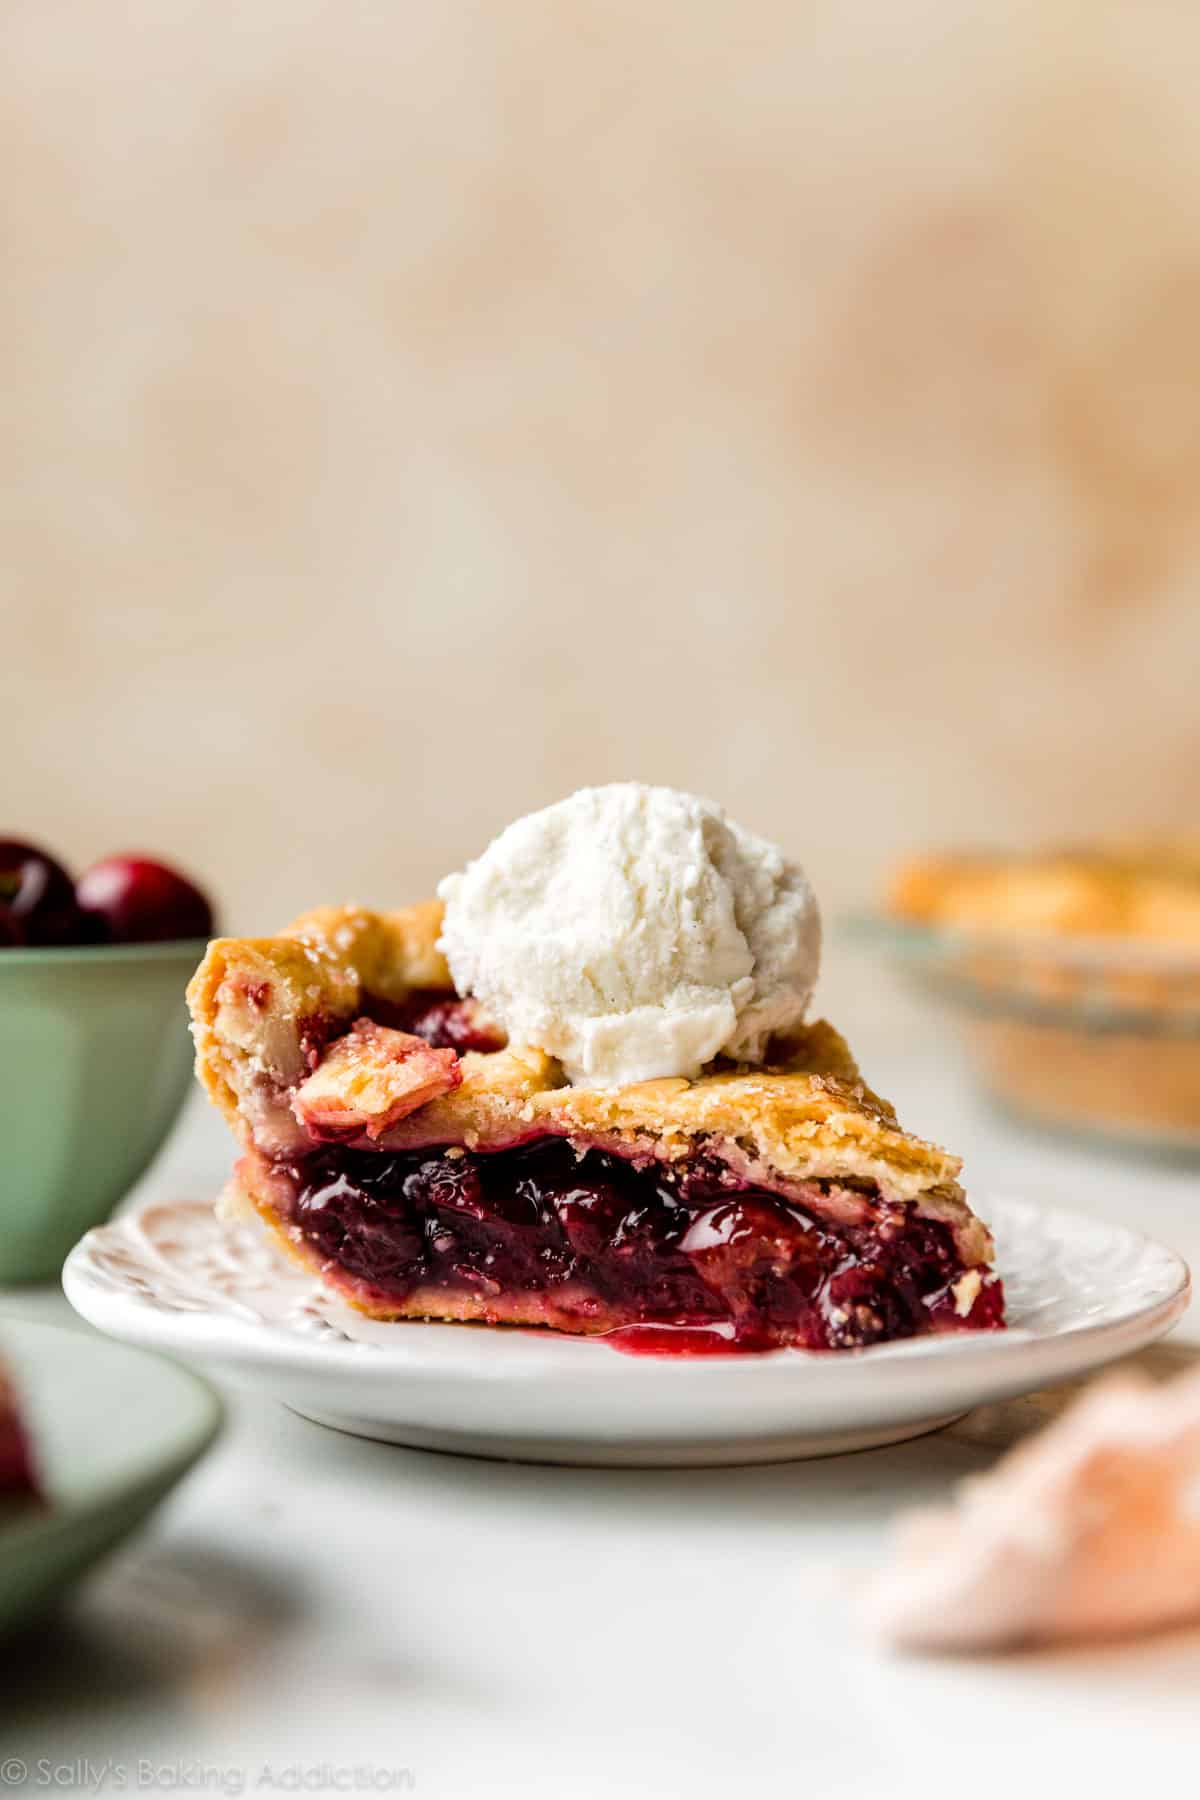
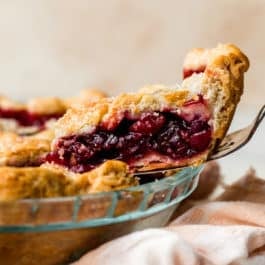
Flavor: While the cherry flavor is front and center in this pie, you’ll enjoy the notes of vanilla and almond as well. Vanilla and almond extracts add richness and depth and a touch of lemon juice keeps the overall flavor fresh and bright. (Without it, the filling can taste a little flat.) A scoop of vanilla ice cream and a dollop of homemade whipped cream pair perfectly on top of a slice. Texture: If you follow the recipe closely, this cherry pie filling is buttery, jammy, sturdy, and sliceable. You can use your favorite pie crust recipe, but I encourage you to try mine linked below. We use a mix of shortening and butter because they work together to make the BEST crust. Butter adds flavor and flakiness, while shortening’s high melting point keeps the crust tender and workable. It’s my go-to crust for apple pie and pumpkin pie, too. If you don’t want to use shortening, try this all butter pie crust recipe instead. Ease: It goes without saying that homemade pie is a labor of love, especially if you’re a beginner. Consider this recipe an activity—hopefully fun and definitely satisfying—and set aside several hours from start to finish. My time-saving tip is to prep the pie dough ahead of time because it needs to chill for at least 2 hours before you can roll it out. Plan accordingly if you want to include this cherry beauty in your lineup of Memorial Day recipes.
Best Cherries to Use for Cherry Pie
If you’re making cherry pie from scratch, it’s helpful to know which cherry variety works best. I usually choose a mix of rainier cherries and dark sweet cherries, but opted for all dark sweet cherries in the pictured pie. You can use all Rainier or all dark sweet. If using sour cherries, add a little more sugar as referenced in the recipe note below. You can also use frozen halved or quartered cherries. Follow the recipe as written below and don’t skip the reducing step on the stove.
Pitting Cherries
Pitting fresh cherries is always a tedious and messy task, so if you want to save time and prep work, pick up a cherry pitter. If you’re anything like me, you don’t like stuffing your kitchen drawers with endless gizmos and gadgets, but a cherry pitter is most definitely an exception. I don’t bake with cherries often, but when I do, I’m VERY thankful for this tool.
It’s also a timesaver if you’re baking bourbon cherry crisp, cherry cobbler, and/or cherry buckle!
Reducing the Cherry Juices on the Stove Takes Less Than 10 Minutes
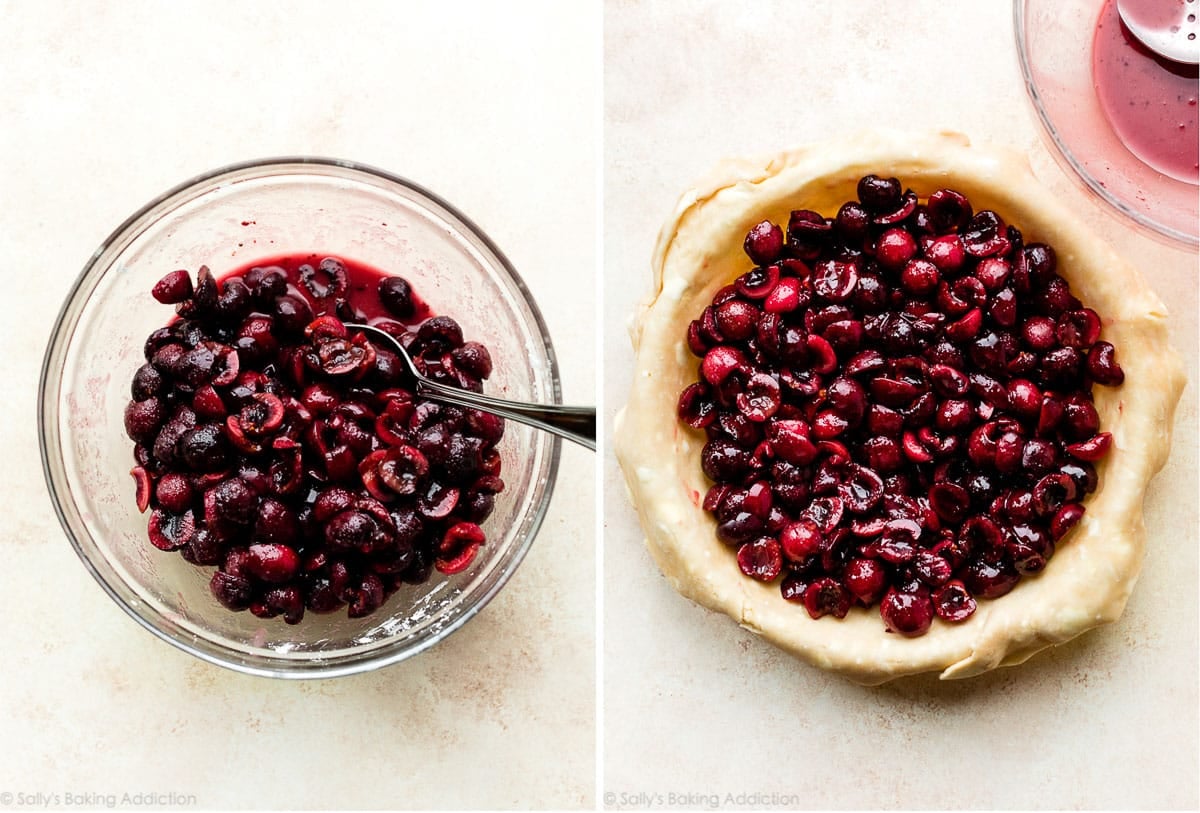
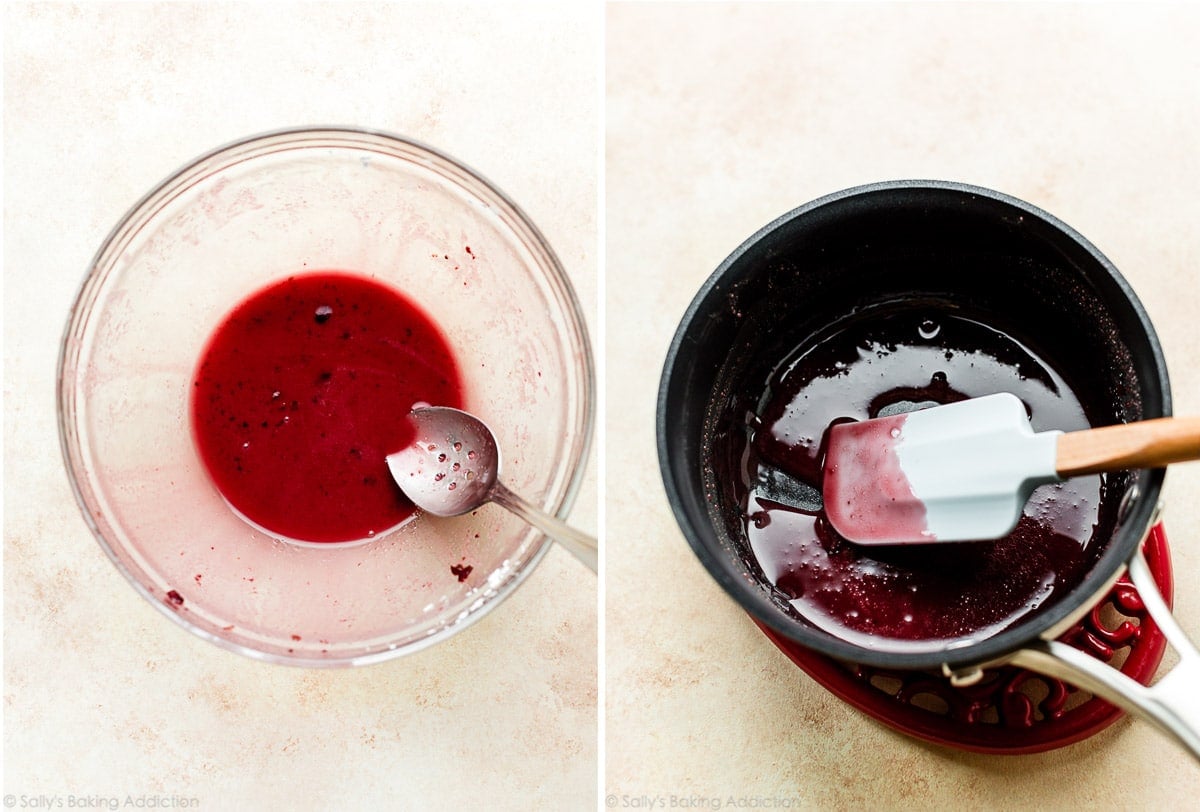
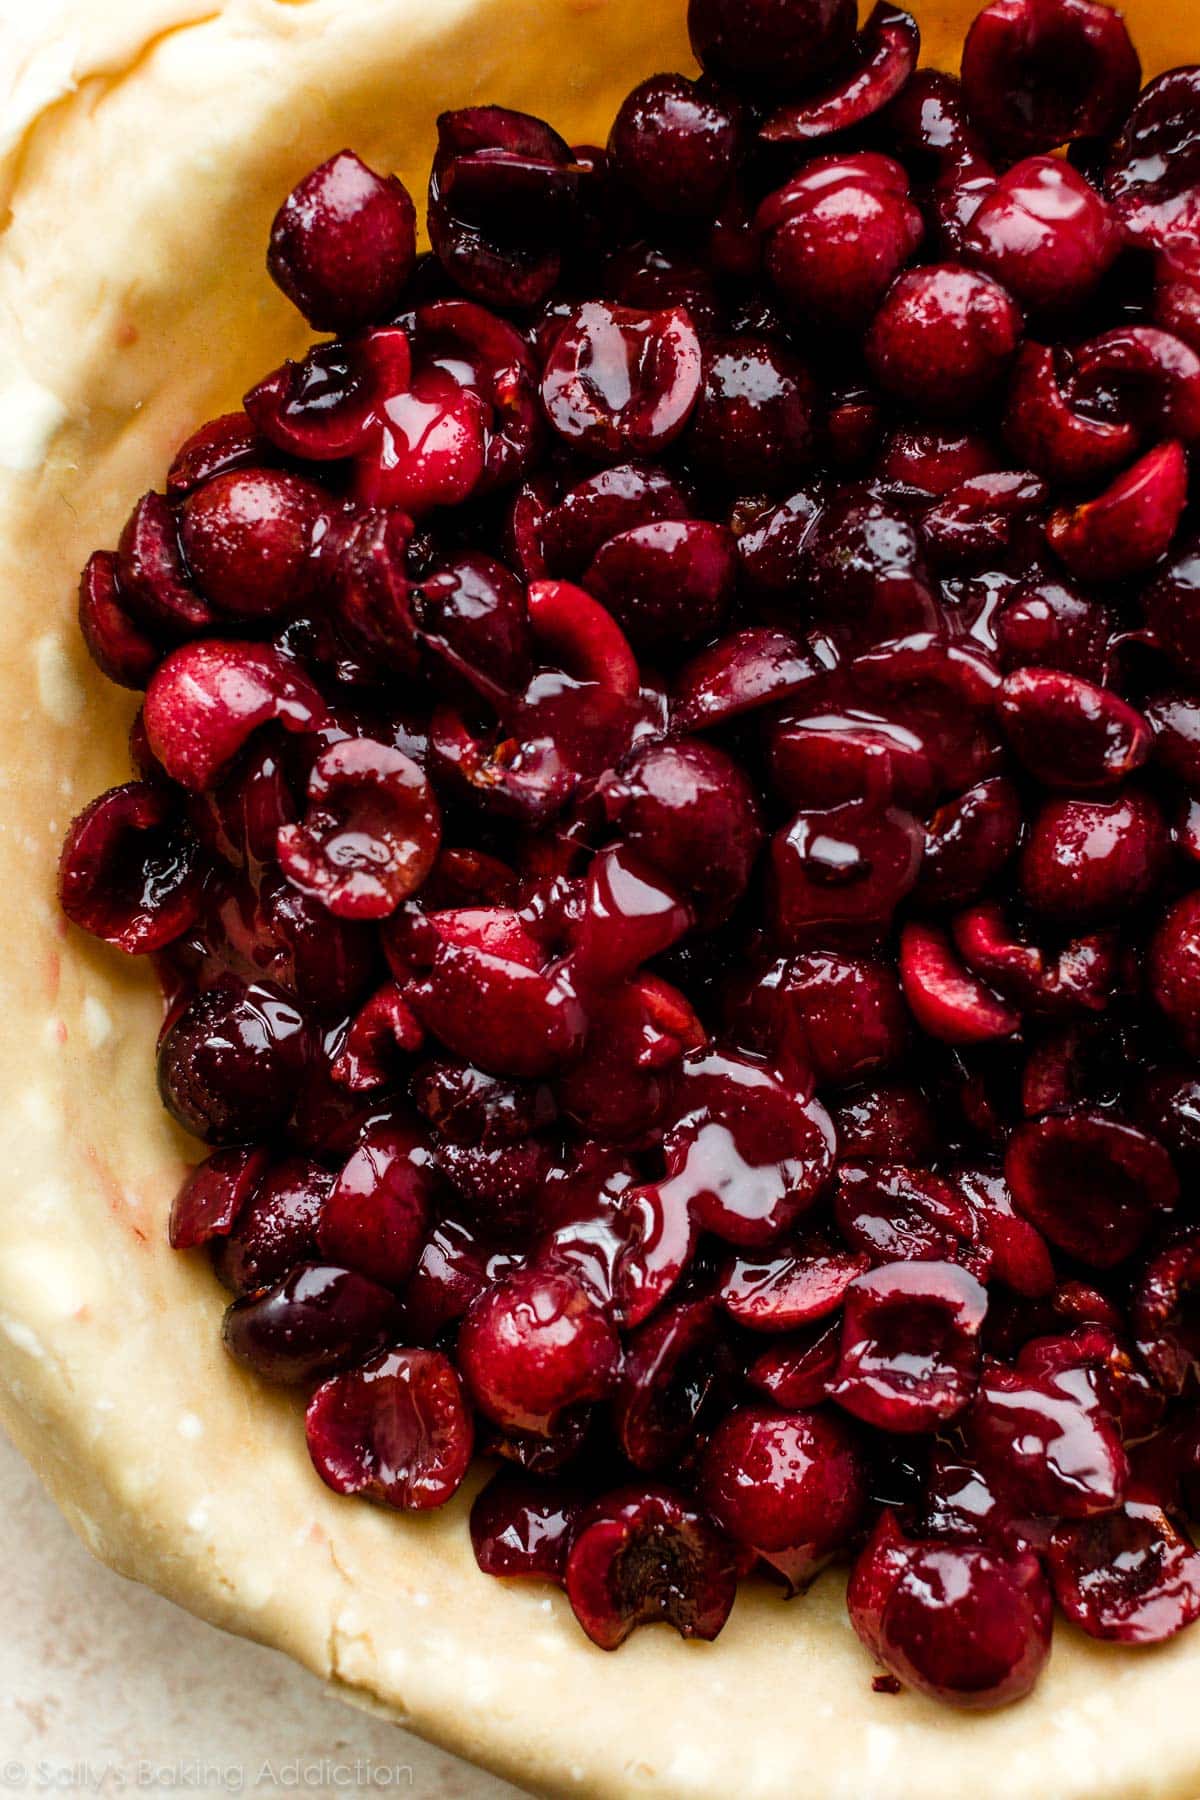
After you combine the filling ingredients together, set it aside and roll out the pie dough for your pie dish. During this time, your filling is already working as the sugar pulls juices from the cherries. Normally I discard all this juice, but it’s where a lot of the cornstarch ends up and that’s what helps thicken the filling in the oven. Instead, use a slotted spoon to transfer the fruit into your crust, then pour the leftover juice into a small saucepan. You’ll only have a few Tablespoons, but this juice is pure GOLD as it holds our thickening agent and a lot of flavor. Reduce on the stove over low heat for about 3-4 minutes. Cool for 5 minutes, then pour over the cherries and toss gently (in your pie dough!) to combine. Here’s the filling in the mixing bowl. You can see all the juices at the bottom. Spoon cherries into the pie dough: Reduce the excess juice on the stove until it has thickened: Let it cool for a few minutes, then toss into the cherries. The sugars in the reduced juice will harden and you’ll notice this “juice” become almost caramelized and stringy once it hits those cold cherries. This is NORMAL and totally fine! The “juice” will melt down in the oven, but keep the filling thick.
Don’t Forget the Extras
Lattice Pie Crust
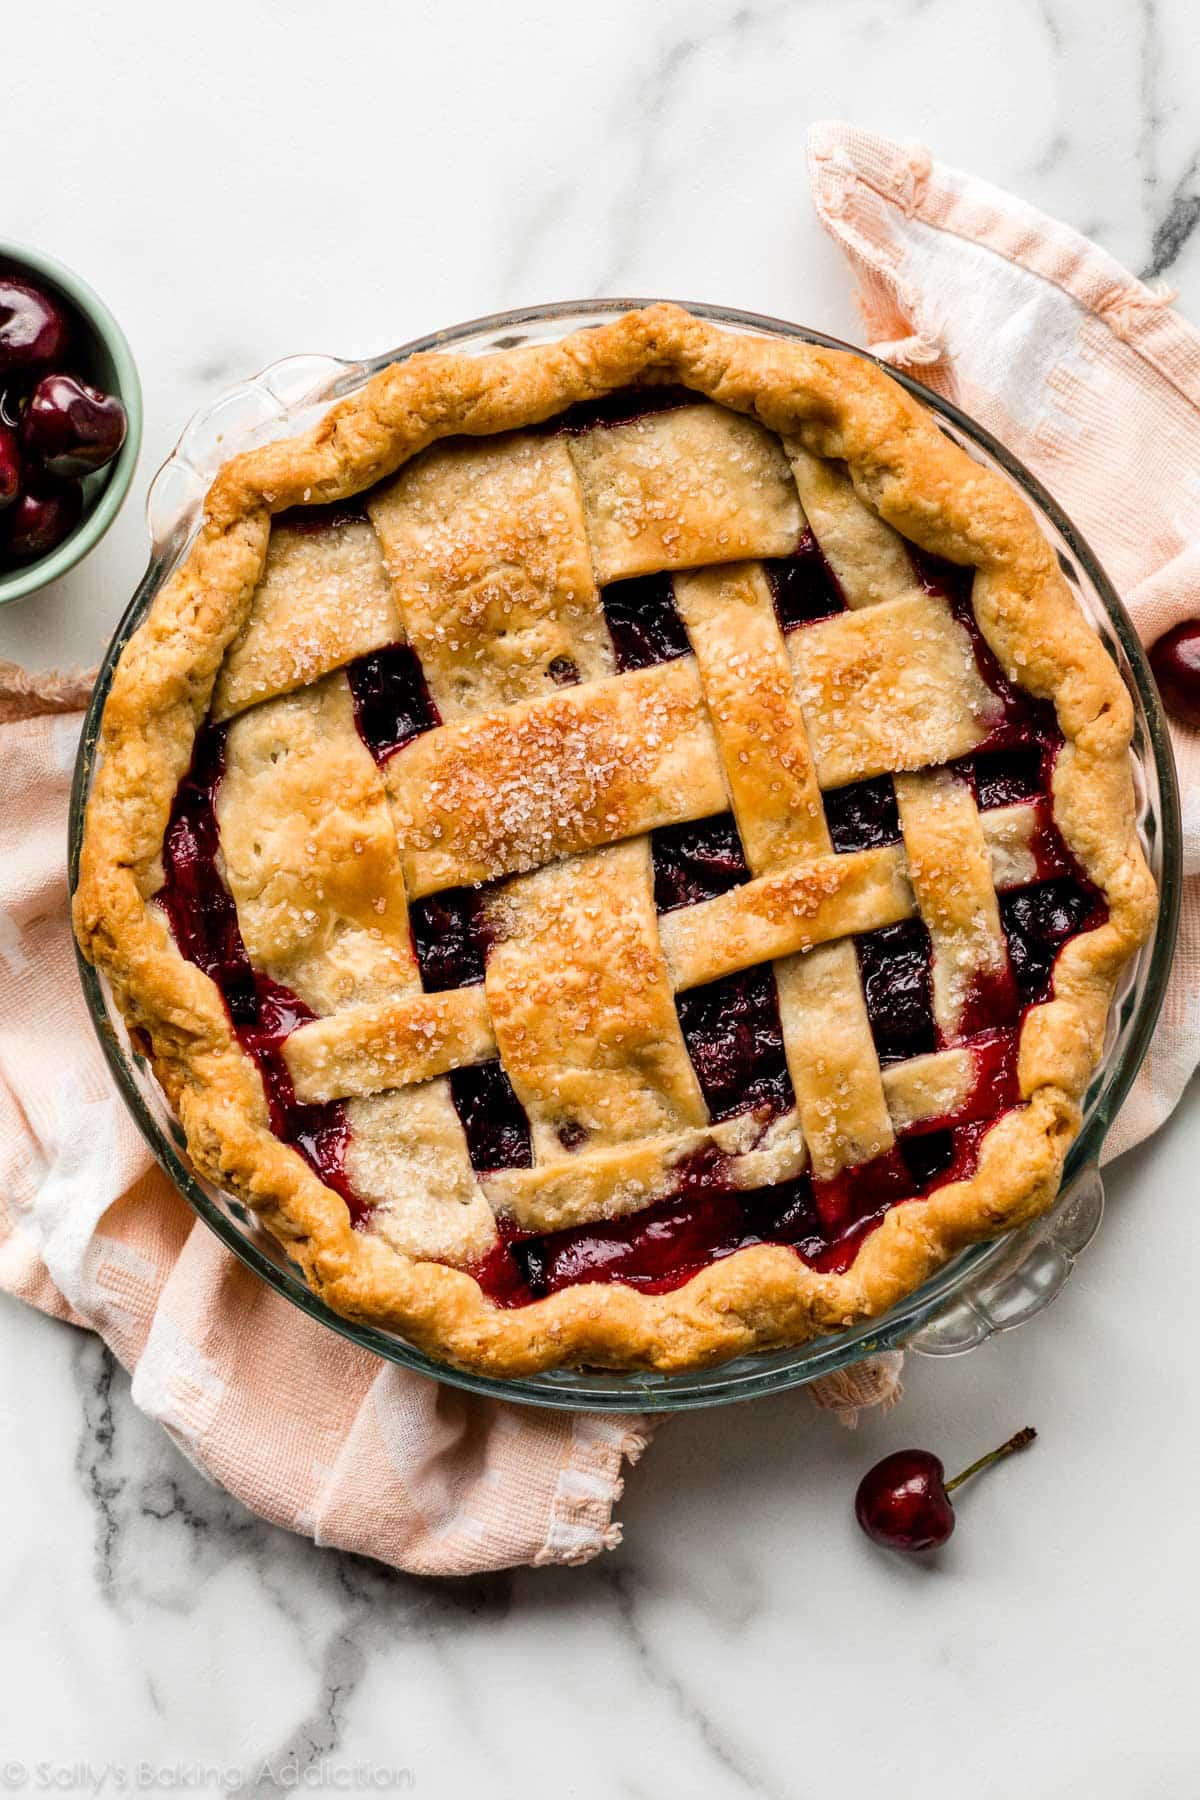
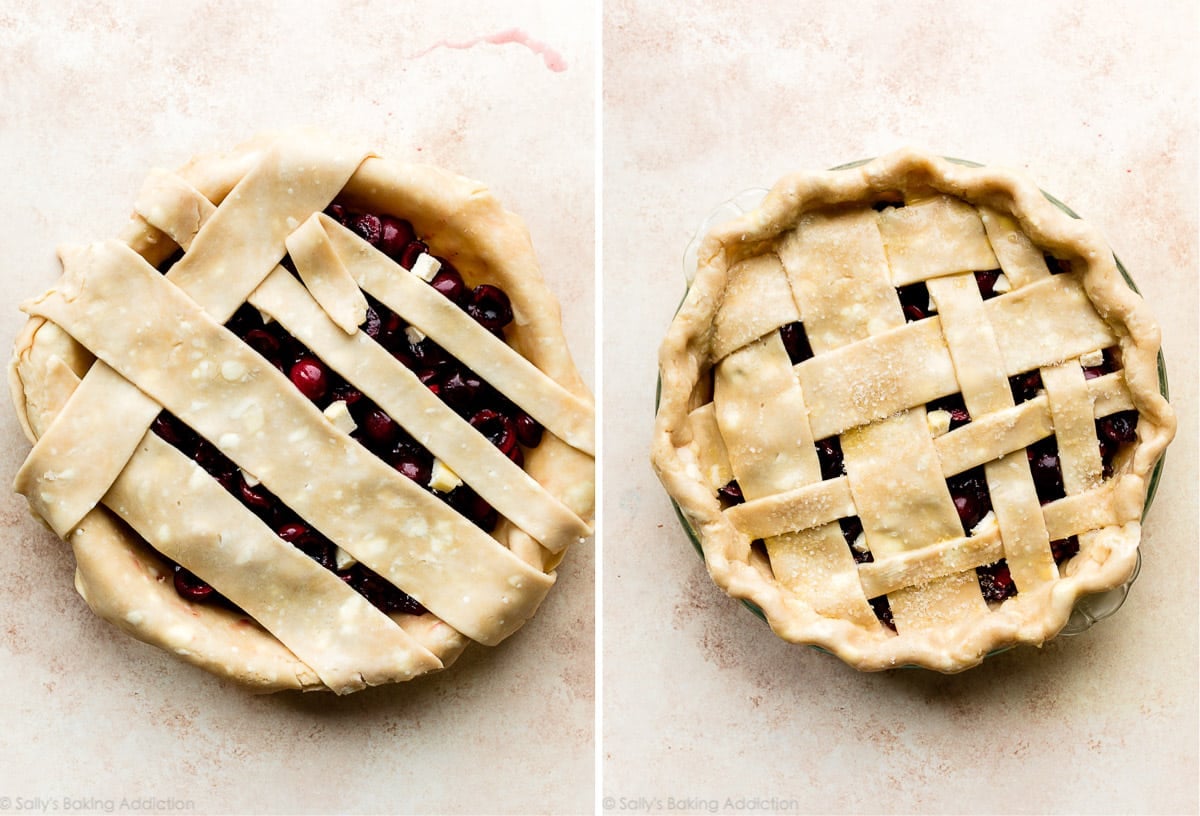
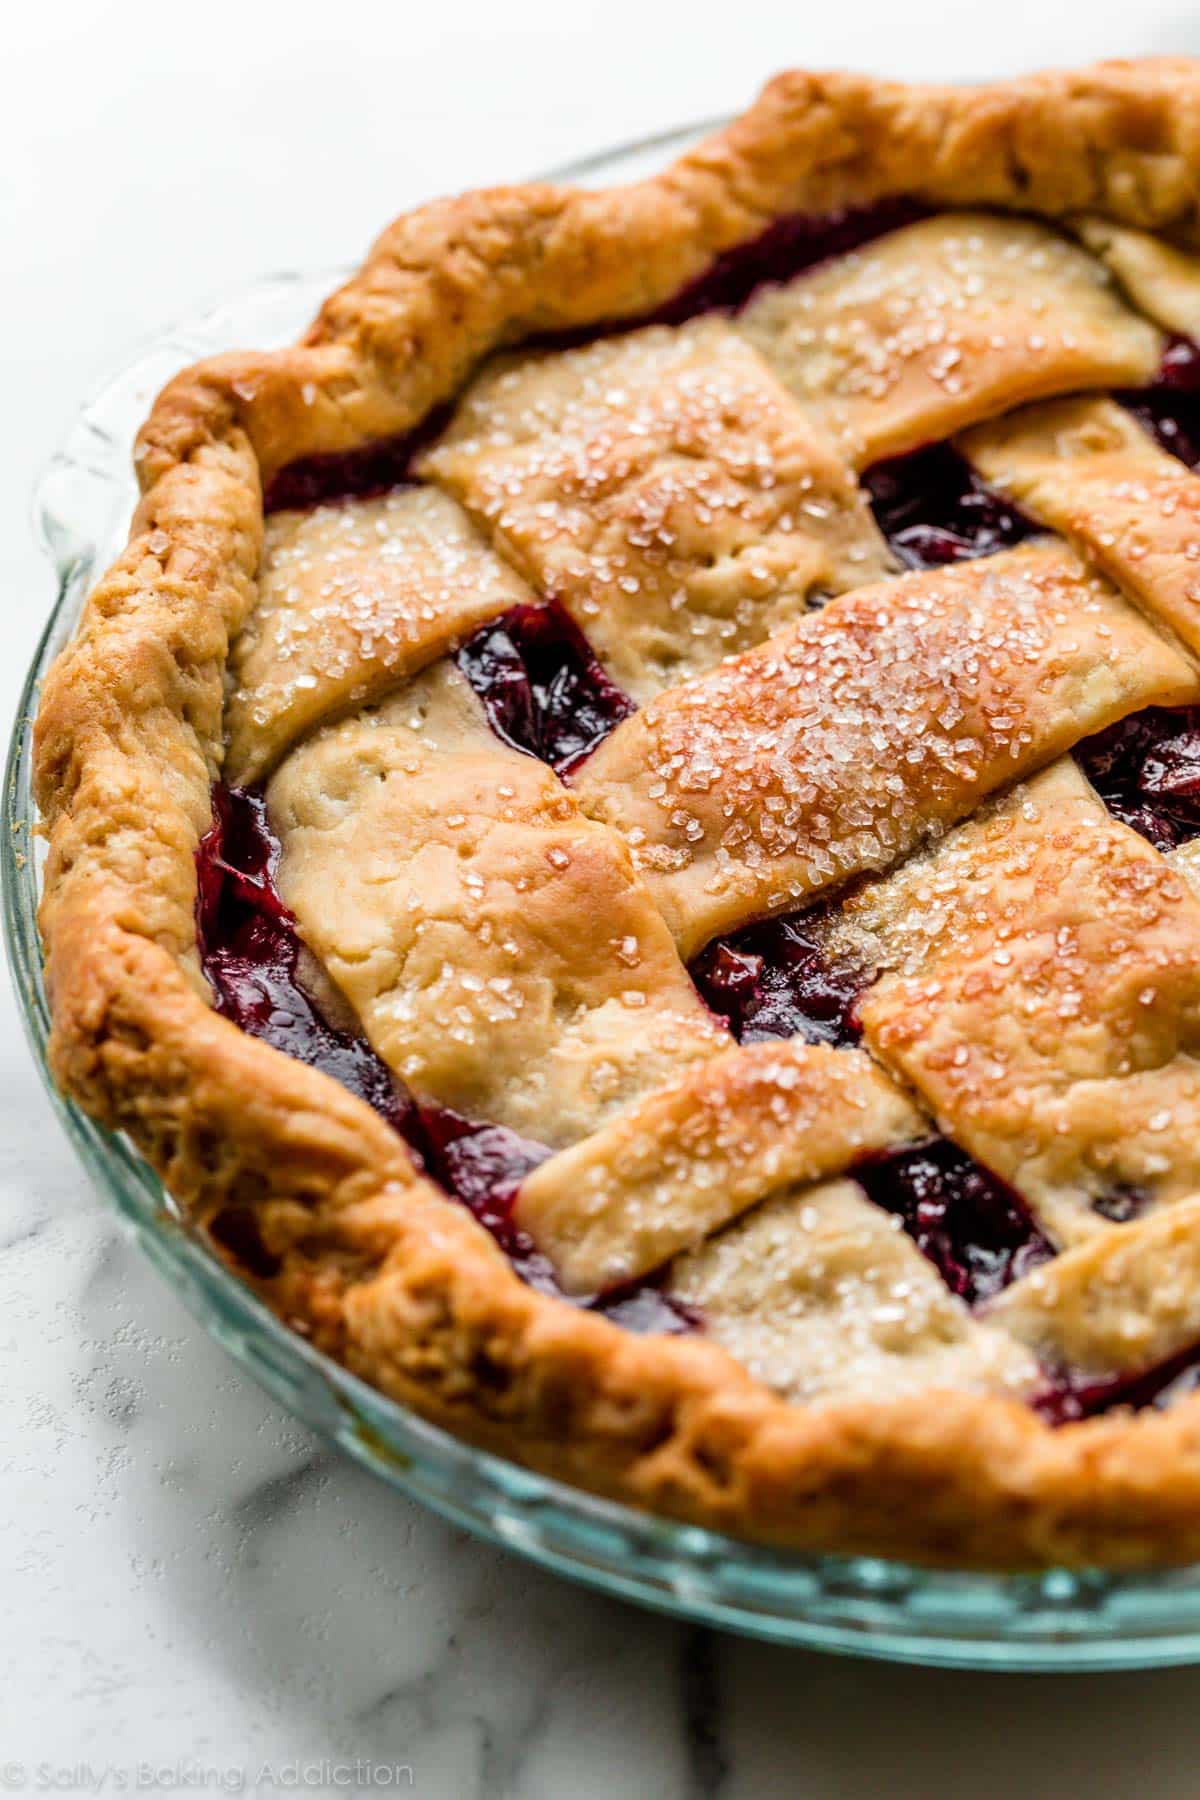
Note that our pie crust recipe yields enough dough for a double crust pie—one for the bottom and one for the top. If you’re new to working with pie dough or need a little troubleshooting, our pie crust tutorial walks you through each step in thorough detail and includes a video, step-by-step photos, and all my tips and tricks for pie crust perfection. I made a simple lattice pie crust design with thick and thin strips, but decorate the pie however you’d like. Once your lattice is assembled, you’ll want to crimp or flute the pie crust to finish it off. I fluted the pie crust in these photos. You could even skip the top crust and use the crumble topping from our blueberry crumble pie. Or if you wish to skip the pie dough completely, try these cherry pie bars instead.
Start the Pie at a High Oven Temperature
Why do some pie recipes call for an initially hot oven temperature that you eventually lower? Baking this pie at 400°F (204°C) for 20 minutes helps the pie dough set and activates the cornstarch in the filling (as does heating it on the stove). After that, reduce oven temperature down to 375°F (190°C) to continue baking the pie. We use this same trick when we make blueberry pie and triple berry pie.
Do I Need to Par-Bake The Crust for This Cherry Pie?
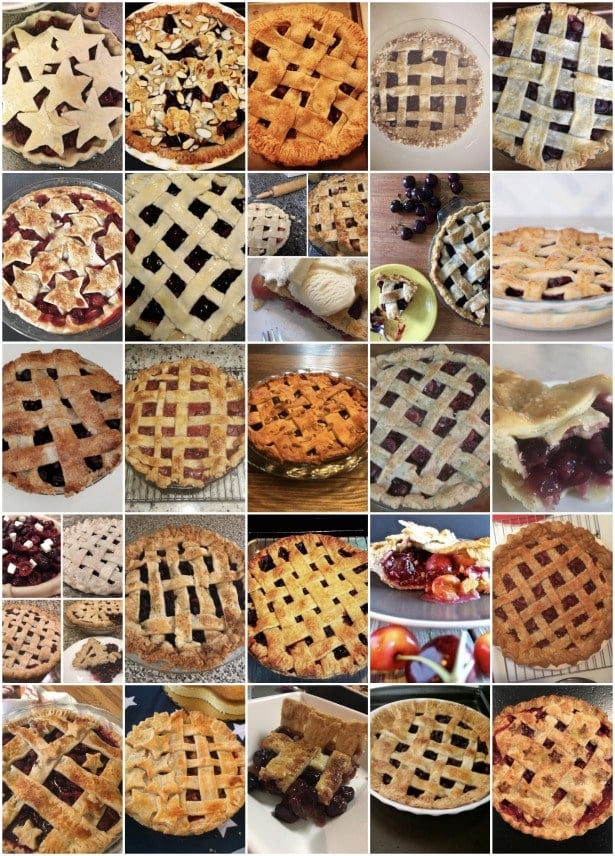
See Your Homemade Cherry Pies!
Many readers tried this recipe as part of a baking challenge! Feel free to email or share your recipe photos with us on social media. 🙂