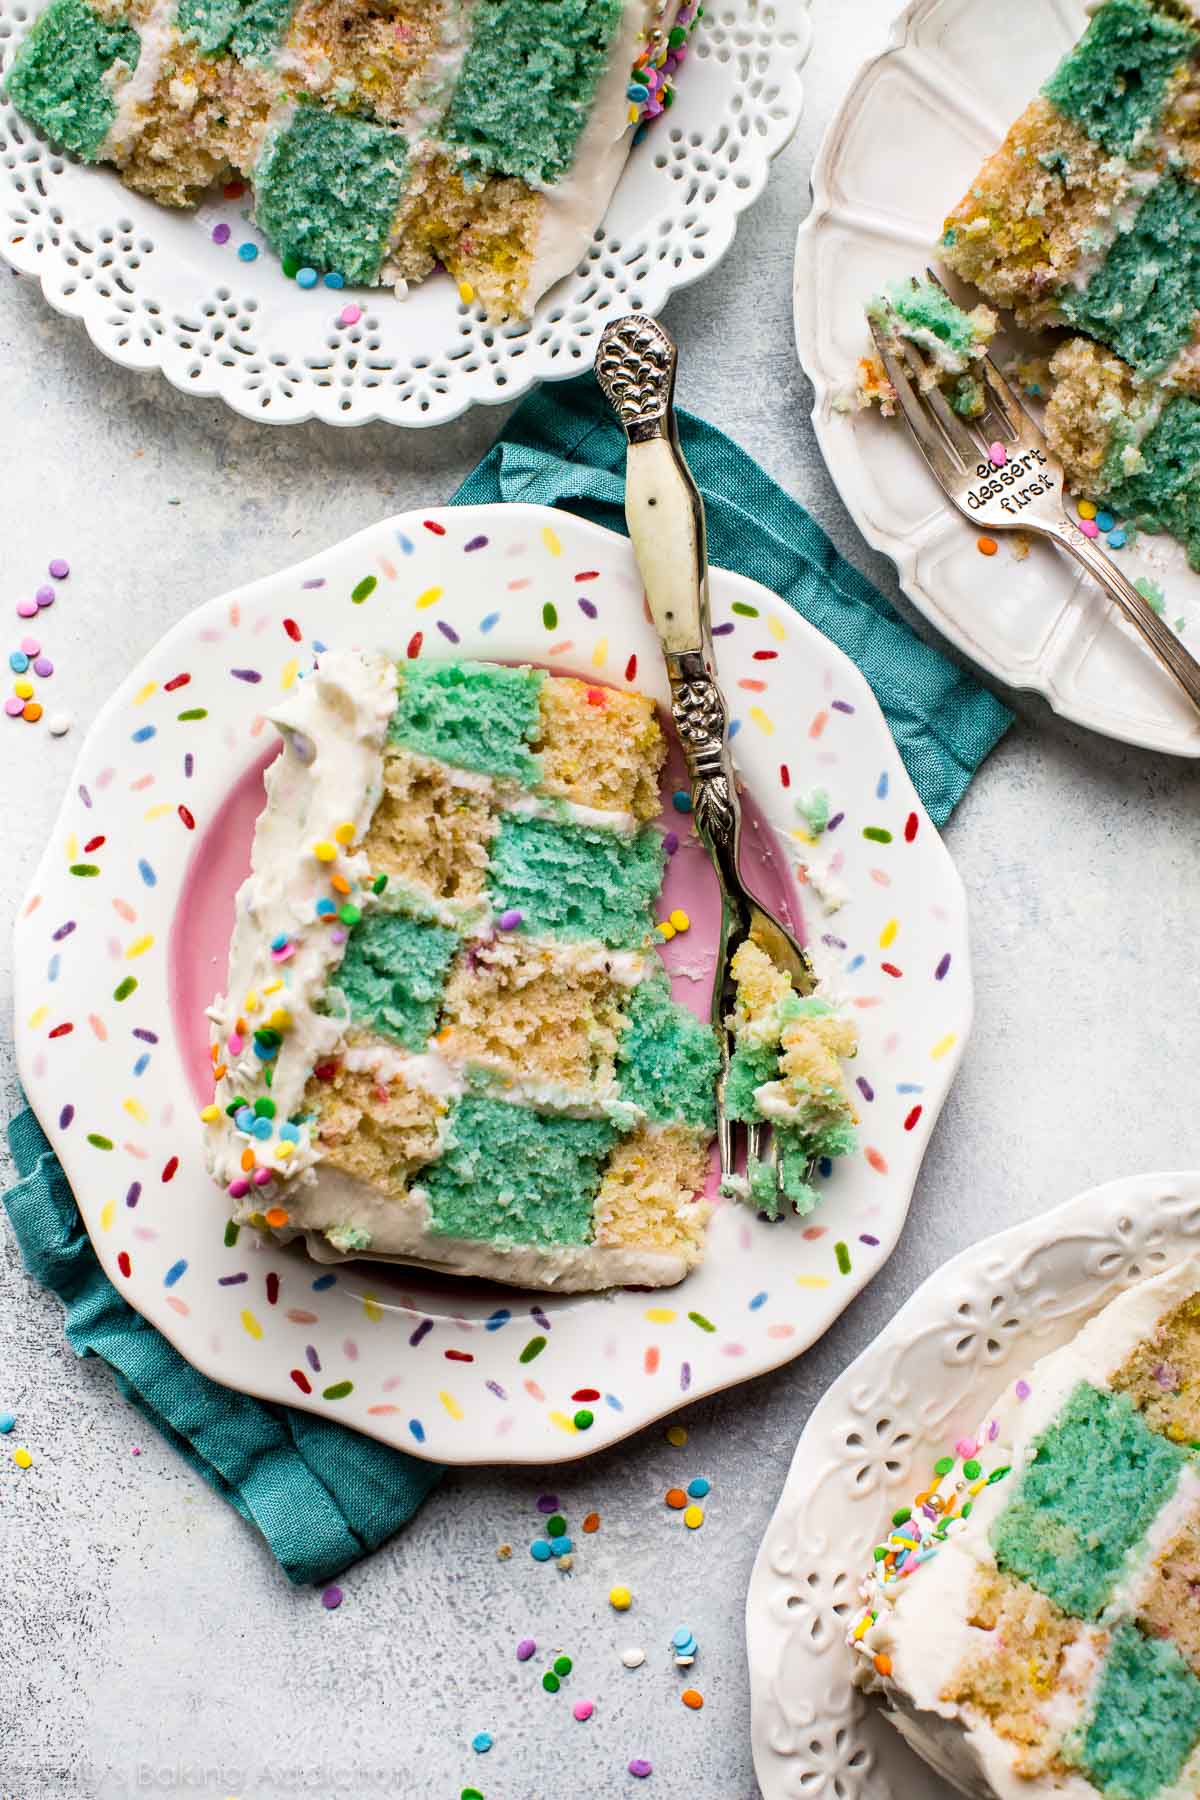
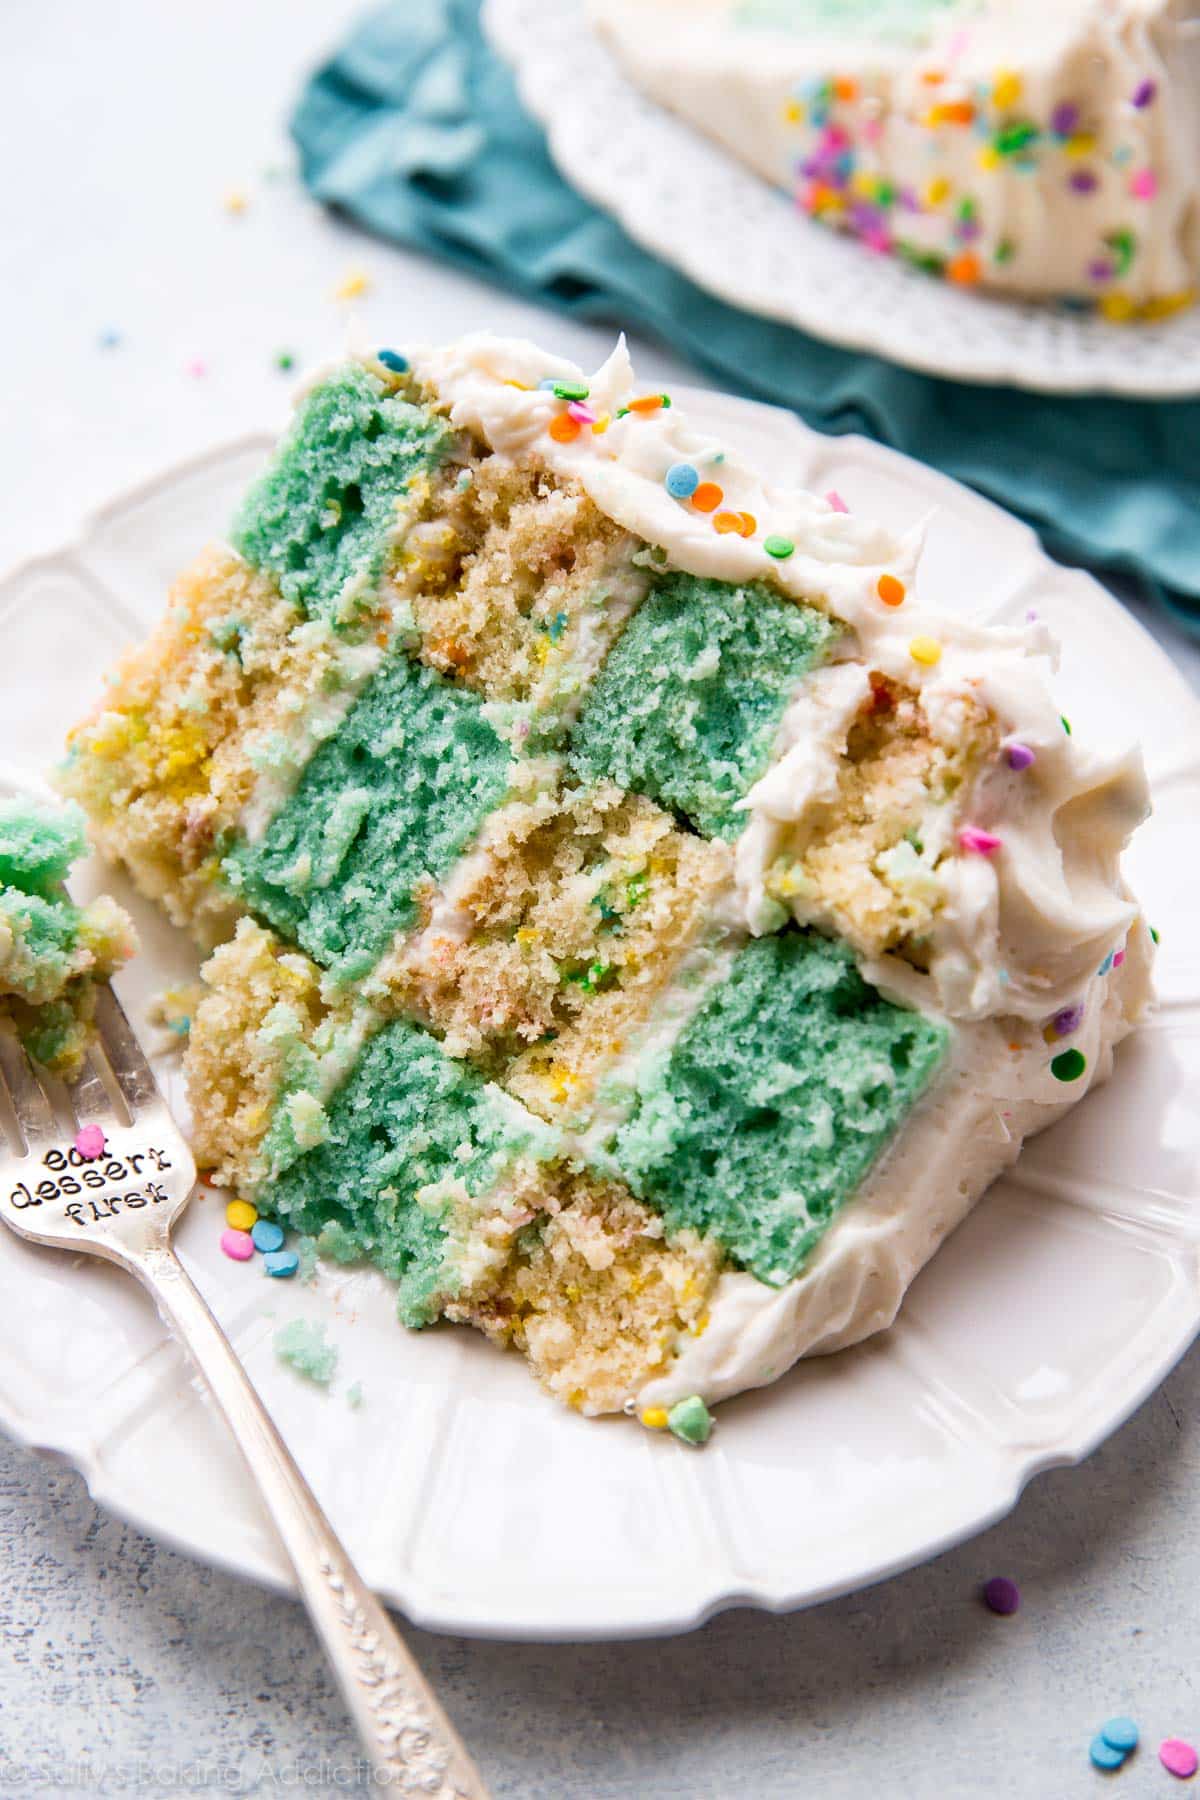
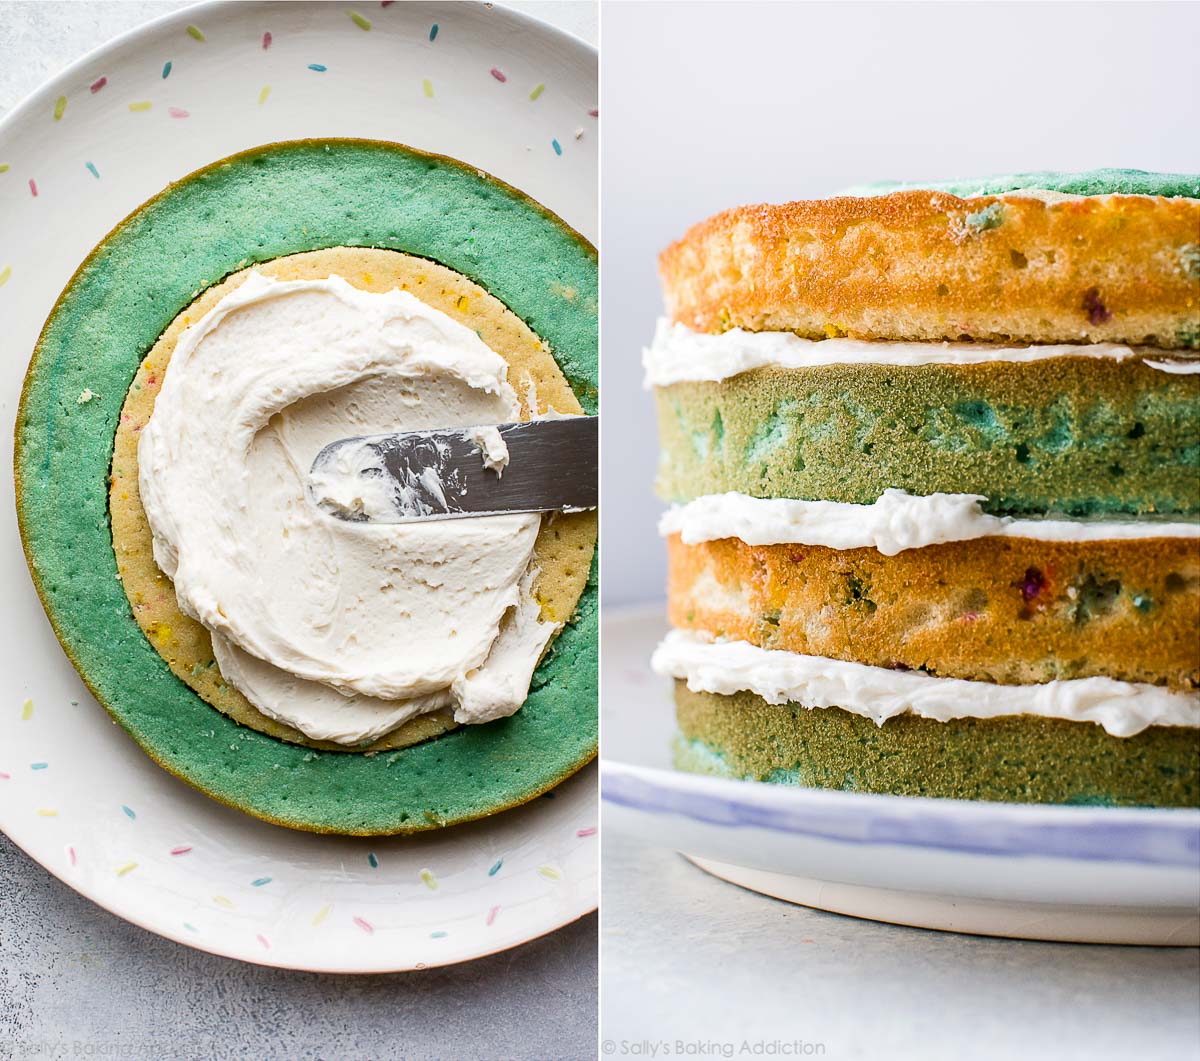
Checkerboard cake probably seems a like a huge question mark to most. How? Where? WHYYYYY? Some crazy special cake pan? What is going on?! I’m always majorly impressed when I see them, but had no idea how laughably simple they are to prepare. And I think you’ll be surprised too! And… another side note. Can I admit to you that I used to have zero cake and cupcake decorating skills? I’ve never taken a cake decorating class. I’m no where near as talented as some of you, but here’s why I’m telling you all this: if you feel how I did 1 year ago… frustrated, intimidated, and confused by producing beautiful cake creations… then let me encourage you to just TRY. Just start trying. You’ll get there. Just have your family eat the uglies. (I had a lot of uglies.) There are a few step-by-step pictures I want to show you, but before we get to all that… watch to see how it all comes to life. Not so scary, right? Also… I had my friend Ashlee shoot this video for me. And her video version is obviously so much prettier than my own cake (these pictures). Told you… I’m still learning! Let’s get started on the rundown. You’ll make a four layer vanilla cake. The only thing better than the charming geometric design is the cake’s homemade flavor. I love it. It’s similar to my piñata cake recipe, though I opted for 5 whole eggs instead of whole eggs + egg yolks. It makes things easier and I sort of can’t really tell difference. No offense 2015 Sally. You’ll need at least two colors of cake to make the checkerboard design. So, divide the batter in half. The batter is about 8 cups total, so 4 cups will be 1 color and 4 cups will be another color. My colors were a pretty aqua shade (the teal color in this kit) and funfetti. Funfetti is a color, right? You can use any two colors you like or only tint half of the cake a color. Like pink + plain batter OR purple + green batter OR funfetti + blue (like I did). Honestly, whatever you want. Perfect for showers, weddings, themed parties, team colors, etc. Heck, you could make a new checkerboard cake every week. I’m sure your skinny jeans would love it. The frosting is homemade as well. Sweet, silky, buttery, and easy to work with. Once you have your 4 cake layers baked and the frosting prepared, assemble the cake. This is the fun part and the video above is a wonderful visual to walk you through.
Some Cake Math
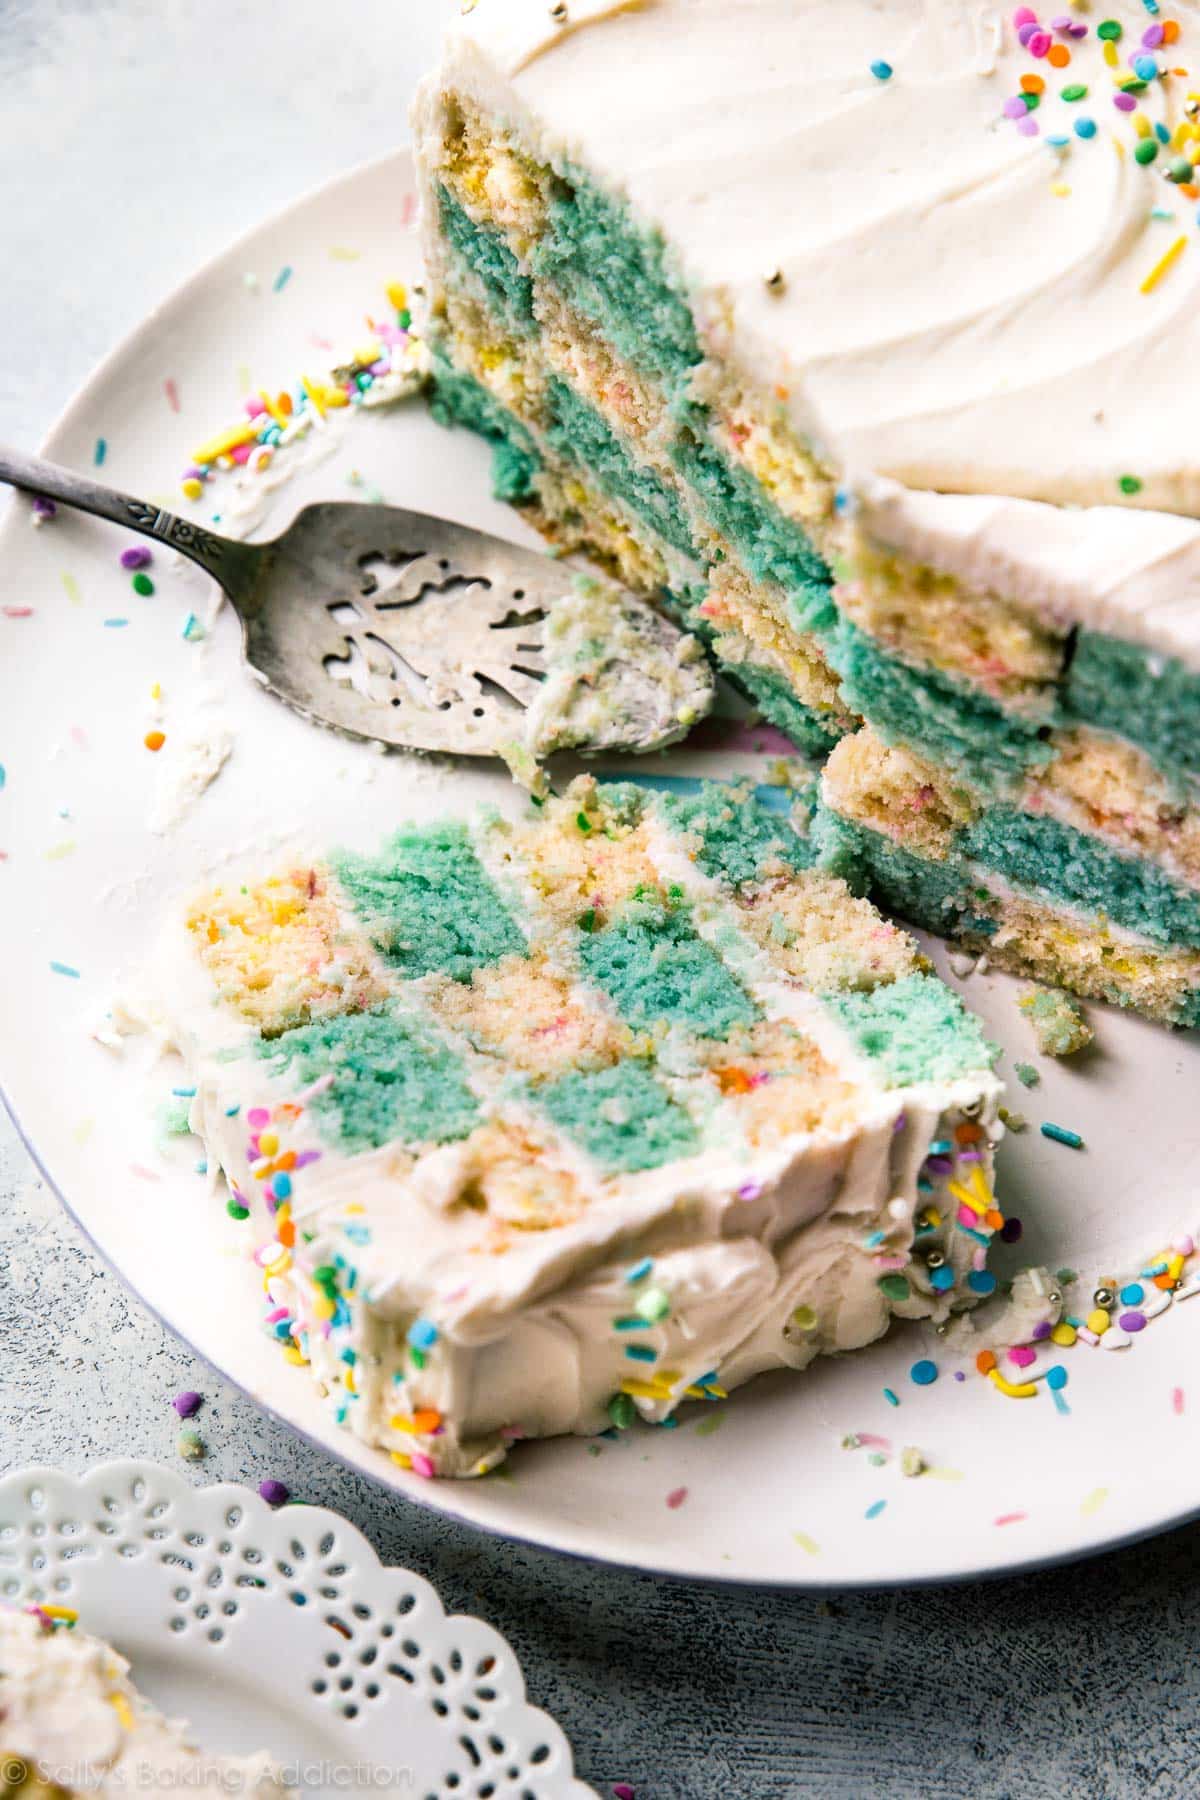
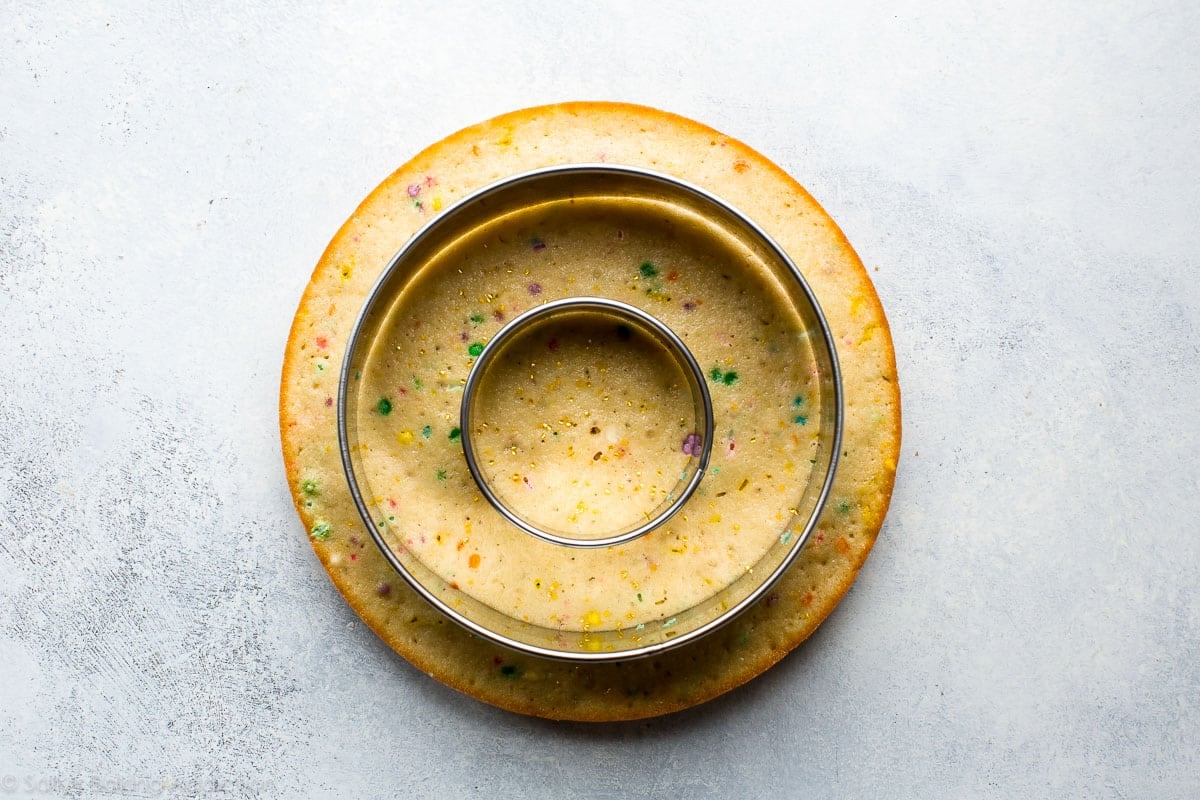
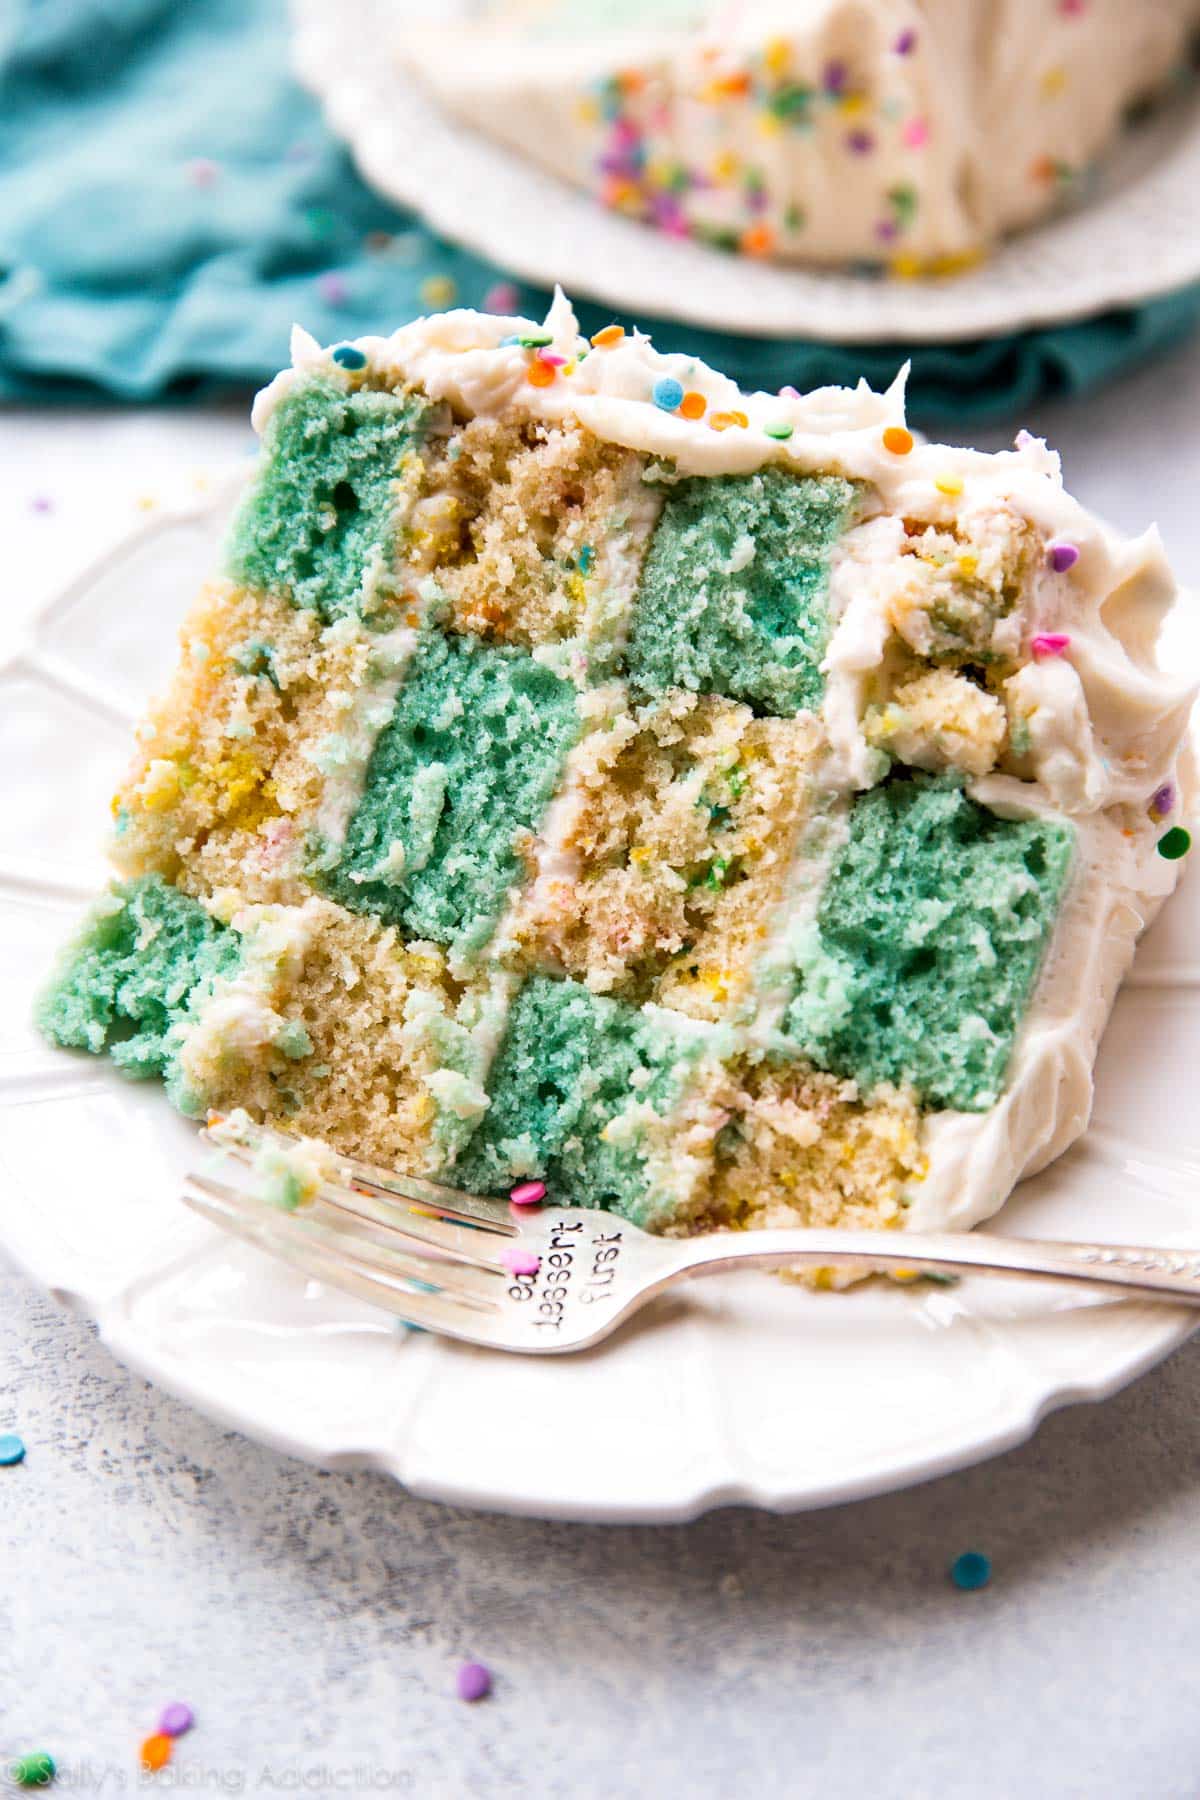
You’ll need a 6 inch cookie cutter and a 3 inch cookie cutter. These sizes are perfect for 9 inch cakes because it wouldn’t make any sense to have, say, a 5 inch cookie cutter and a 2 inch cookie cutter. The checkerboard squares wouldn’t be even all throughout the cake. 3 + 6 ensures the squares are 1.5 inches each. (See photo above.) Alternatively, you could make 6 inch cakes and use 4 + 2 inch cookie cutters. However, this homemade batter wouldn’t fit into smaller pans. So 9 + 6 +3 is best using this batter and frosting. Does that all make sense? Now you have to just put the puzzle together. You will have 4 3-inch circles, 4 6-inch circles (well, the outlines since the centers are missing), and 4 9-inch circles (which, again, are just a thin outline of cake since the centers are missing). Place the 6 and 3 inch cakes inside the 9 inch cakes, alternating colors. Layer it up with frosting then frost all around the sides. Cutting into the cake reveals the completely unexpected, yet whimsical and seriously impressive design. It’s absolutely gorgeous. A showstopper, indeed. Look at you! You just created a cake masterpiece. If I can do this, so can you.
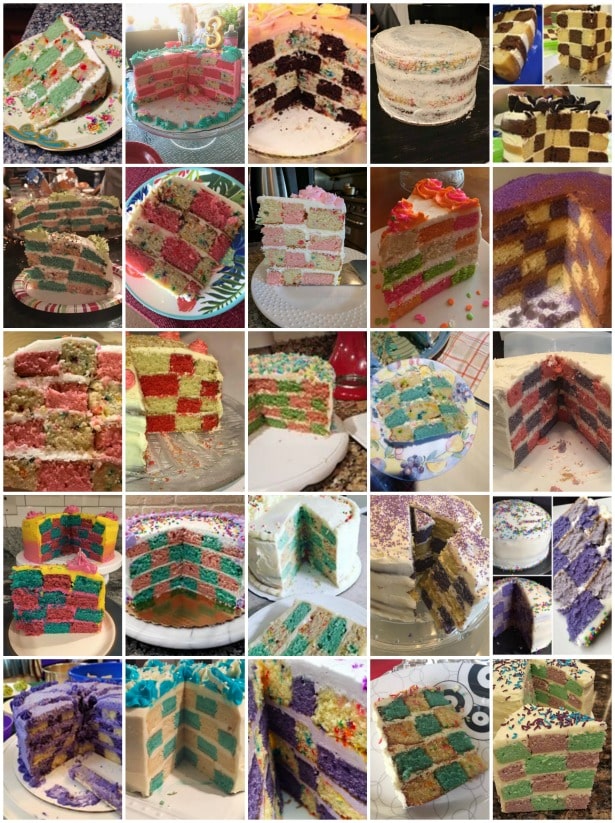
See Your Checkerboard Cakes!
Many readers tried this recipe as part of a baking challenge! Feel free to email or share your recipe photos with us on social media. 🙂