Bhindi (Okra) is my family’s favorite vegetable so whenever I visit an Indian store I definitely pick some okra to make bhindi do pyaza.
It is a family favorite recipe that is perfect for everyday meals lunch, dinner, or for the lunchbox, and even while hosting guests or parties. Does your bhindi turn slimy or mushy on cooking? Don’t worry, I have you covered. I have shared all the tips to get the perfect bhindi, so read through before making the recipe. If you are a bhindi lover like us, try this baked or air-fried Crispy Bhindi Recipe. It’s another family favorite!
About Bhindi Do Pyaza
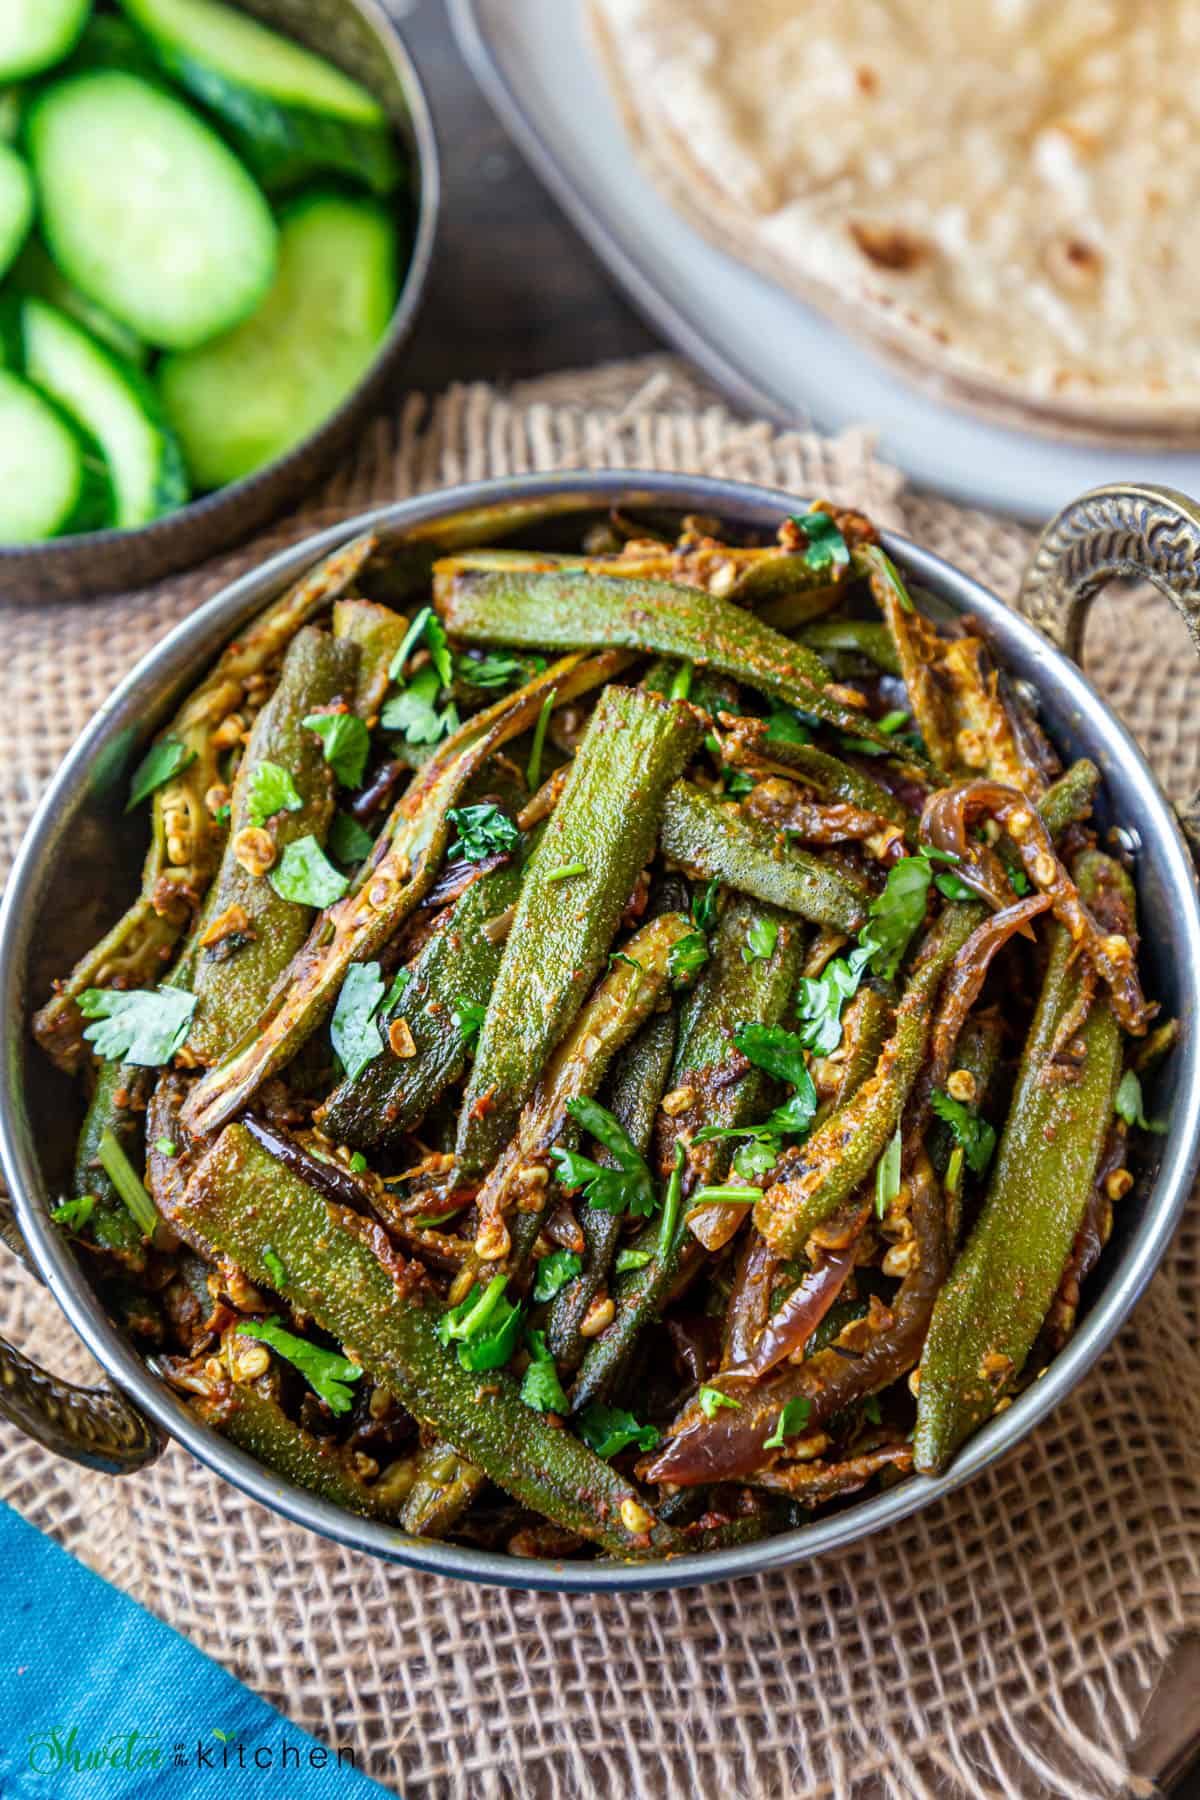
Bhindi Do Pyaza is a popular everyday Indian sabzi or side dish that is eaten with flatbread like Roti, Chapati, or Naan. Bhindi is also known as Okra or ladyfinger in English whereas the “Do” in “Do Pyaza” means two, and pyaaz is the Hindi name for onion. The literal translation of bhindi do pyaza is bhindi cooked with two or twice or double the number of onions. Do pyaza or Dopiaza originated from the Mughal cuisine and was used with meat dishes only. Due to its popularity, we now have vegetarian versions that are equally popular. There are different theories and cooking methods associated with the preparation style for this dish due to its name “Do Pyaza” One theory says it was named “Do Pyaza” as the onions are used twice during the cooking process, chopped or ground to make the gravy and then fried or pickled as a garnish. While as per other theory, it is twice the amount of onions used or two different types of onions used. I would say either way it’s very delicious!! I make bhindi Do Pyaza in stir fry style (not gravy) so I use the 2:1 ratio of onions to okra. It is simple, quick, and delicious all at the same time. Without further ado, let’s see how to make bhindi do pyaza which is not slimy nor mushy.
Recipe Ingredients
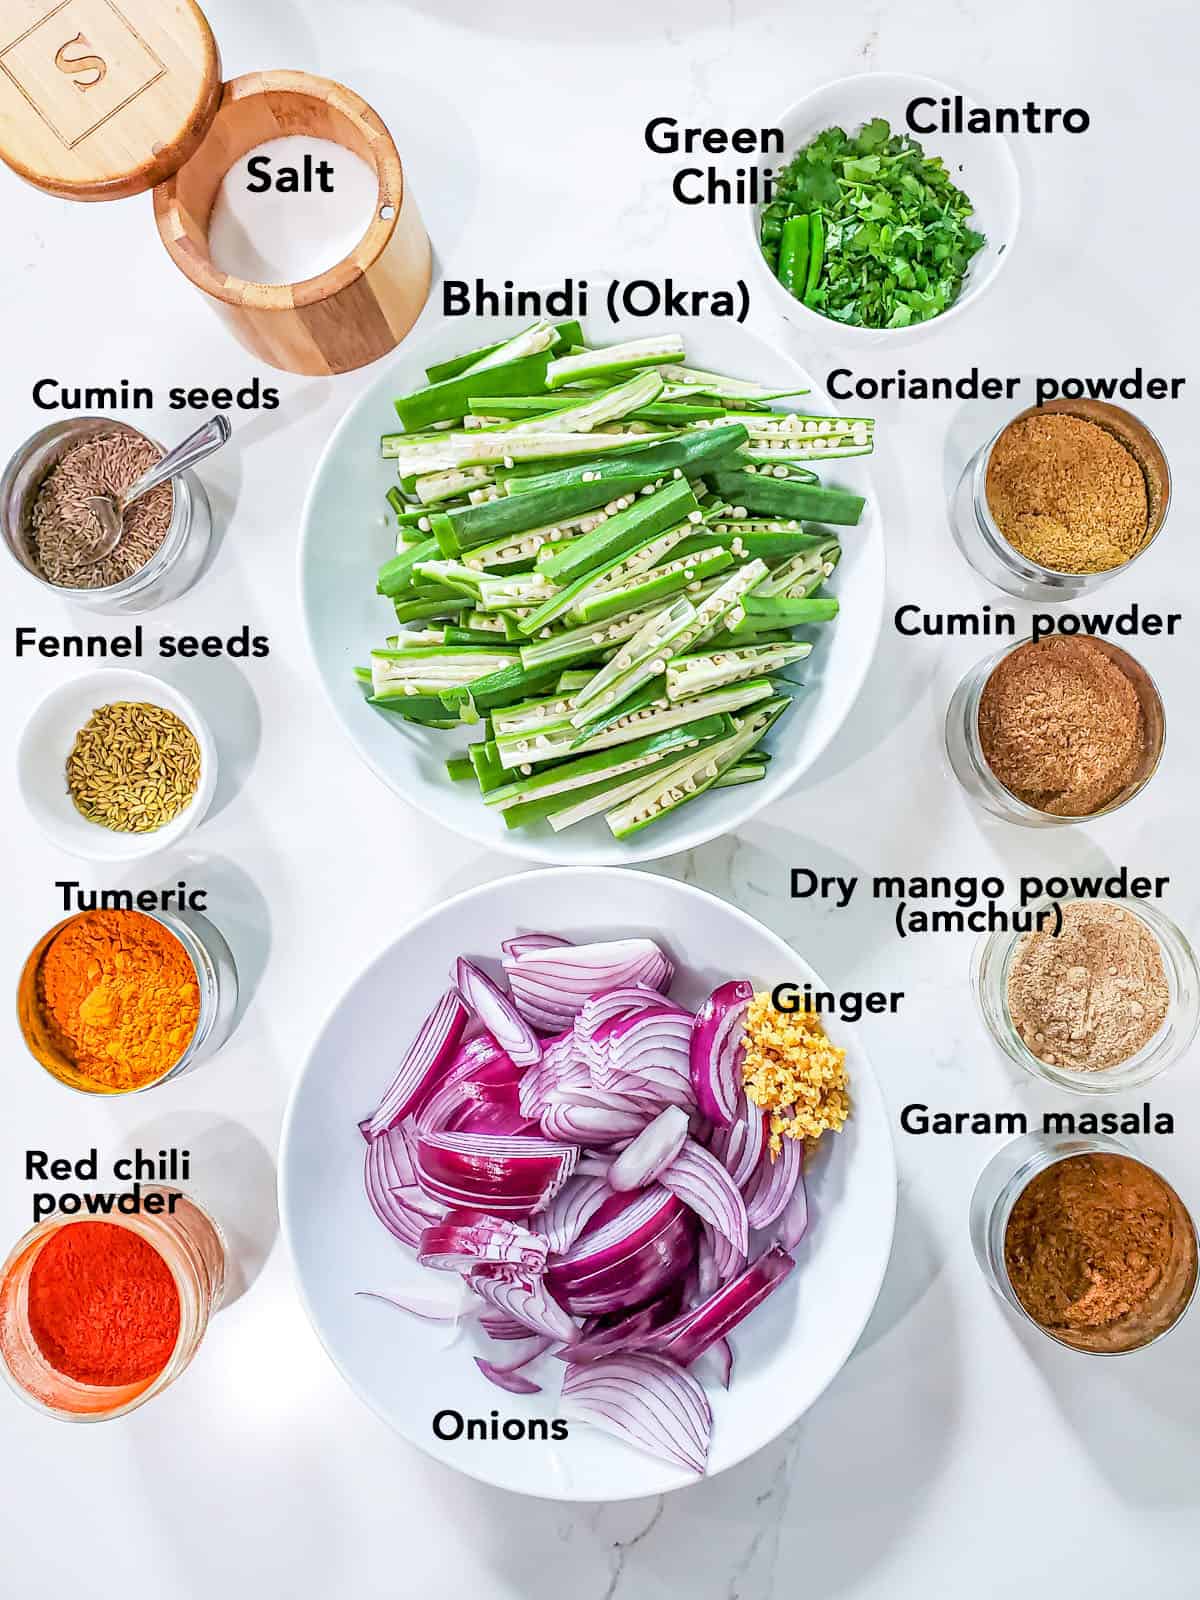
Bhindi - It is also known as Okra or Lady’s finger. Pick fresh, tender, green Bhindi preferably without any spots or blemishes. You can test by breaking a small portion of the tail by hand. If it breaks easily that means the Okra is tender and will cook easily. I don’t recommend frozen okra for this recipe. Onions - I have used red onions but yellow onions can be used too. Ginger - freshly minced ginger adds a great flavor to the sabzi. You can also add garlic if you like. I usually skip it. Green chili - adjust to taste or skip if you don’t like spicy food. Spices - we will need basic Indian spices like cumin seeds, roasted crushed fennel seeds, turmeric, coriander powder, red chili powder, dry mango powder (amchur), cumin powder, garam masala, and salt. Others - Last but not least we will also need some cilantro and lemon juice to finish the recipe. Please refer to the recipe card for exact measurements of ingredients.
How to make Bhindi Do Pyaza (Step by Step Method)
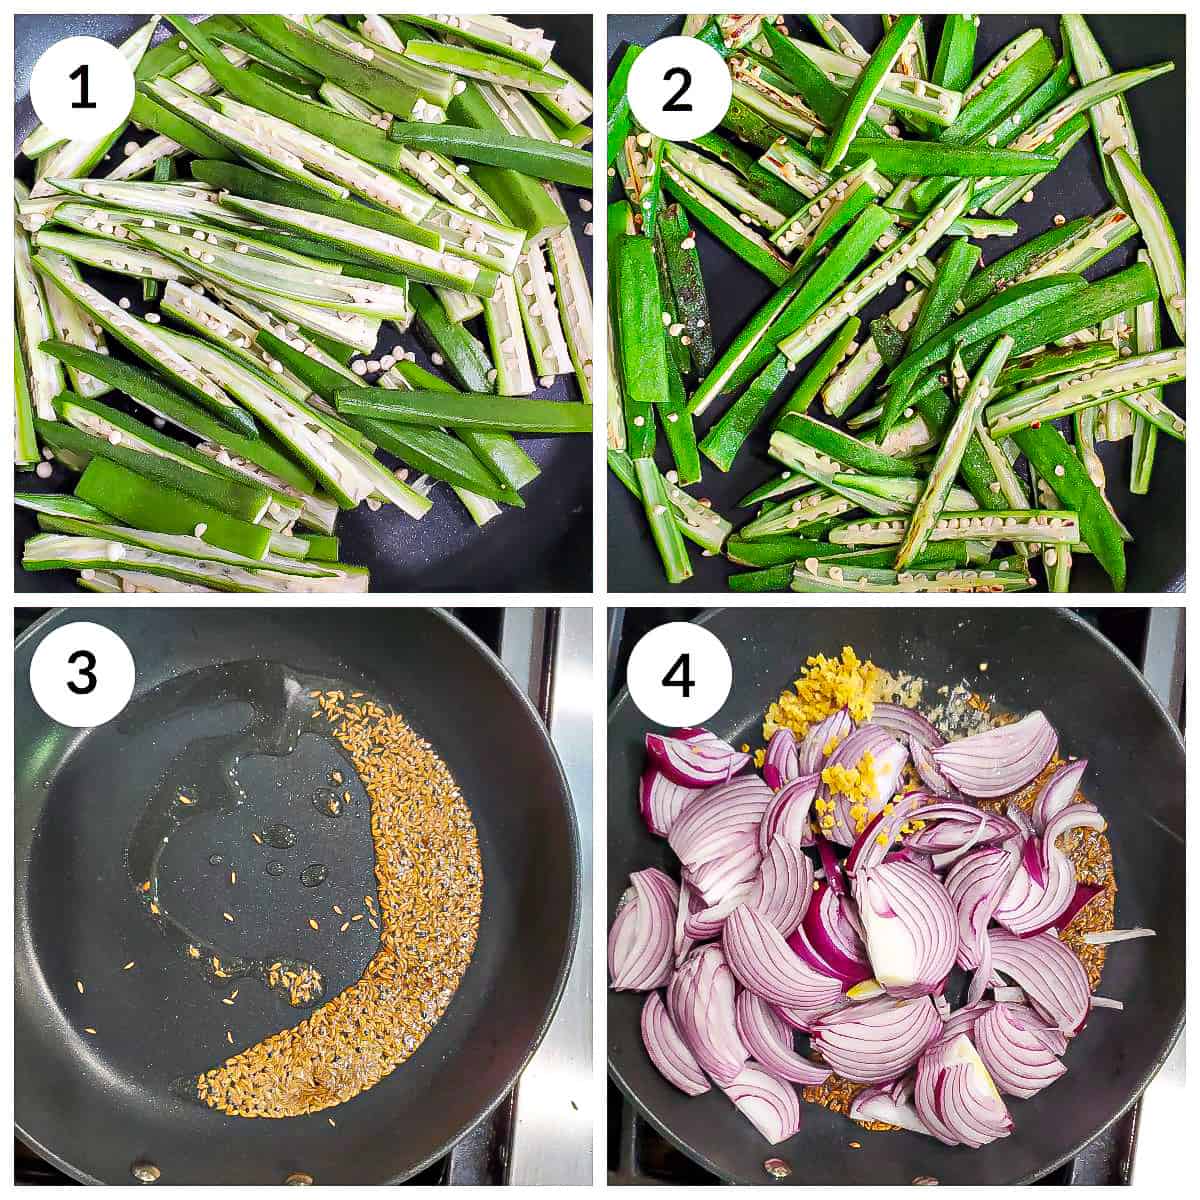
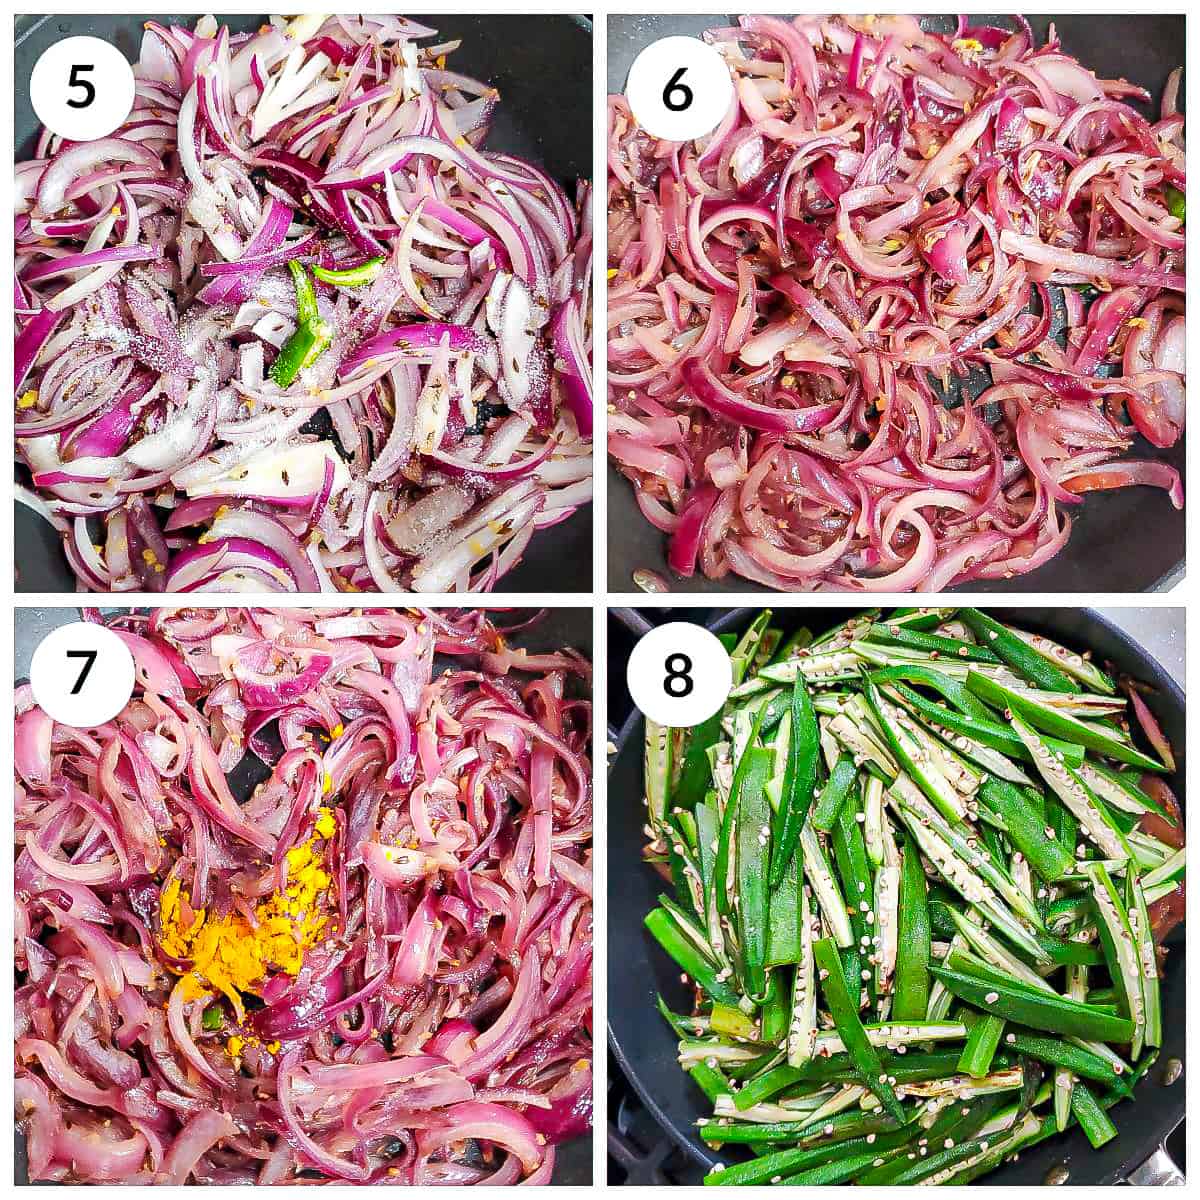
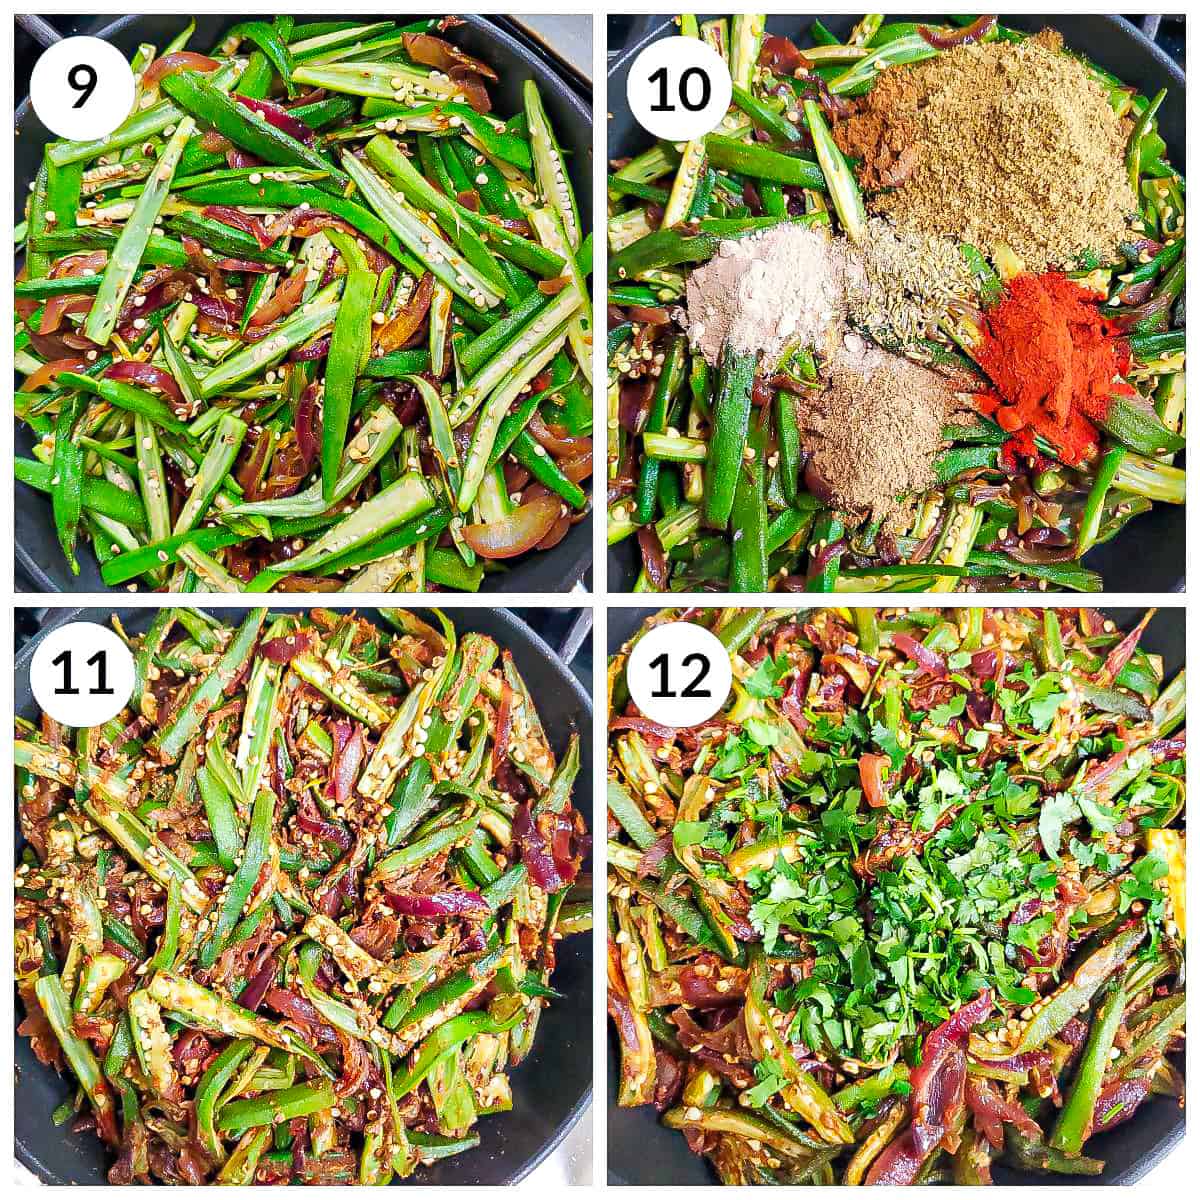
Rinse the okra under running water and drain completely. Wipe the okra dry using a kitchen towel or spread them on a paper towel to air dry naturally. Ensure the Okra is completely dry before cutting and cooking it. I cut mine lengthwise but you can also cut them round. Chop the onions and green chilies and have them ready too. 1 - In a large heavy-bottomed pan, heat a 1-2 teaspoon of oil over medium heat and add the sliced okra to it. Do not overcrowd the pan. Depending on your pan size, roast okra in batches if required. 2 - Stir fry the okra mixing occasionally until it is partially cooked and turns dark green. Remove it from the pan and transfer it to a plate. 3 - In the same pan, heat the remaining 2 tablespoons of oil and add the cumin seeds. Allow them to sizzle 4 and 5 - Add the onions, ginger, green chilies, salt. 6 - Saute till the onions turn soft and translucent. You can also cover and cook for 2-3 mins. 7 - Now add turmeric and saute for 2 more mins. 8 - Add the roasted bhindi and mix gently on medium heat till it’s well mixed with the onions. 9 - Let it cook for about 7-10 mins or until cooked stirring occasionally (but not too much). 10 - Once the okra is almost cooked add roasted and crushed fennel seeds, coriander powder, red chili powder, cumin seeds powder, dry mango powder, and garam masala. 11 - Mix well and cook for another 5 mins on low heat or till done. You can cover and cook at this point (optional). 12 - Turn off the heat and add the finely chopped cilantro and lemon juice and give it a final mix. Delicious Bhindi Do Pyaza is ready. Serve it hot with roti or chapati.
Serving Suggestions
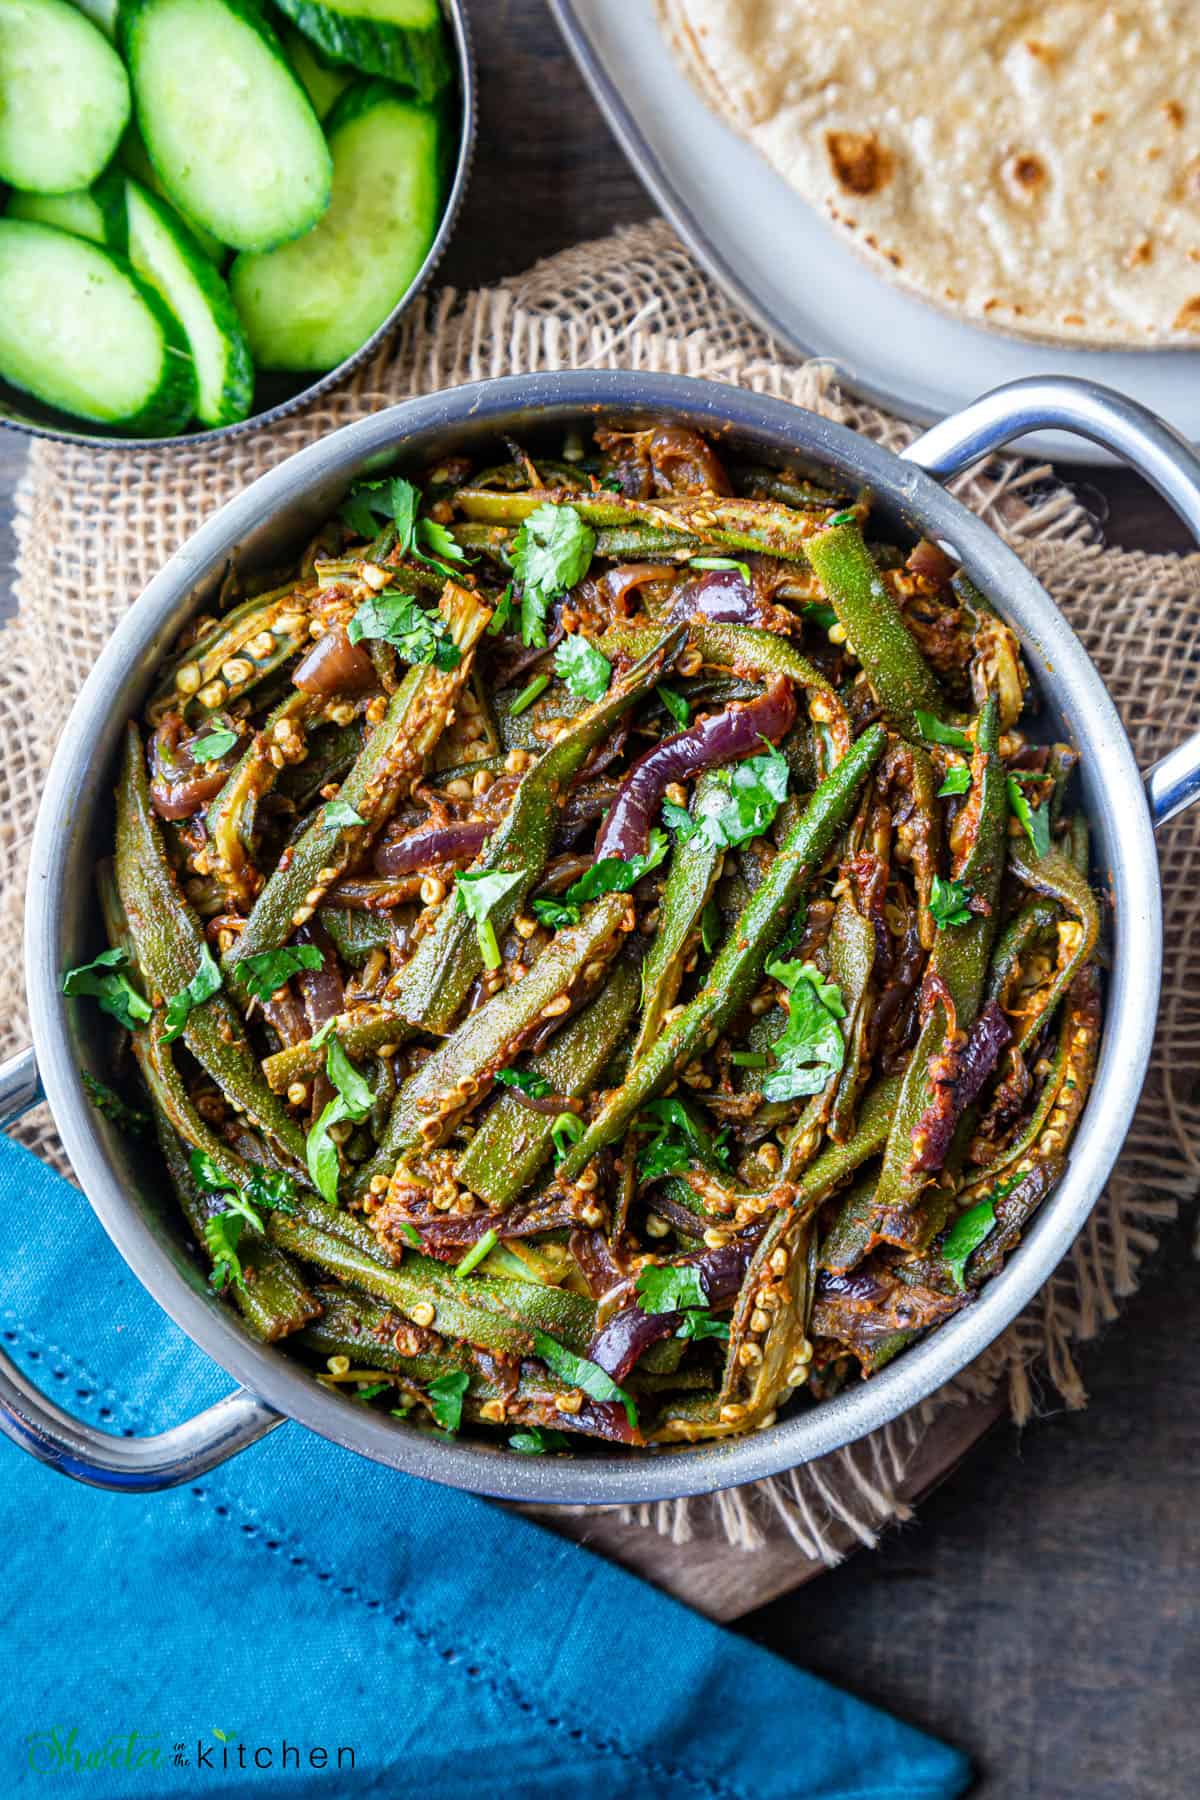
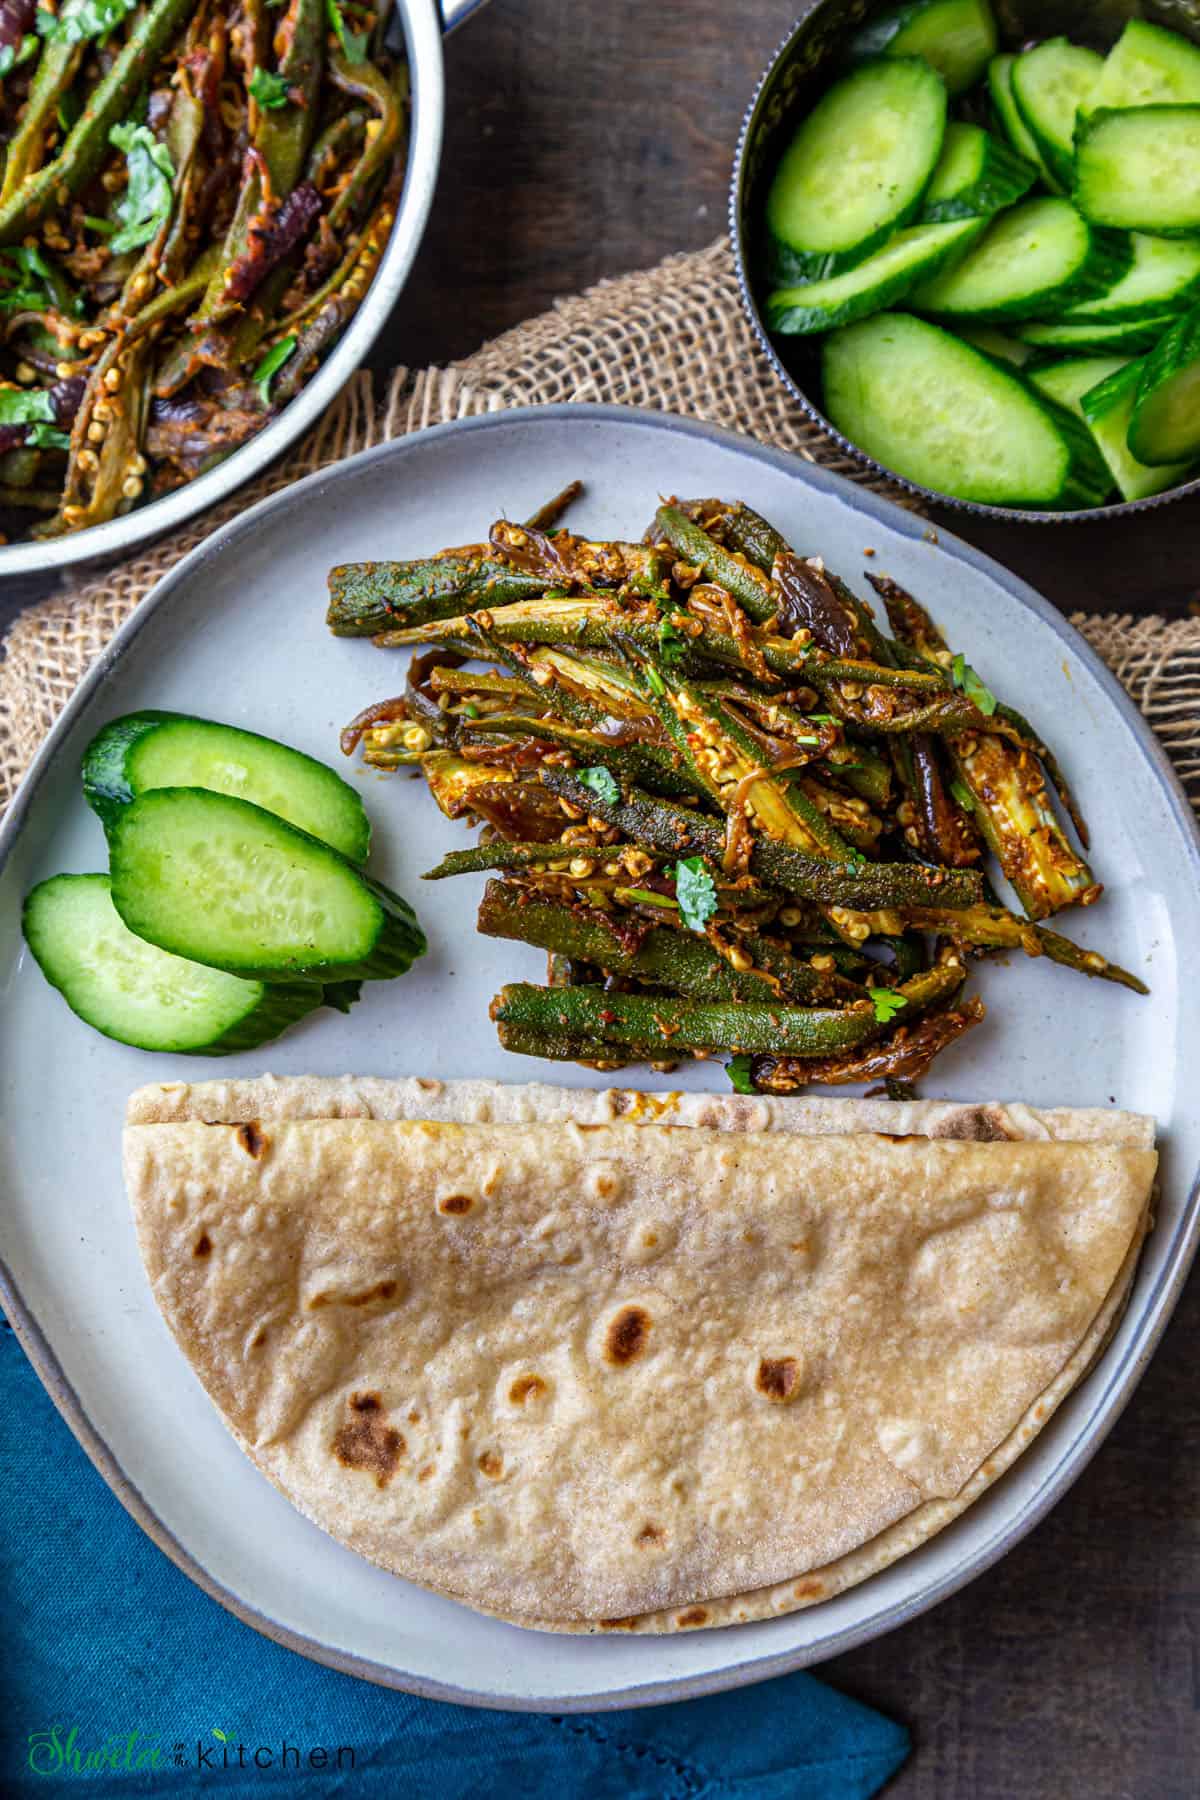
I usually serve bhindi do pyaza warm with some freshly made roti or chapati with either a side of kachumber (salad) or boondi raita and pickle or green chutney. You can also serve it along with Dal fry and rice for that complete meal.
Recipe Tips
If you have an option to pick your Okra, select the tender ones. You can test by breaking a small portion of the tail by hand. If it breaks easily that means the Okra is good and will cook easily. To avoid the secretion of slimy substances from Okra during the cooking process, wash and completely dry the Okra before cutting and cooking it. While cutting sometimes there may be a build-up of slimy substance on the knife. In this case, wipe it off before resuming cutting the remaining okra. Okra requires slightly more oil than any other veggie. So adjust oil accordingly. Roast the bhindi prior, this will help cut down the sliminess. Roast it only until it turns dark green. Need not be fully cooked. You can cut the bhindi into rounds too but we like it lengthwise for this recipe. If you are using raw fennel seeds, add them to the oil along with cumin seeds. I have used roasted one so crushed it and added it with the rest of the spices. Adding turmeric is optional, some prefer to skip it as it can change the green color of the okra. The green color will change over time anyway. It’s the heat, not the turmeric.
More Indian Side Dish Recipes
Hope you enjoy this Bhindi Do Pyaza Recipe !! If you give this recipe a try, please rate by clicking stars ⭐️ on the recipe card. Thank you ❤️! You can also follow me on Facebook | Instagram to see what’s cooking in my kitchen!!
Recipe Card
Update Notes: This post was originally published on Sep 16, 2013, but was republished with, step-by-step instructions, new photos, tips, and video in March of 2022.