I originally published this recipe in 2018 and have since added new photos and a few more success tips.
Not a Plain Cheesecake Recipe
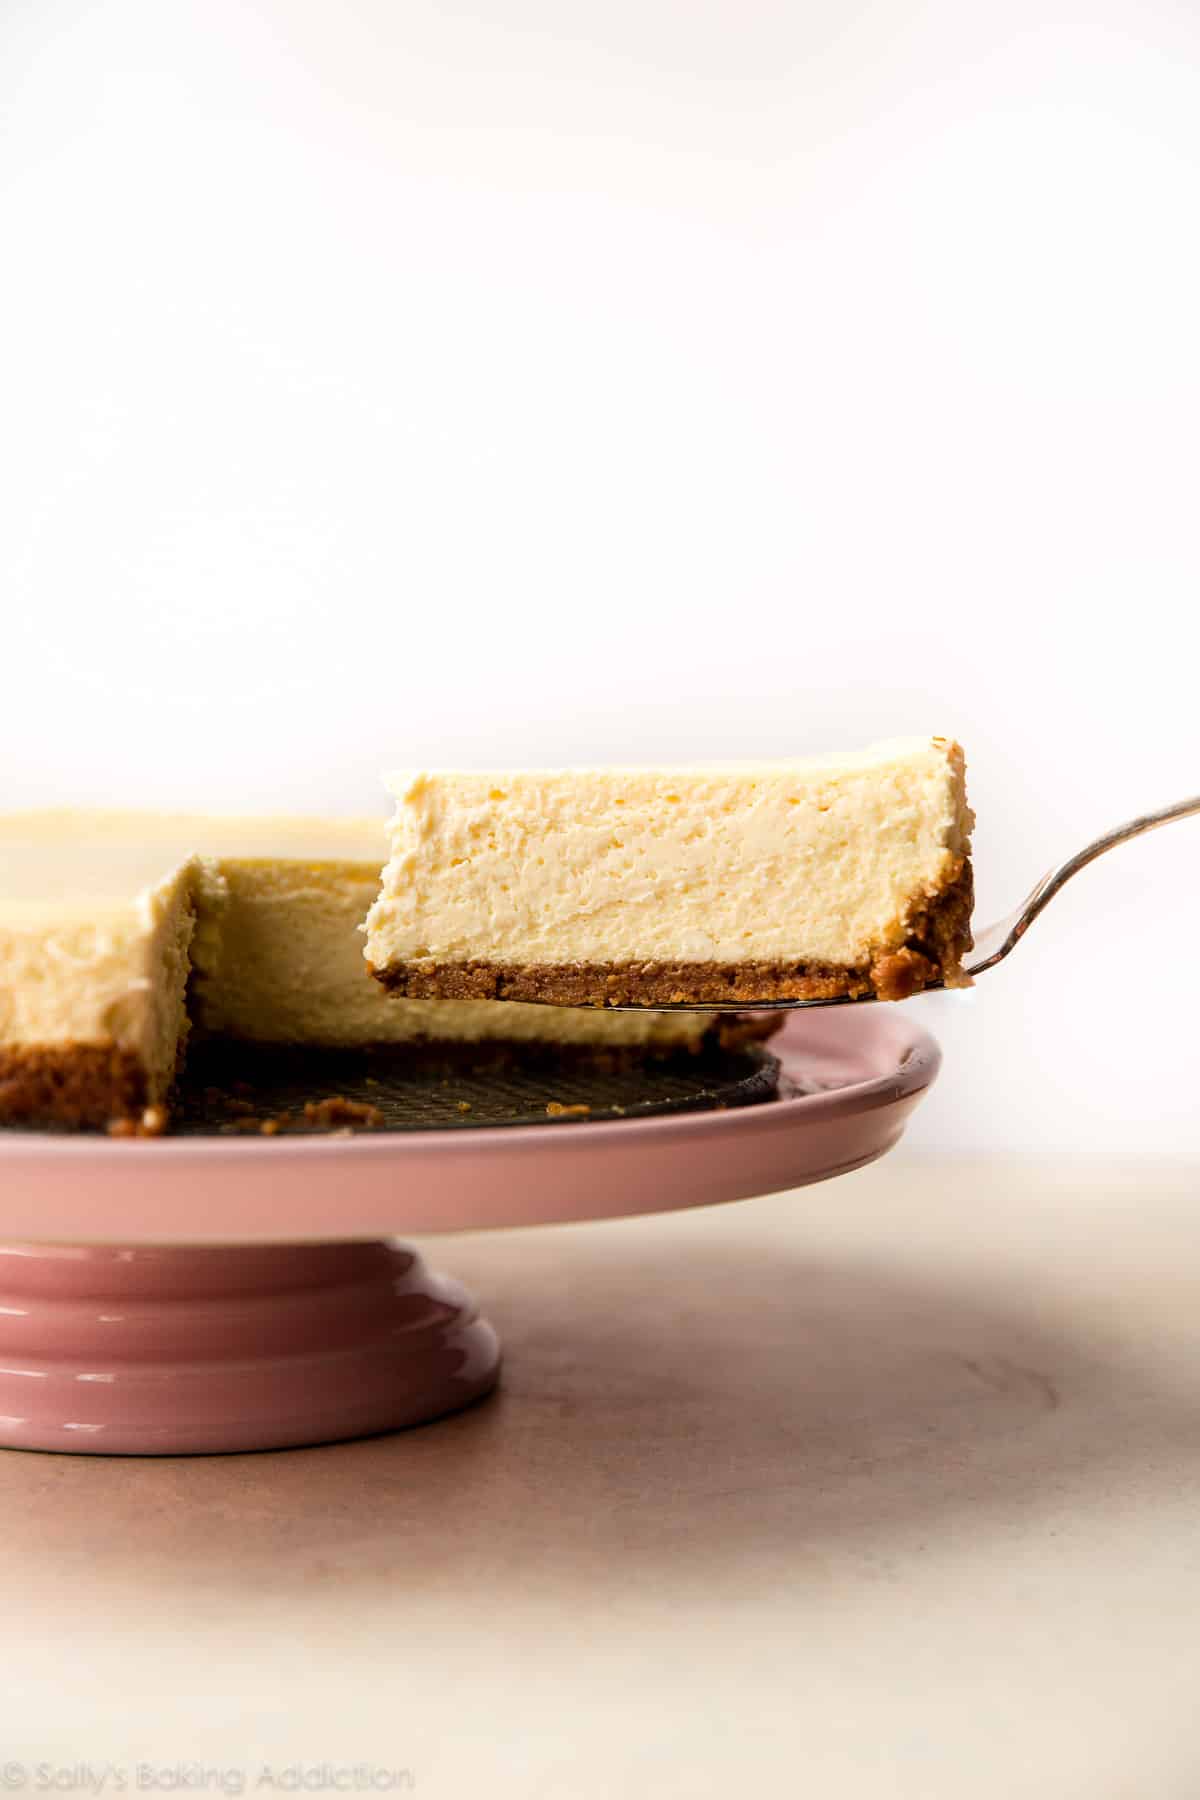
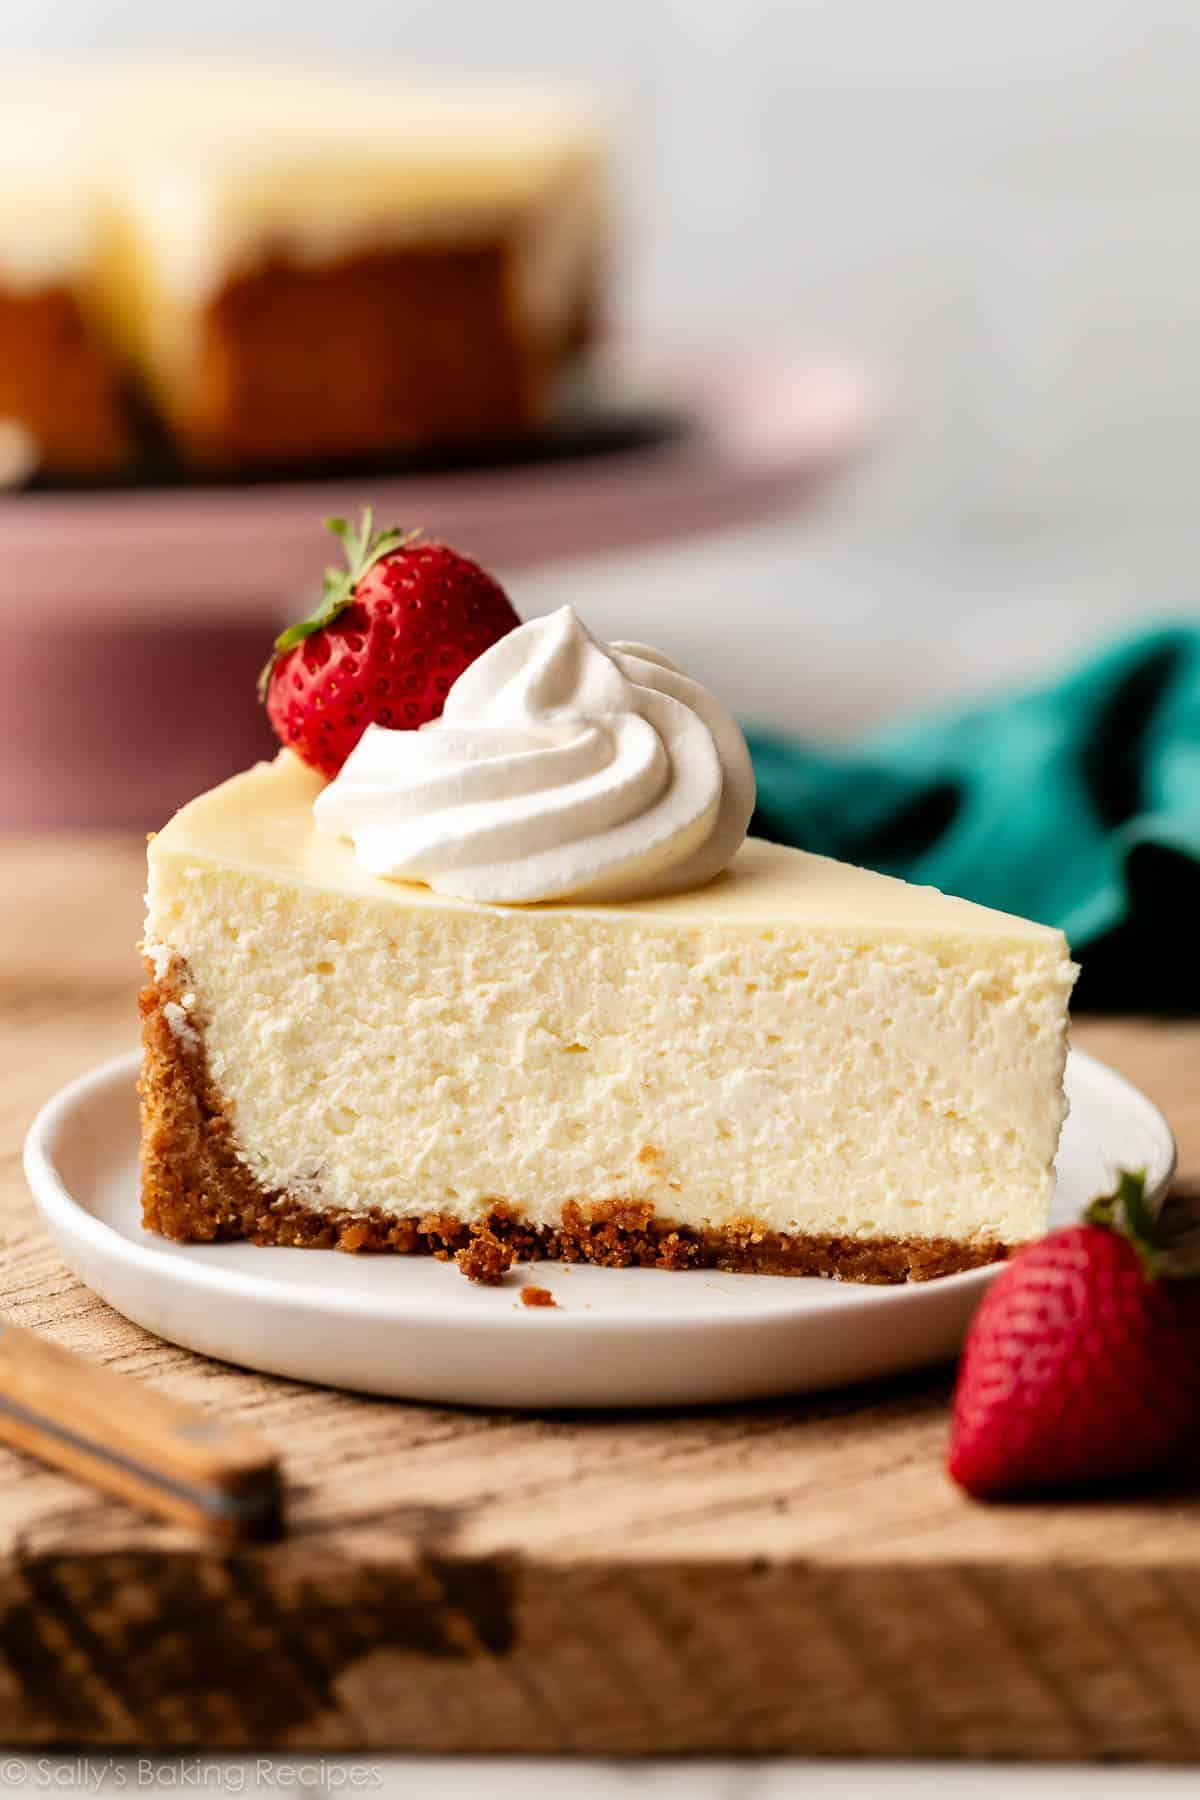
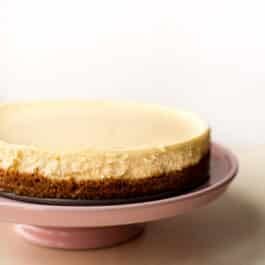
As much as I love cheesecake, I’ve never published a classic cheesecake recipe. There’s been peanut butter cheesecake, blueberry swirl cheesecake, Snickers cheesecake, pumpkin swirl cheesecake, lemon cheesecake, caramel turtle cheesecake, or Amaretto cheesecake. Plus more cheesecake in my published cookbooks. That’s a lot of cheesecake recipes without a single nod to where it all originates: classic cheesecake. To me, classic cheesecake is creamy, rich, and smooth. My cheesecake recipe is not as dense as New York cheesecake, but it’s just as special. It’s thick, it’s velvety, and there’s no denying its decadence. When I imagine what Chandler and Rachel’s stolen cheesecake tastes like, it’s this! While there’s a glaring absence of chunks, swirls, and sprinkles in this ivory crowned jewel, there’s nothing plain about this simply stunning dessert. Preparing my cheesecake recipe is rather simple—it’s baking the cheesecake that could result in a flop. Many factors are at play like the springform pan leaking, the surface of the cheesecake cracking, under-baking, over-baking, etc. I have plenty of tricks that will help guarantee classic cheesecake perfection, including determining when the cheesecake is done and everything you need to know about a cheesecake water bath.
How to Make Classic Cheesecake
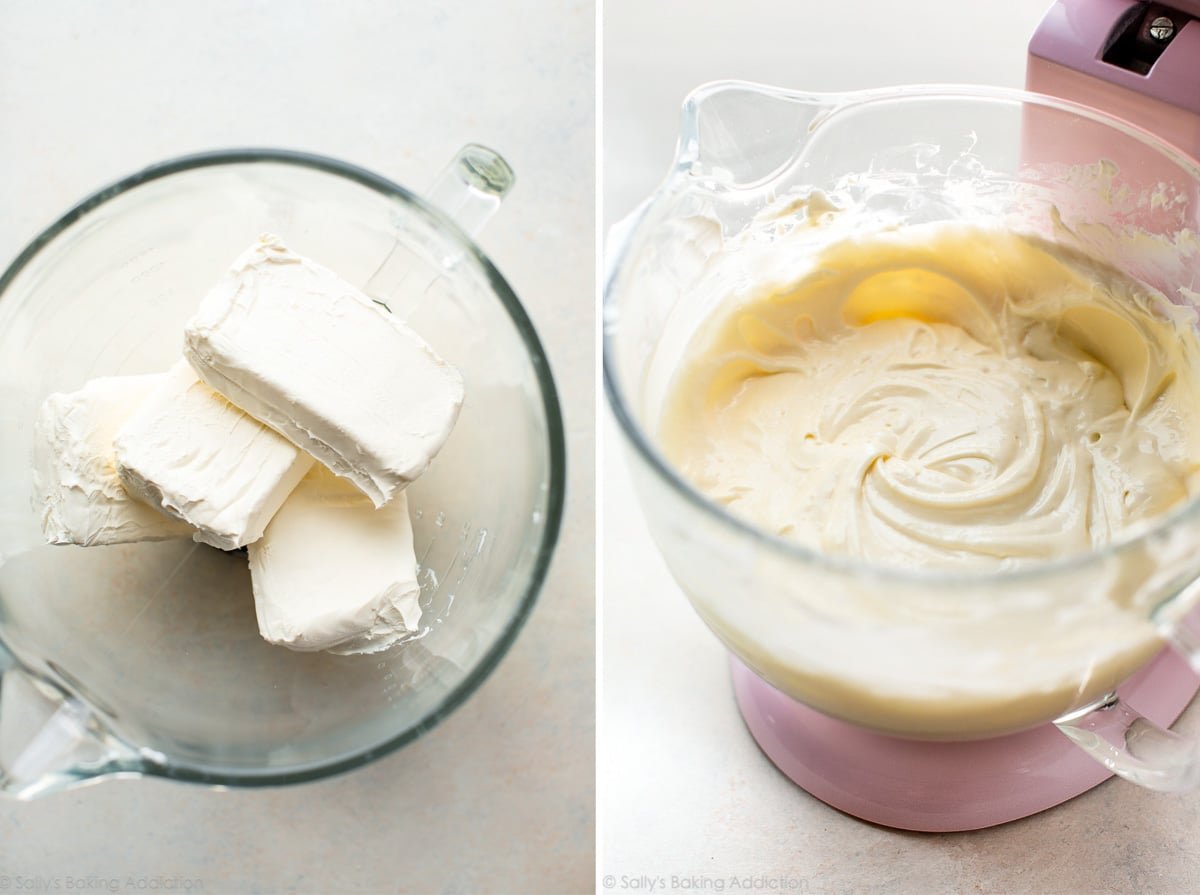
You only need a few basic staple ingredients for this cheesecake recipe. And as always, make sure all of the cheesecake batter ingredients are at room temperature so the batter remains smooth, even, and combines quickly. Beating cold ingredients together will result in a chunky over-beaten cheesecake batter, hardly the way we want to start!
How to Make a Graham Cracker Crust
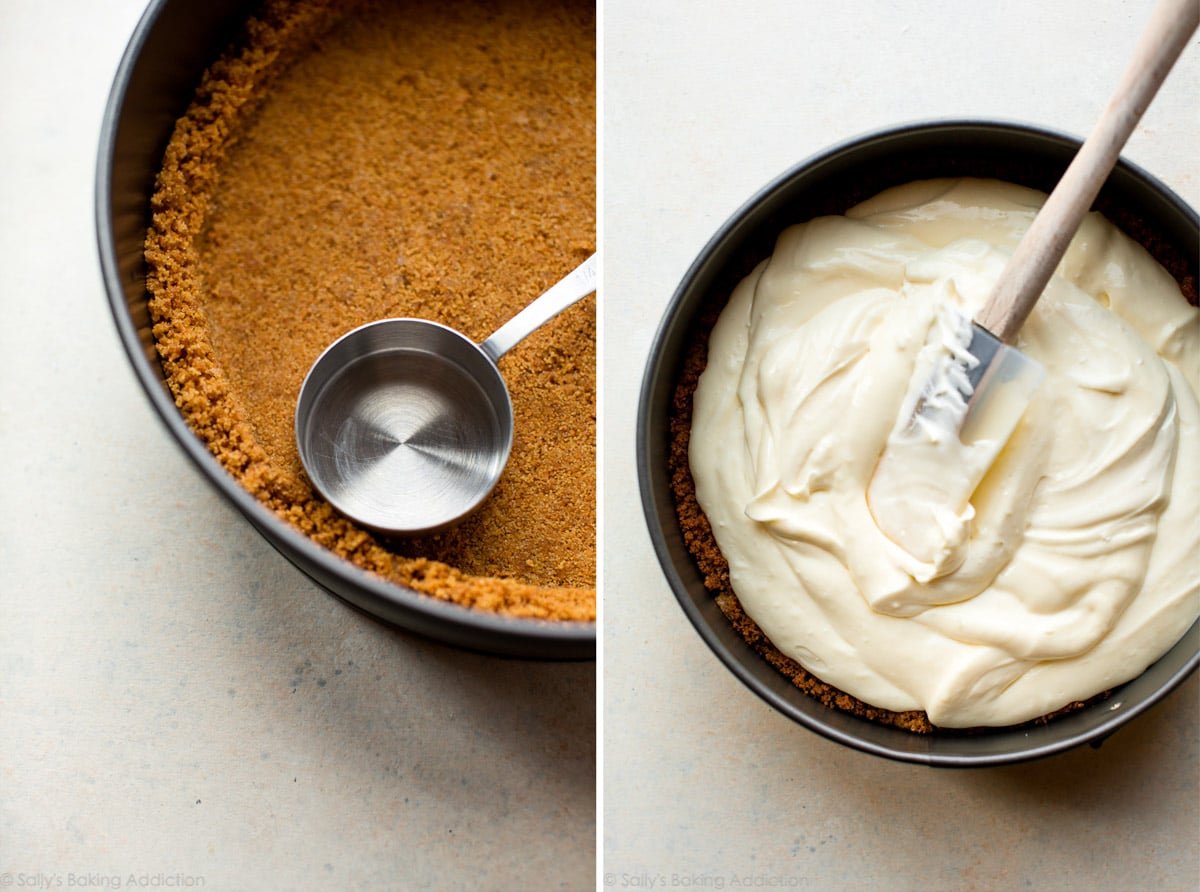
Since classic is the keyword of the day, we’re sticking with cheesecake’s main squeeze: a graham cracker crust. I reduced the butter from my original graham cracker crust recipe by 1 Tablespoon. I find this crust remains a little more crunchy. Make sure you pack the crust in tight and pre-bake it to help prevent any sogginess. You could use this Oreo cookie crust instead. No big changes necessary to the recipe below, but I do encourage you to lightly grease the bottom of the springform pan because Oreo crusts tend to stick. Or you could use a Biscoff pie crust instead if you’d like. I like to use the bottom of a small measuring cup to smooth the crust mixture into the springform pan. Speaking of, you’ll need a 9-inch or 10-inch springform pan. A springform pan has removable sides so you can safely release the cheesecake without having to flip the pan over or struggle to cut the cheesecake inside the pan. Springform pans can leak if you’re baking the cheesecake in a water bath (more on that below!), but this particular pan is reliable. I haven’t had any leaking issues.
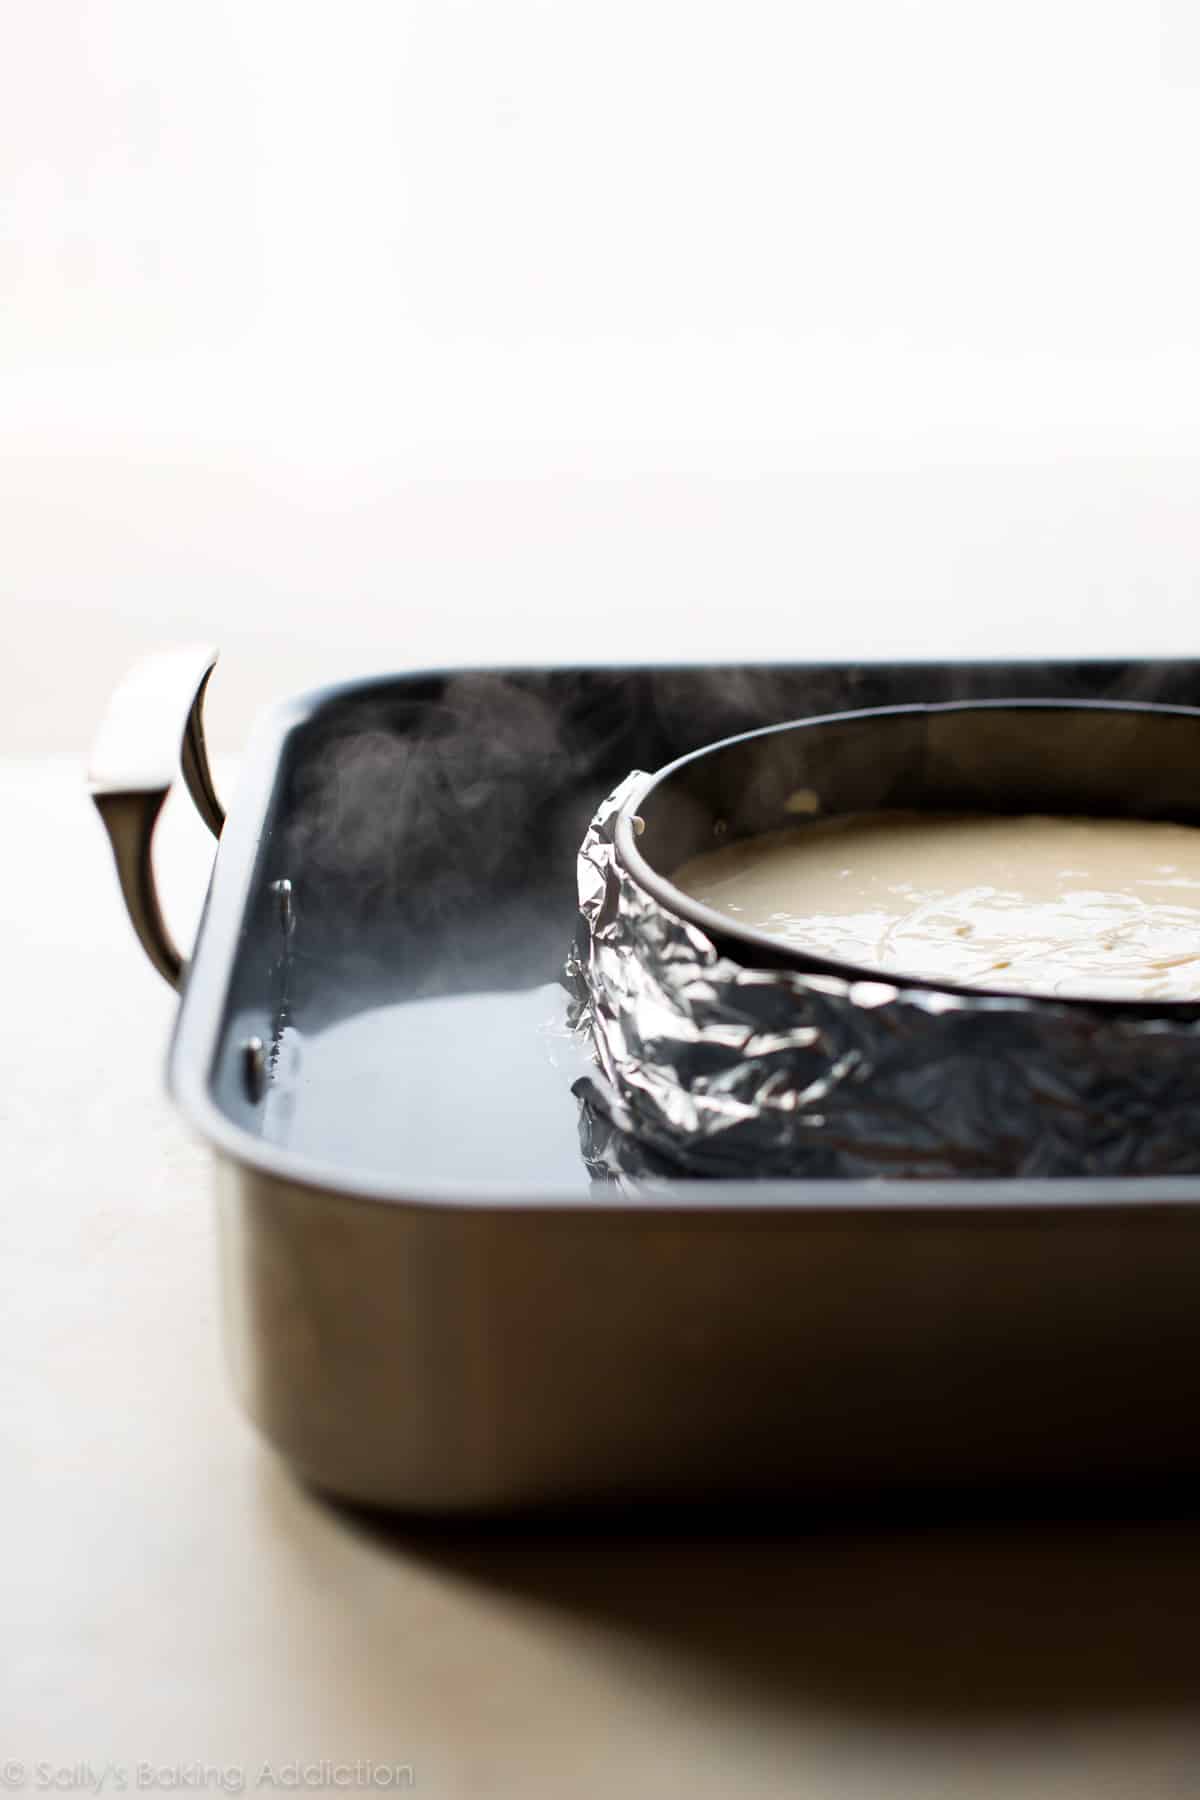
Cheesecake Water Bath
I promise a water bath is nothing complicated. All you’re doing is placing the springform pan in a roasting pan, filling it with hot water, and baking. What’s the point, you ask? I actually have an entire post and video tutorial for How to Make a Cheesecake Water Bath. You see, cheesecake loves a humid environment. The steam from the hot water will lift the cheesecake up slowly and evenly, reducing the risk of cracks on the surface. Additionally, this slow and even baking method helps prevent the cheesecake from sinking back down as it cools. Taking a few extra minutes to prepare a water bath for this cheesecake recipe is well worth it.
Cooling & Chilling Cheesecake
Another way to help prevent cheesecake cracks is to initially cool it inside the oven. You can see me do this in the video below. When the cheesecake is done, turn the oven off, crack open the oven door, and leave the cheesecake inside for 1 hour. A drastic and sudden change of temperature isn’t ideal for cheesecake—from hot oven to cool counter—so do your best to control the environment by leaving the cheesecake inside. Does this make sense? After the cheesecake cools in the oven for 1 hour, place it on the counter to cool. After it’s cool, chill it in the refrigerator for at least 4 hours or even overnight. There’s no greater test to your willpower than those several hours you’re forced to wait as the cheesecake cools down and then chills in the refrigerator. But every minute is completely worth it when you take that first luscious bite. For a quicker, easier alternative to making a classic cheesecake, try this cheesecake pie or pumpkin cheesecake pie. Or if you want to completely skip the baking and cooling process, try my no-bake cheesecake instead.
4 Success Tips for Perfect Cheesecake
To summarize, here are some tricks I discussed:
Cheesecake Toppings
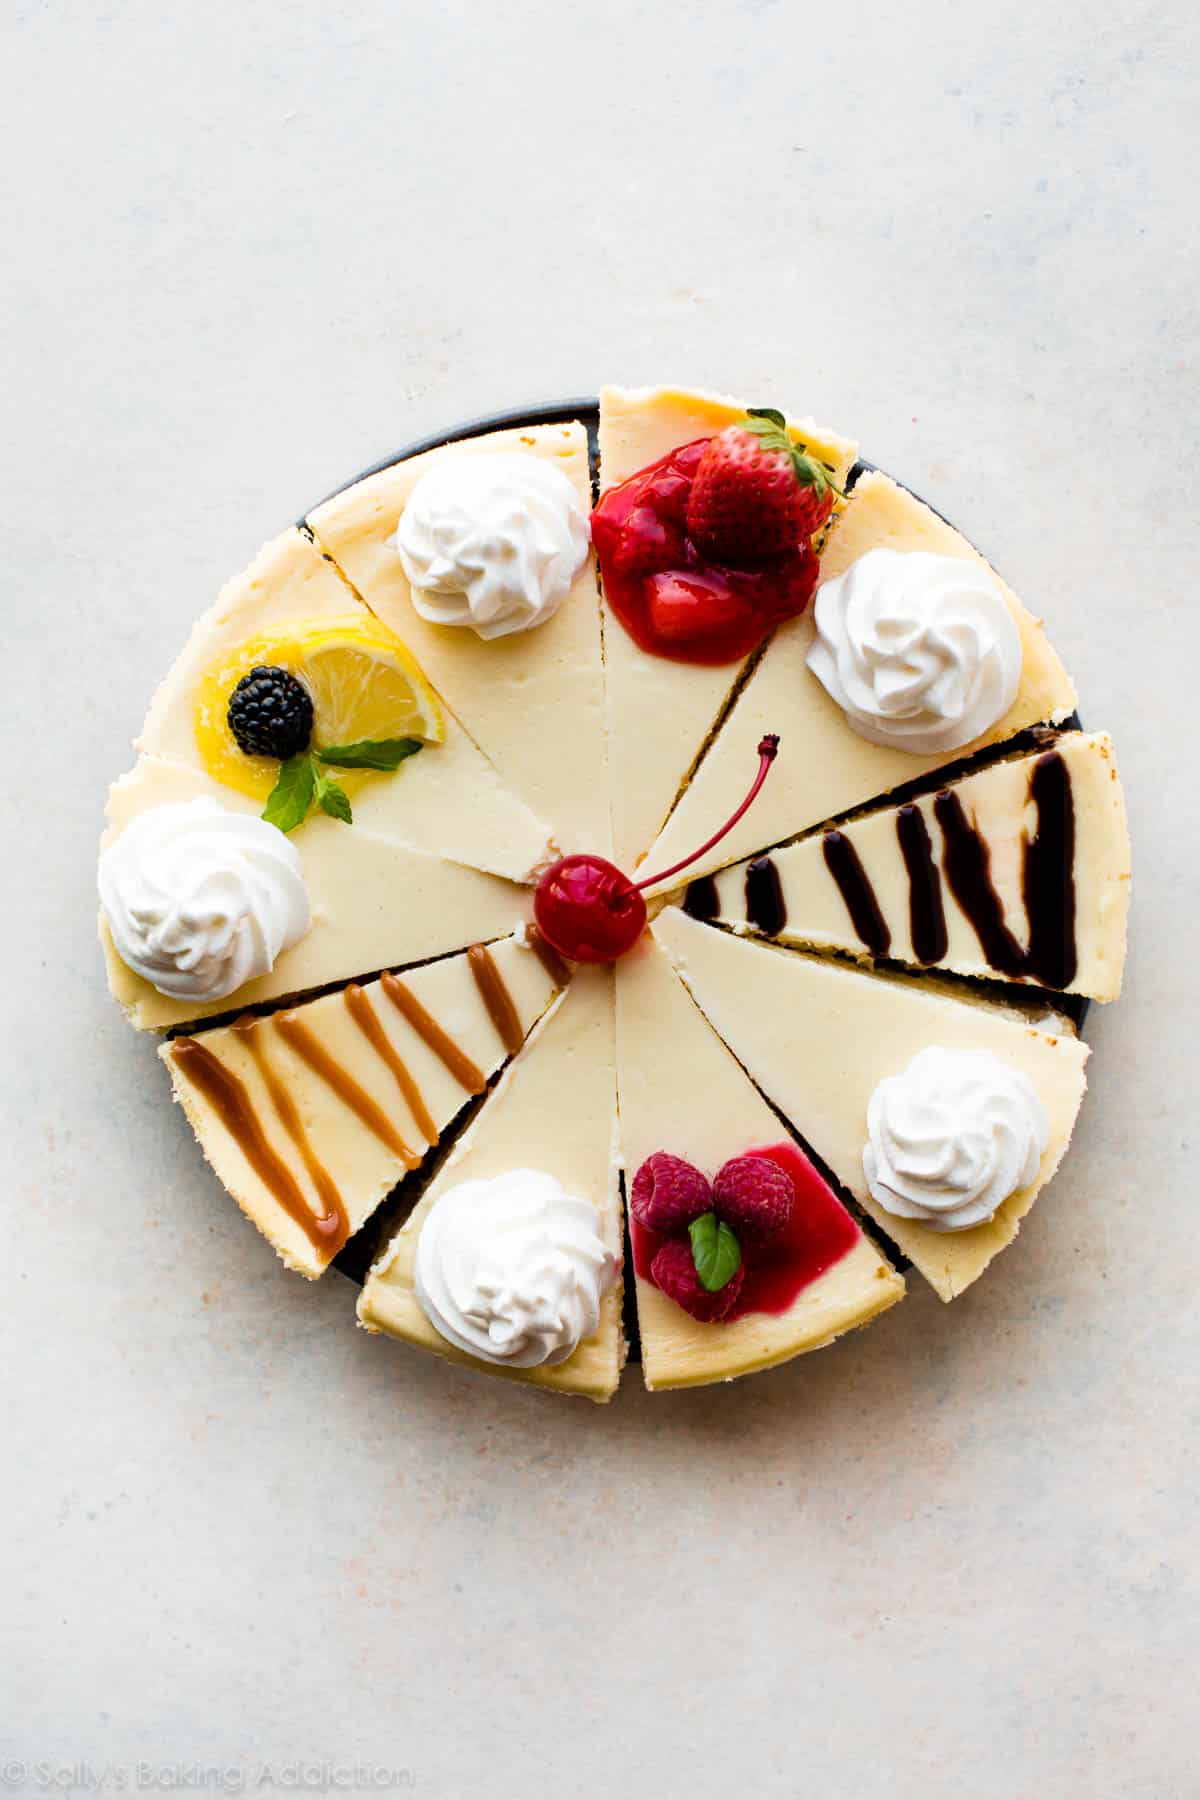
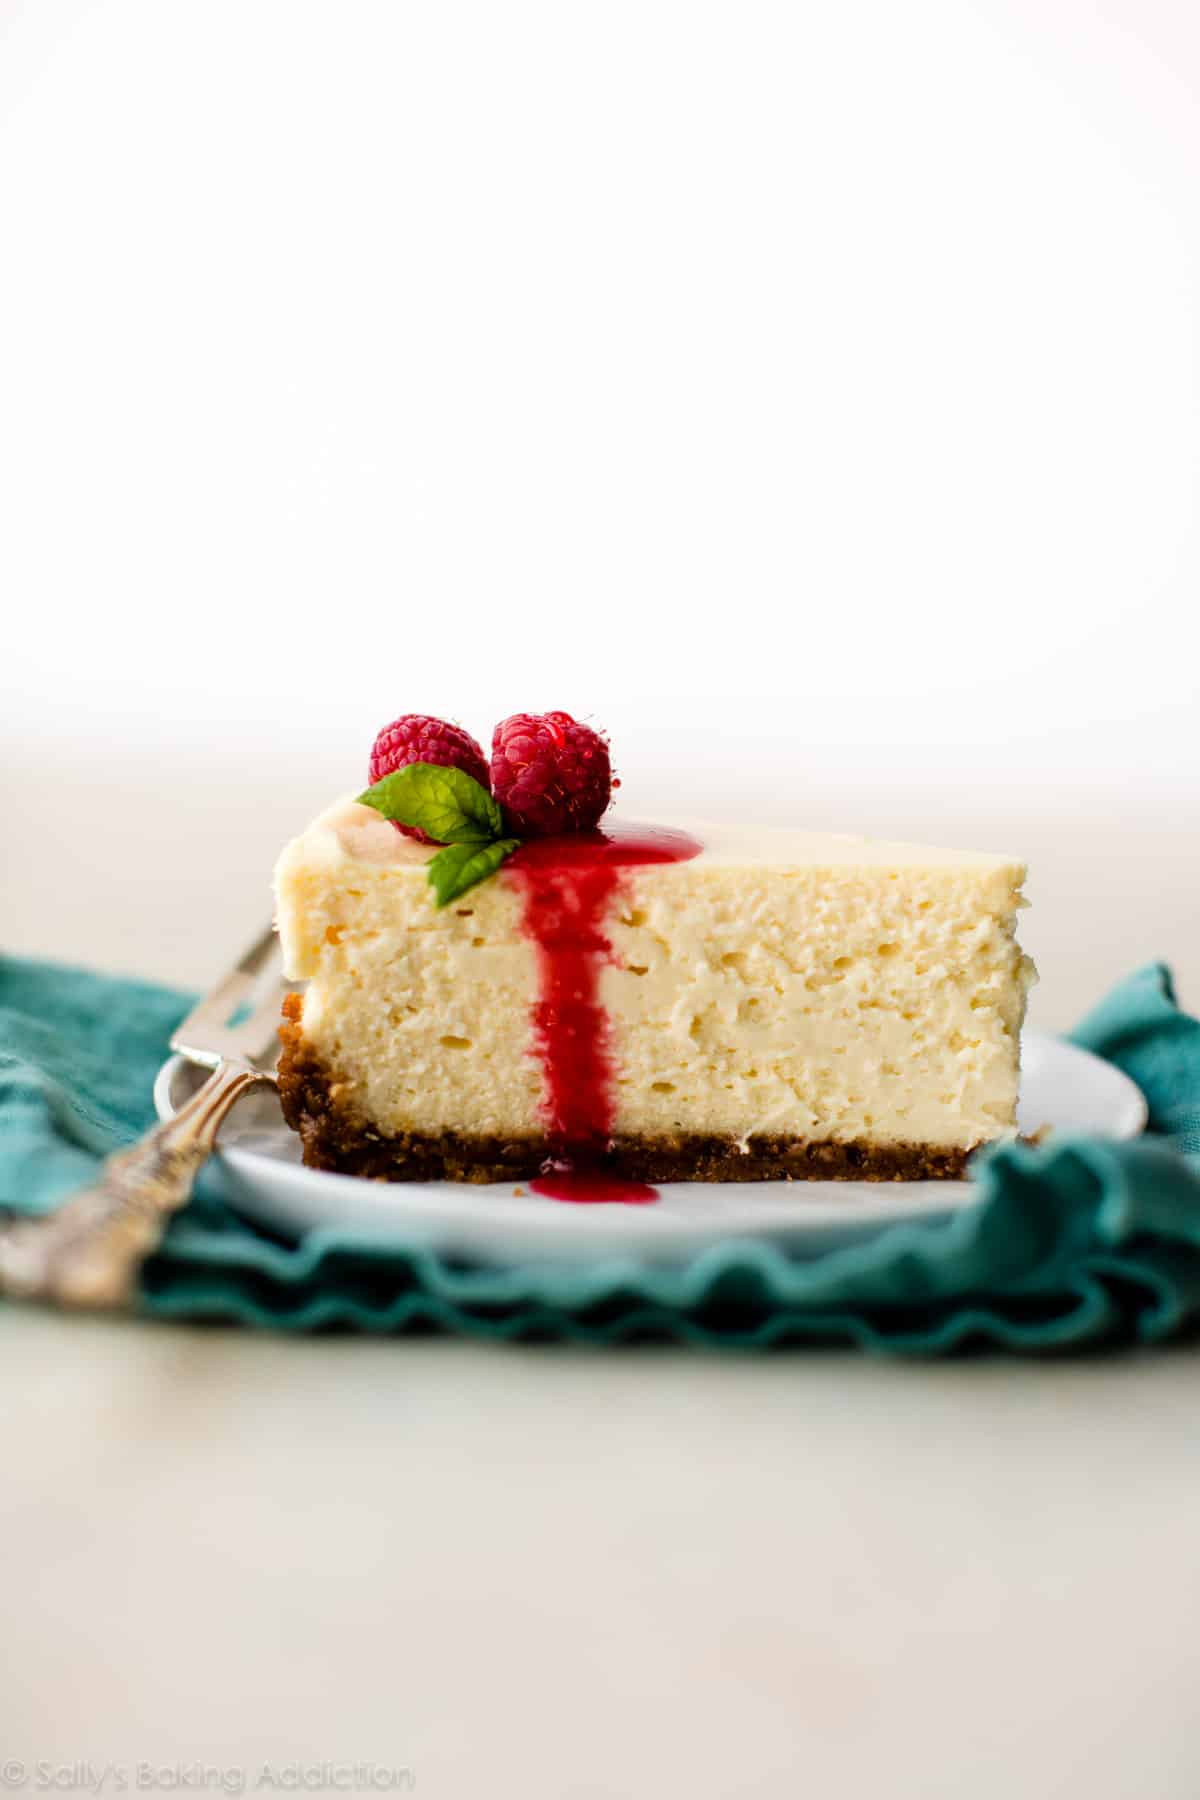
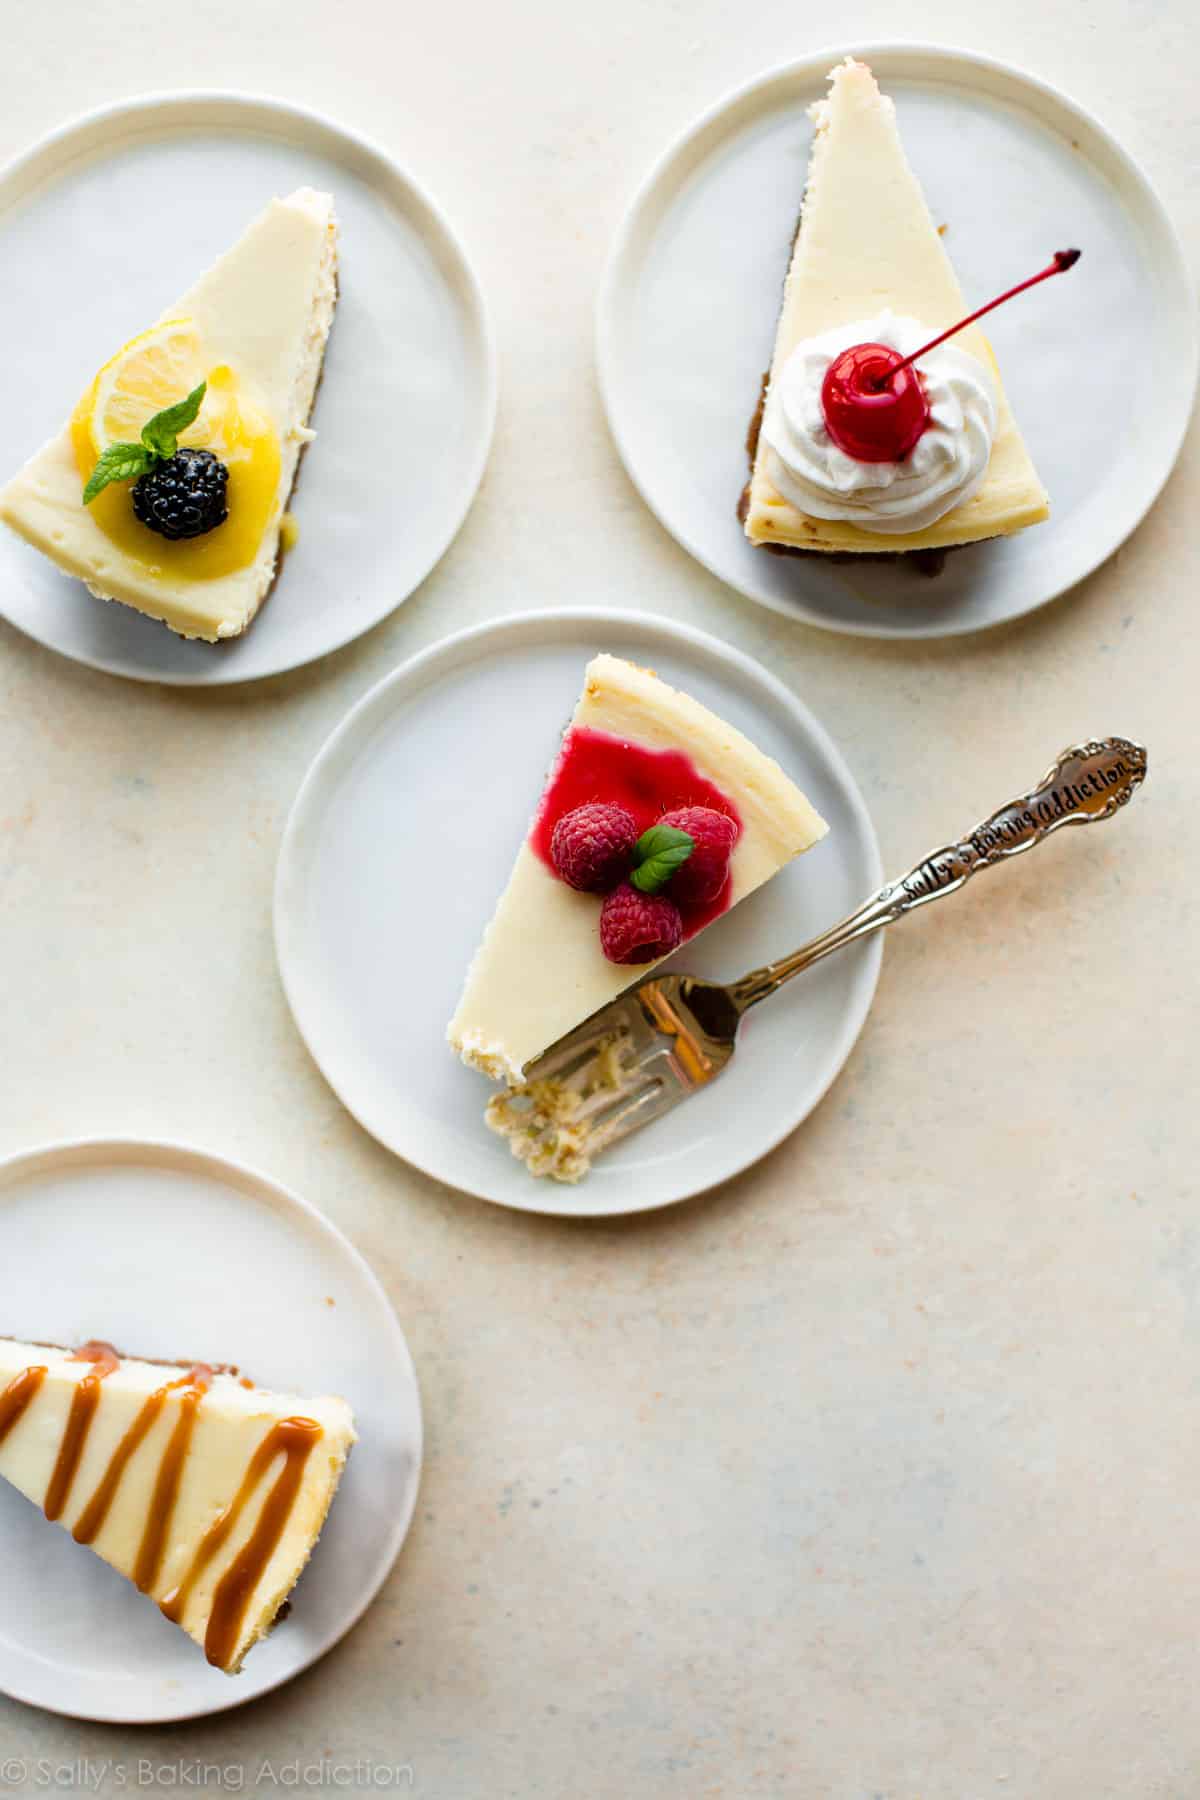
Enjoy your velvet-rich cheesecake as is or get a little fancy with a selection of toppings. I love cheesecake best with fruit, so I serve it with this simple raspberry sauce. Or you could top with homemade lemon curd, chocolate ganache, salted caramel, strawberry topping, blueberry sauce topping, or homemade whipped cream. Get creative or keep it simple. Either way, it’s going to impress. (And you’d totally eat it off the floor… Chandler and Rachel style.) If you’re really looking to take your toppings to the next level, check out my pecan pie cheesecake or caramel apple cheesecake pie.
How to Freeze Cheesecake
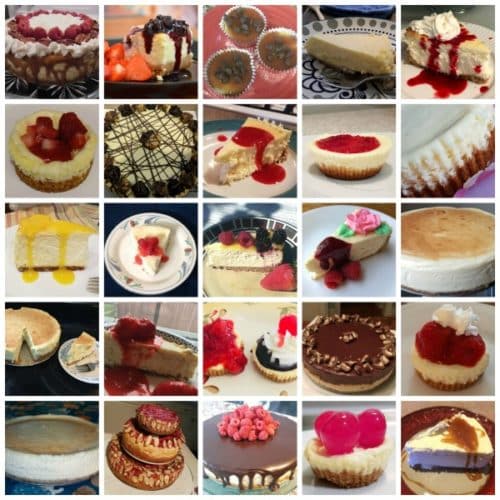
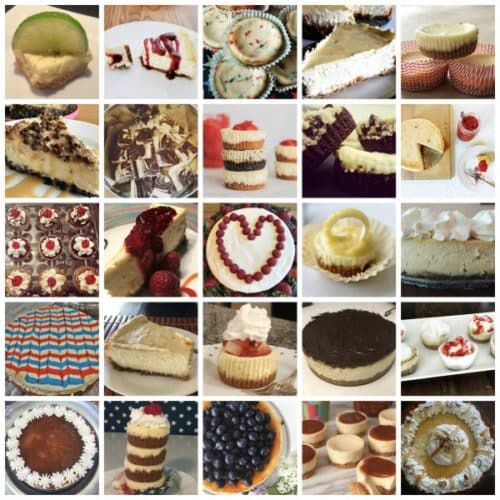
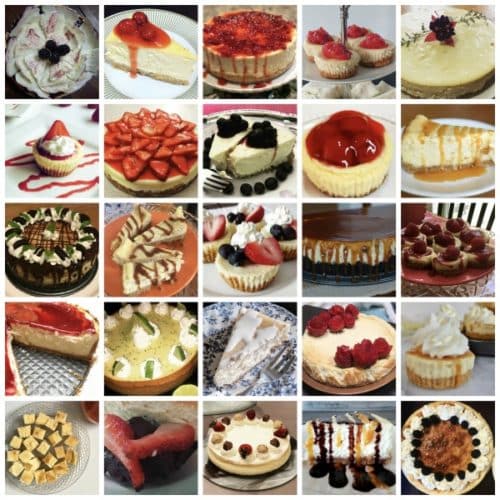
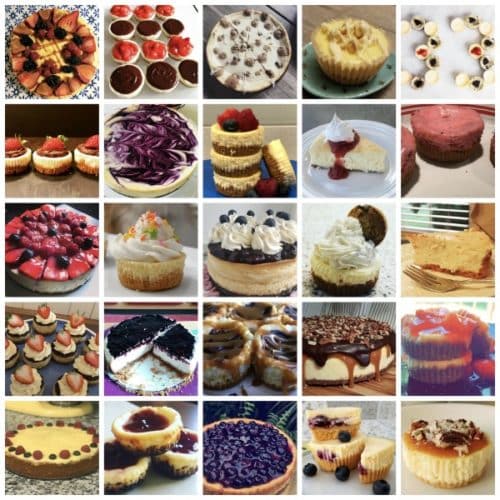
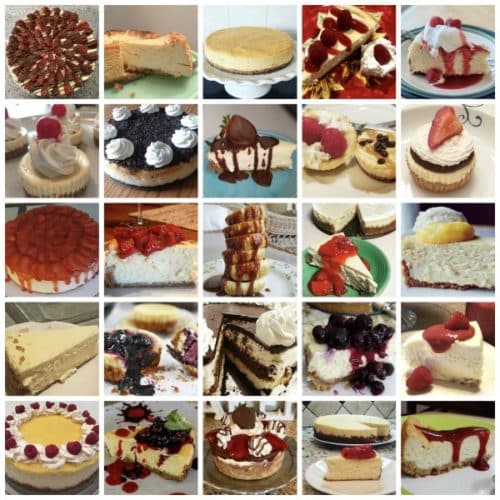
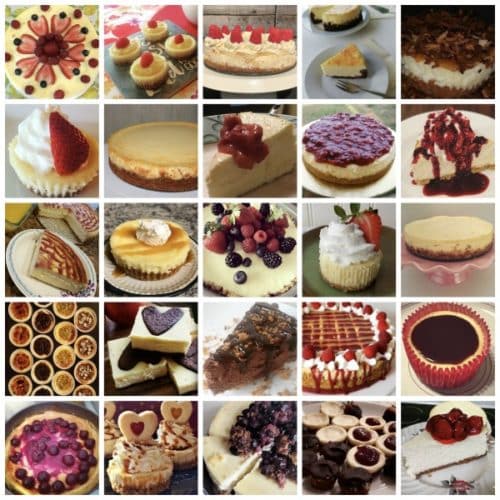
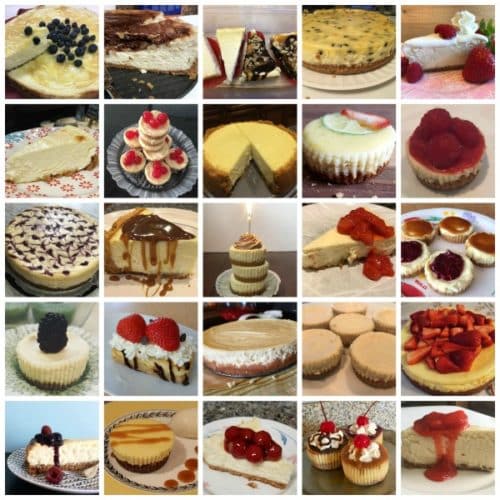
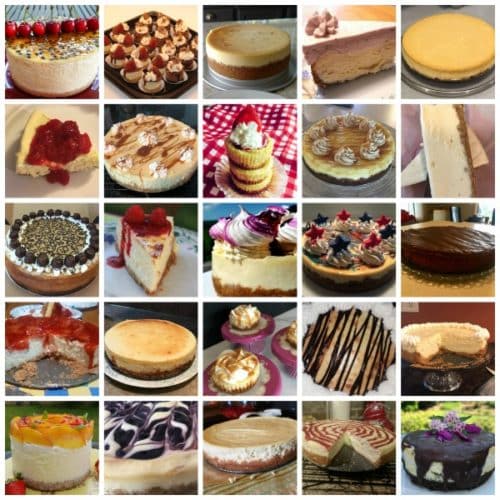
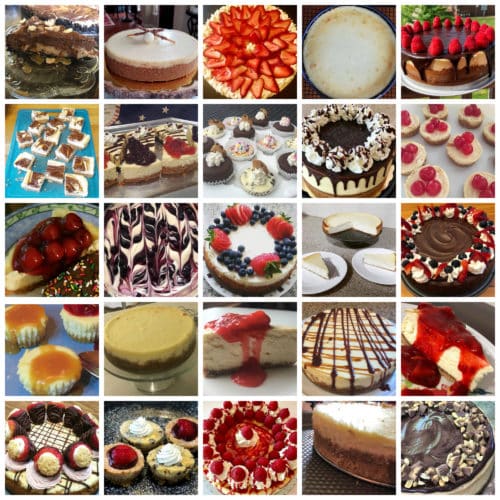
Reader Photos!
Feel free to email or share your recipe photos with us on social media. 🙂